How to sponsor content on Laymans
Go to www.laymans.app
1. Introduction
Welcome back to Laymans! Did you know that professionals can sponsor their content on our platform? Sponsoring your articles and contributions is a great way to get more traction for your organization. Let me show you how.
2. Navigate to Advertising Section
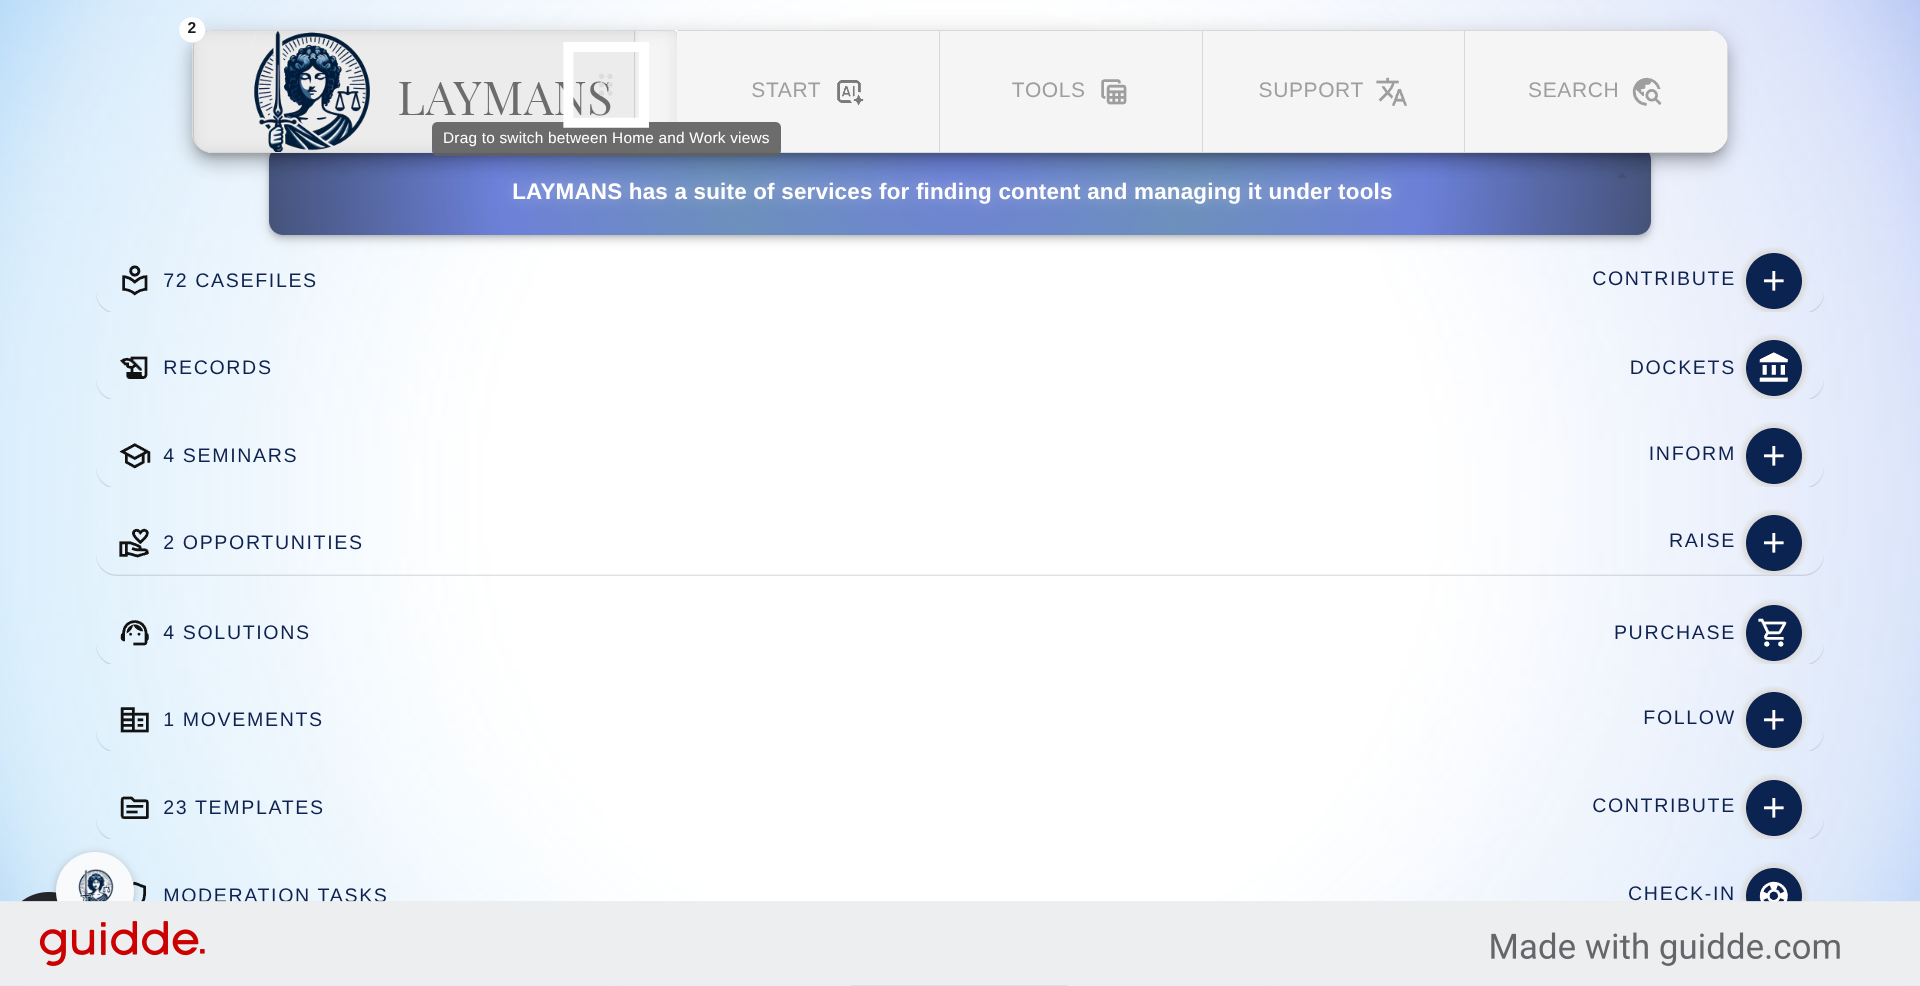
Let's switch over to "Laymans for Work" you can access this Work portal if you're associated with a company on our platform
3. Select Advertising Option
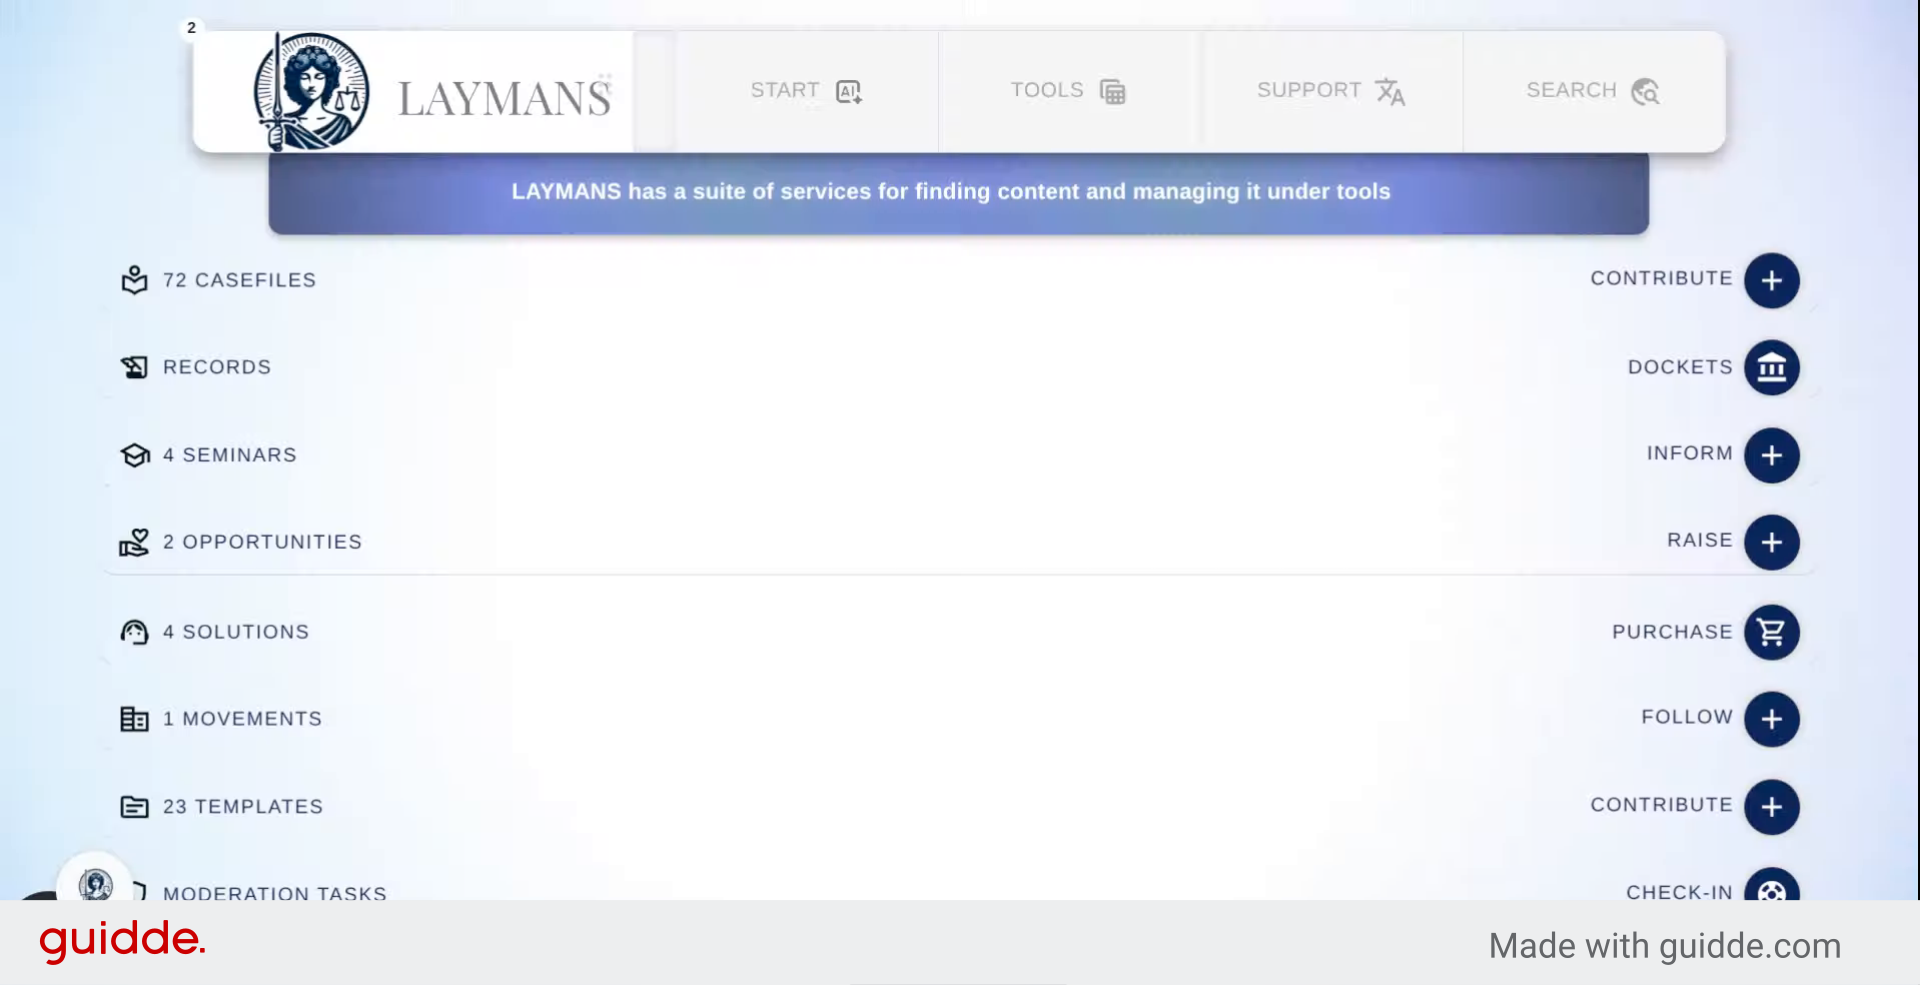
Once here we are going to go into the Advertising section for an overview.

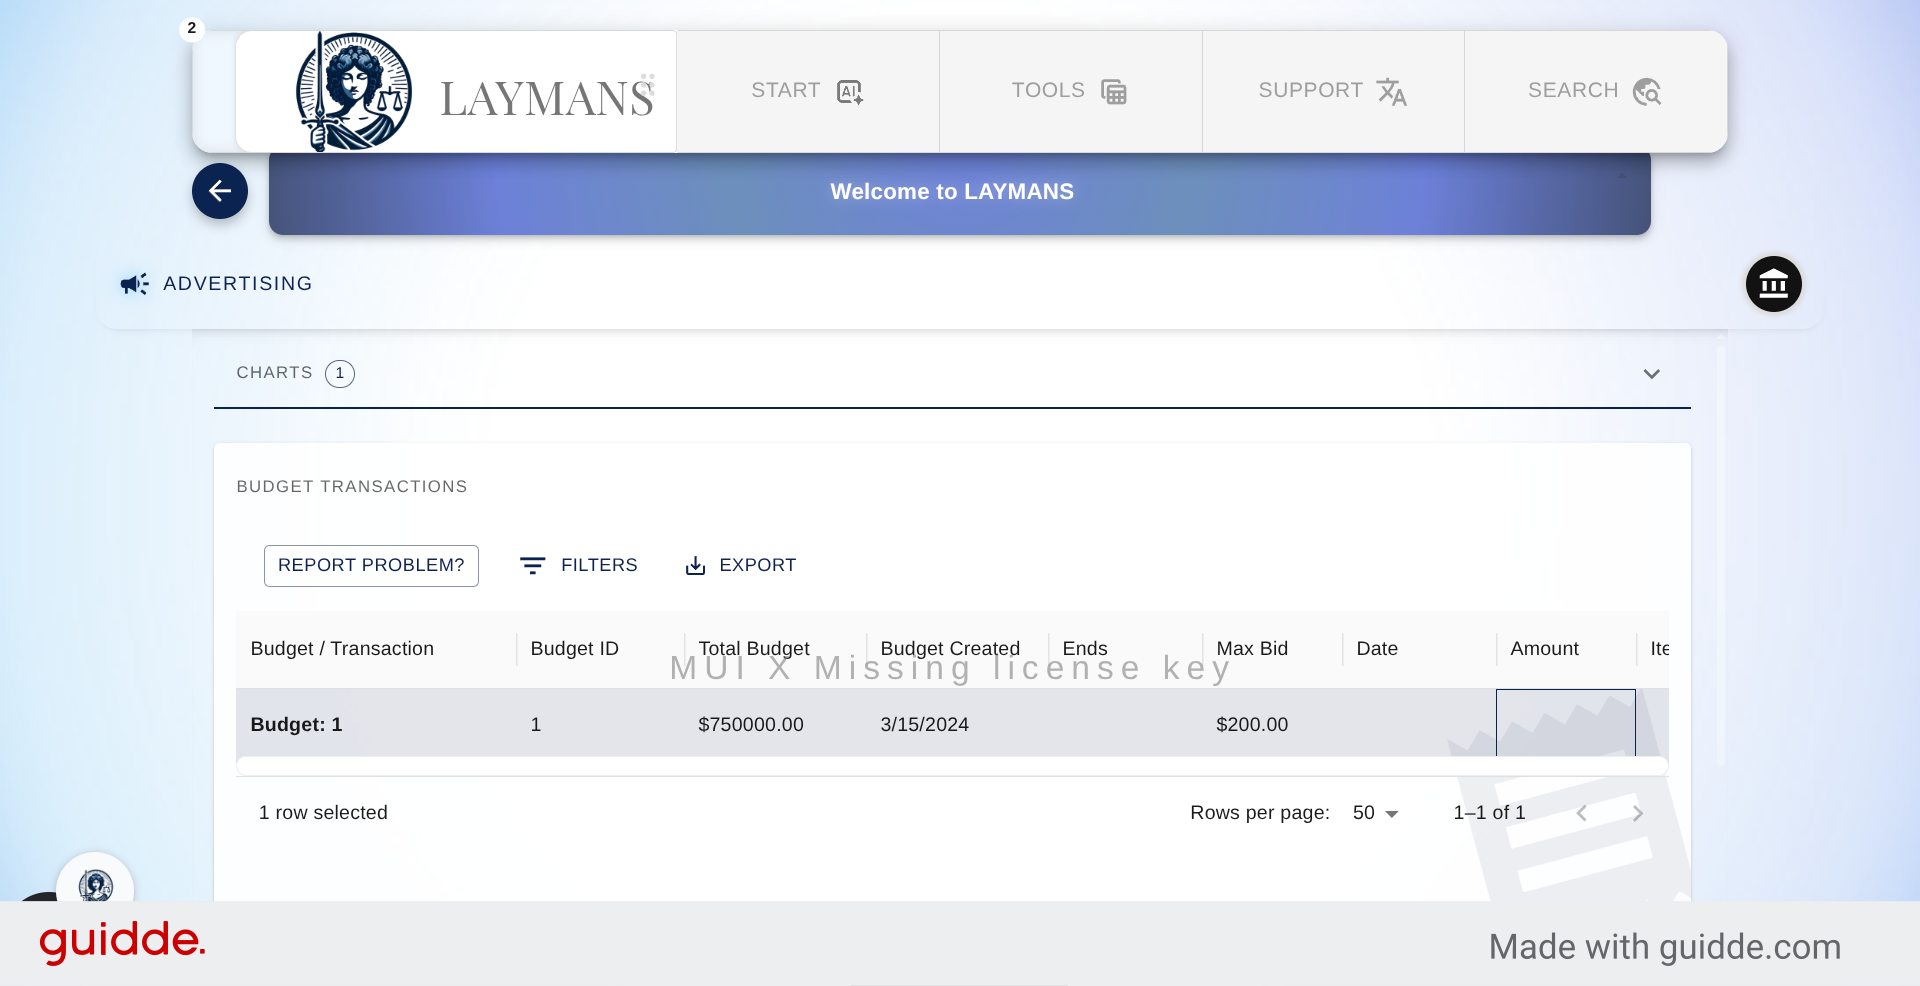
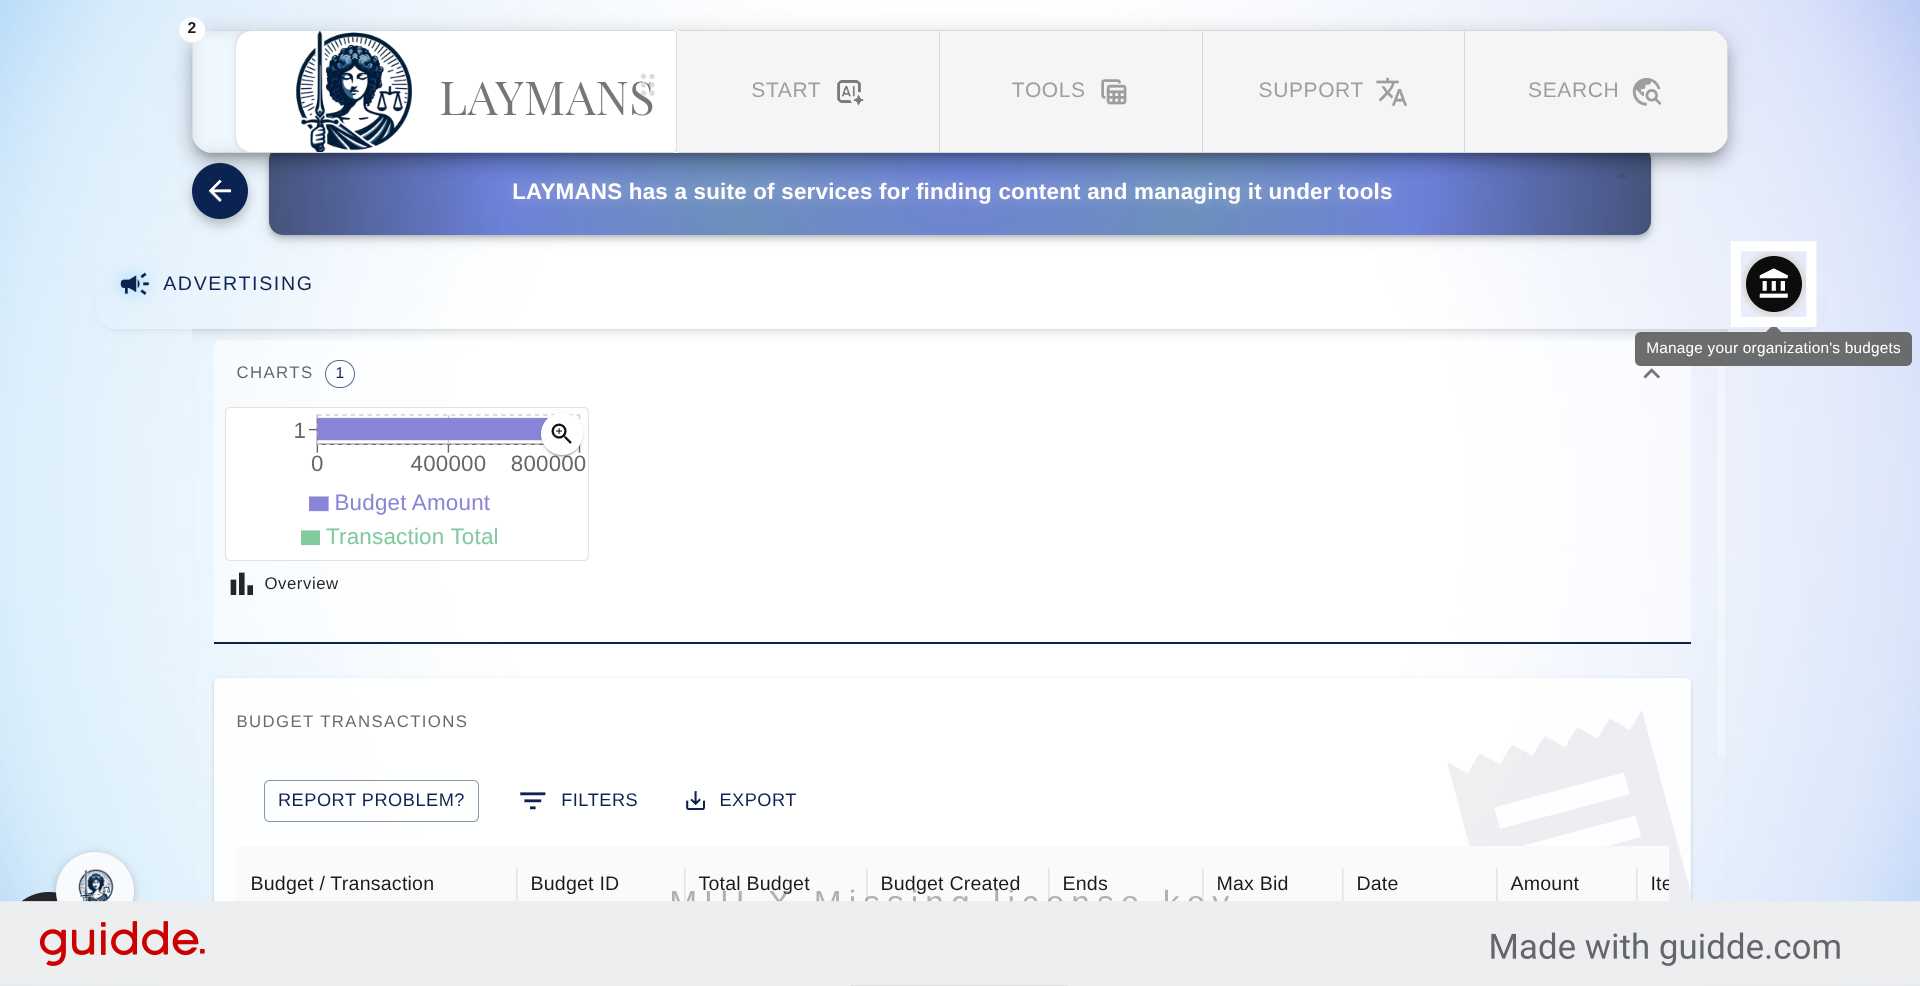
4. Access Advertising Dashboard
So unlike the Organization section of Laymans for Work the other sections are rather straightforward and narrowly tailored to their purpose. Here you can manage your sponsored content and leadgen budgets.
5. Open Campaign Management
Laymans uses market-rate sponsorship pricing. You define a budget and a maximum bid. We combine those across all organizations serving your region, and those who put in the highest bid get the best times for viewing their sponsored content, while the lowest bid gets the worst times. However, there are a couple of things to note about our algorithm: we try our best to ensure that everyone who sets a budget gets their content sponsored. Secondly, sponsorship boosts your content within our sorting algorithms; however, this doesn't make up for organically interesting content—so the more useful content may still win!
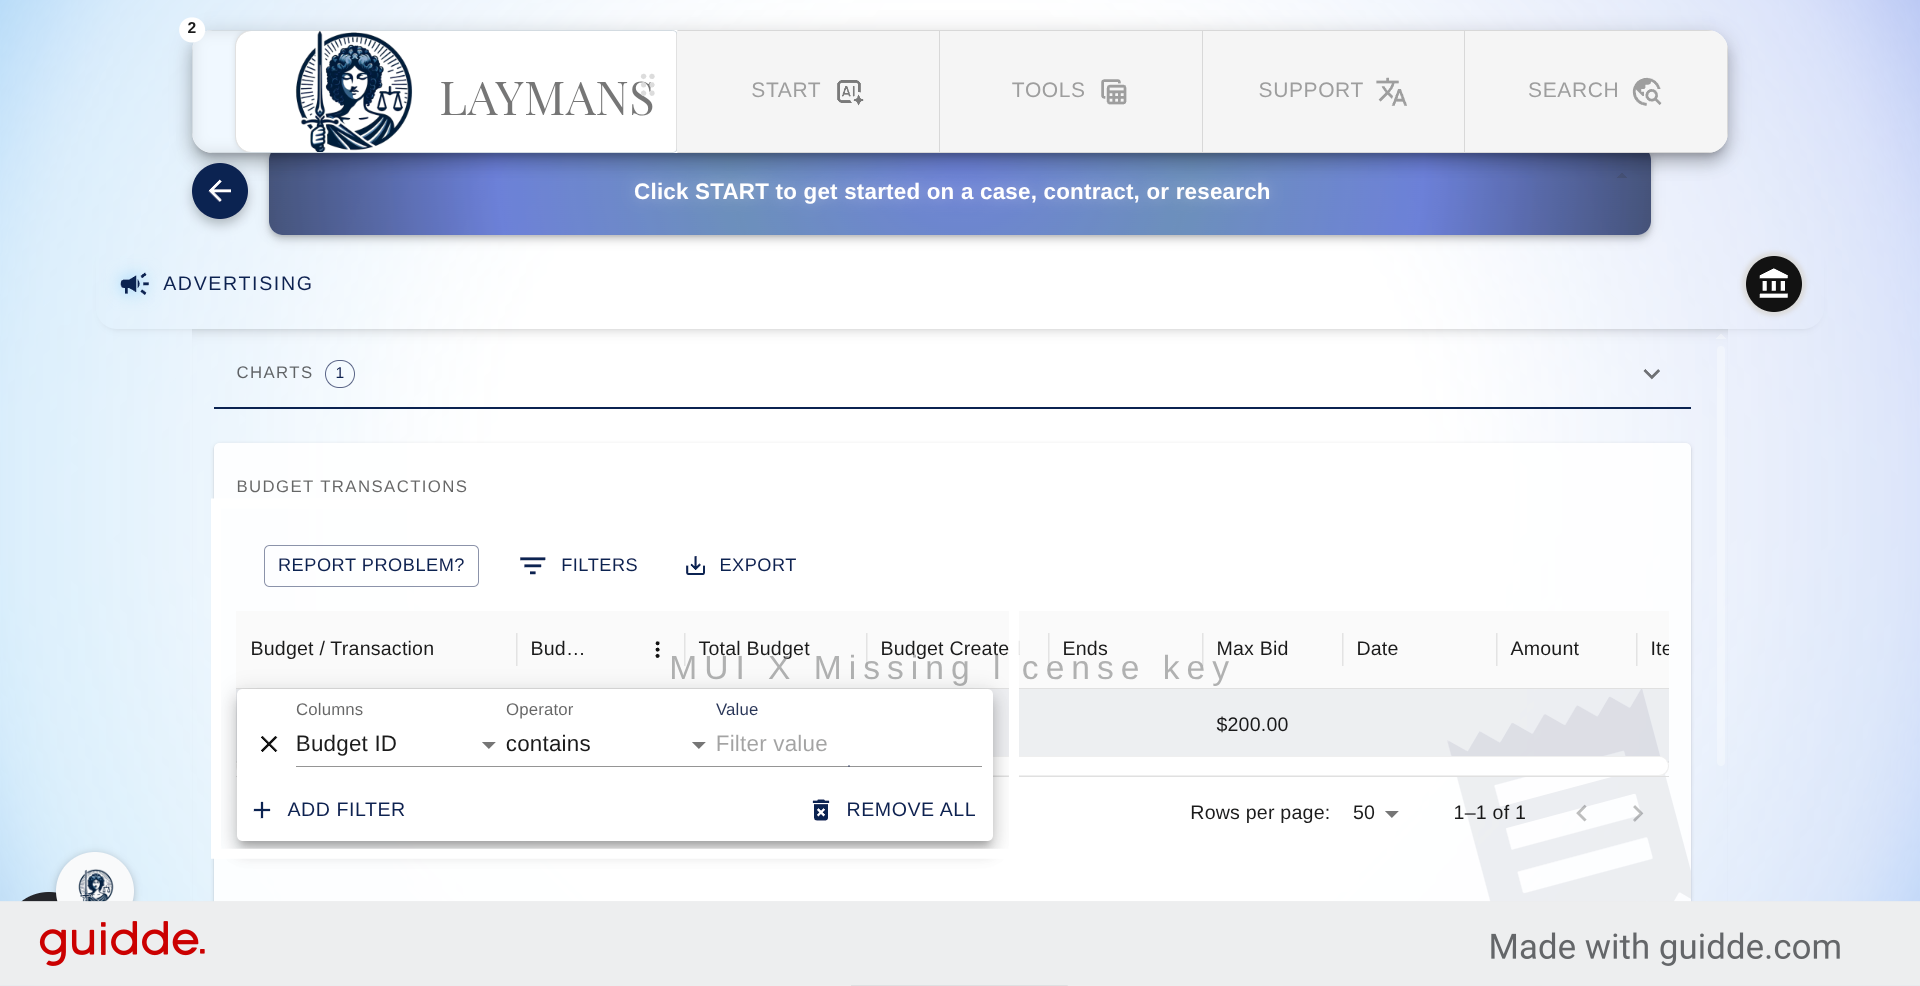
6. Add New Filter
You can make multiple budgets and attach a singular "sponsored" post for each and shape lead generation around it to experiment. As the budgets pile up, use these to print out and filter them.
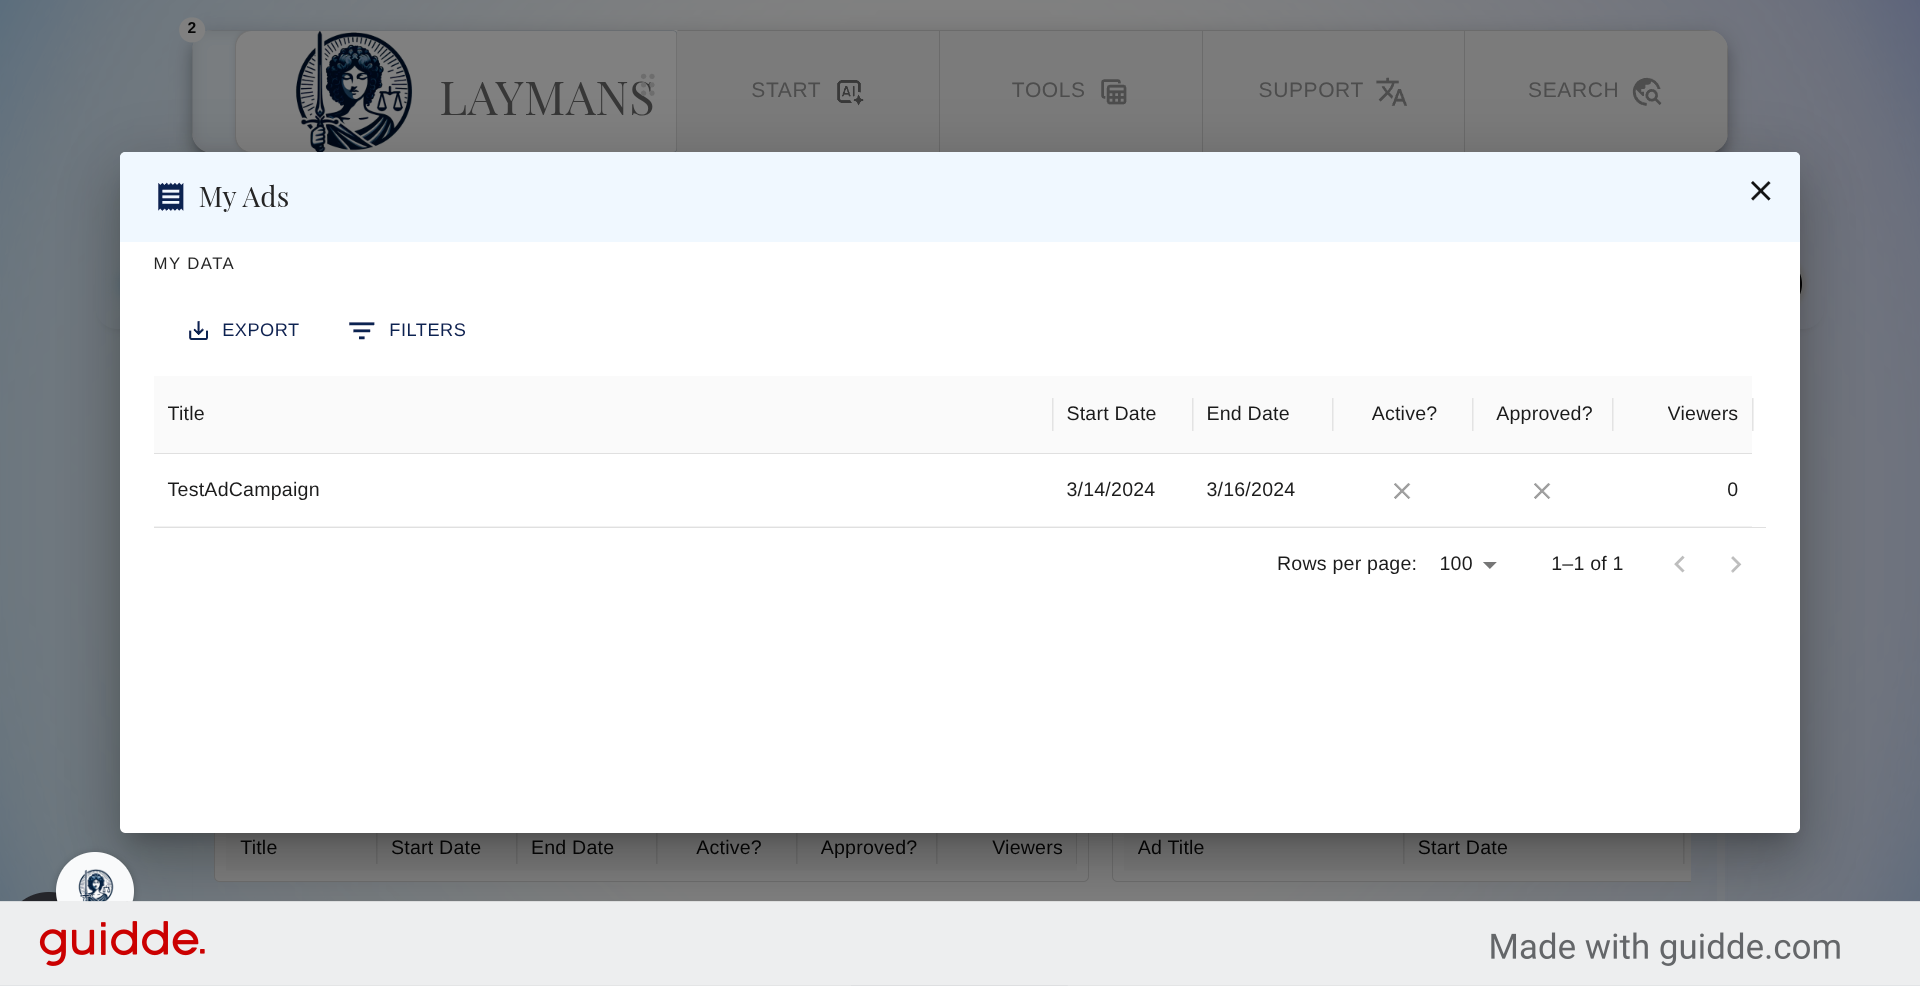
7. Select Data View
In addition to the main data pane, there are two more panes added as part of the system: one for viewing your actual owned ads. You can see that you can tell when your ads are approved by us -- ABA marketing rules -- and then if they are active. You can also see.
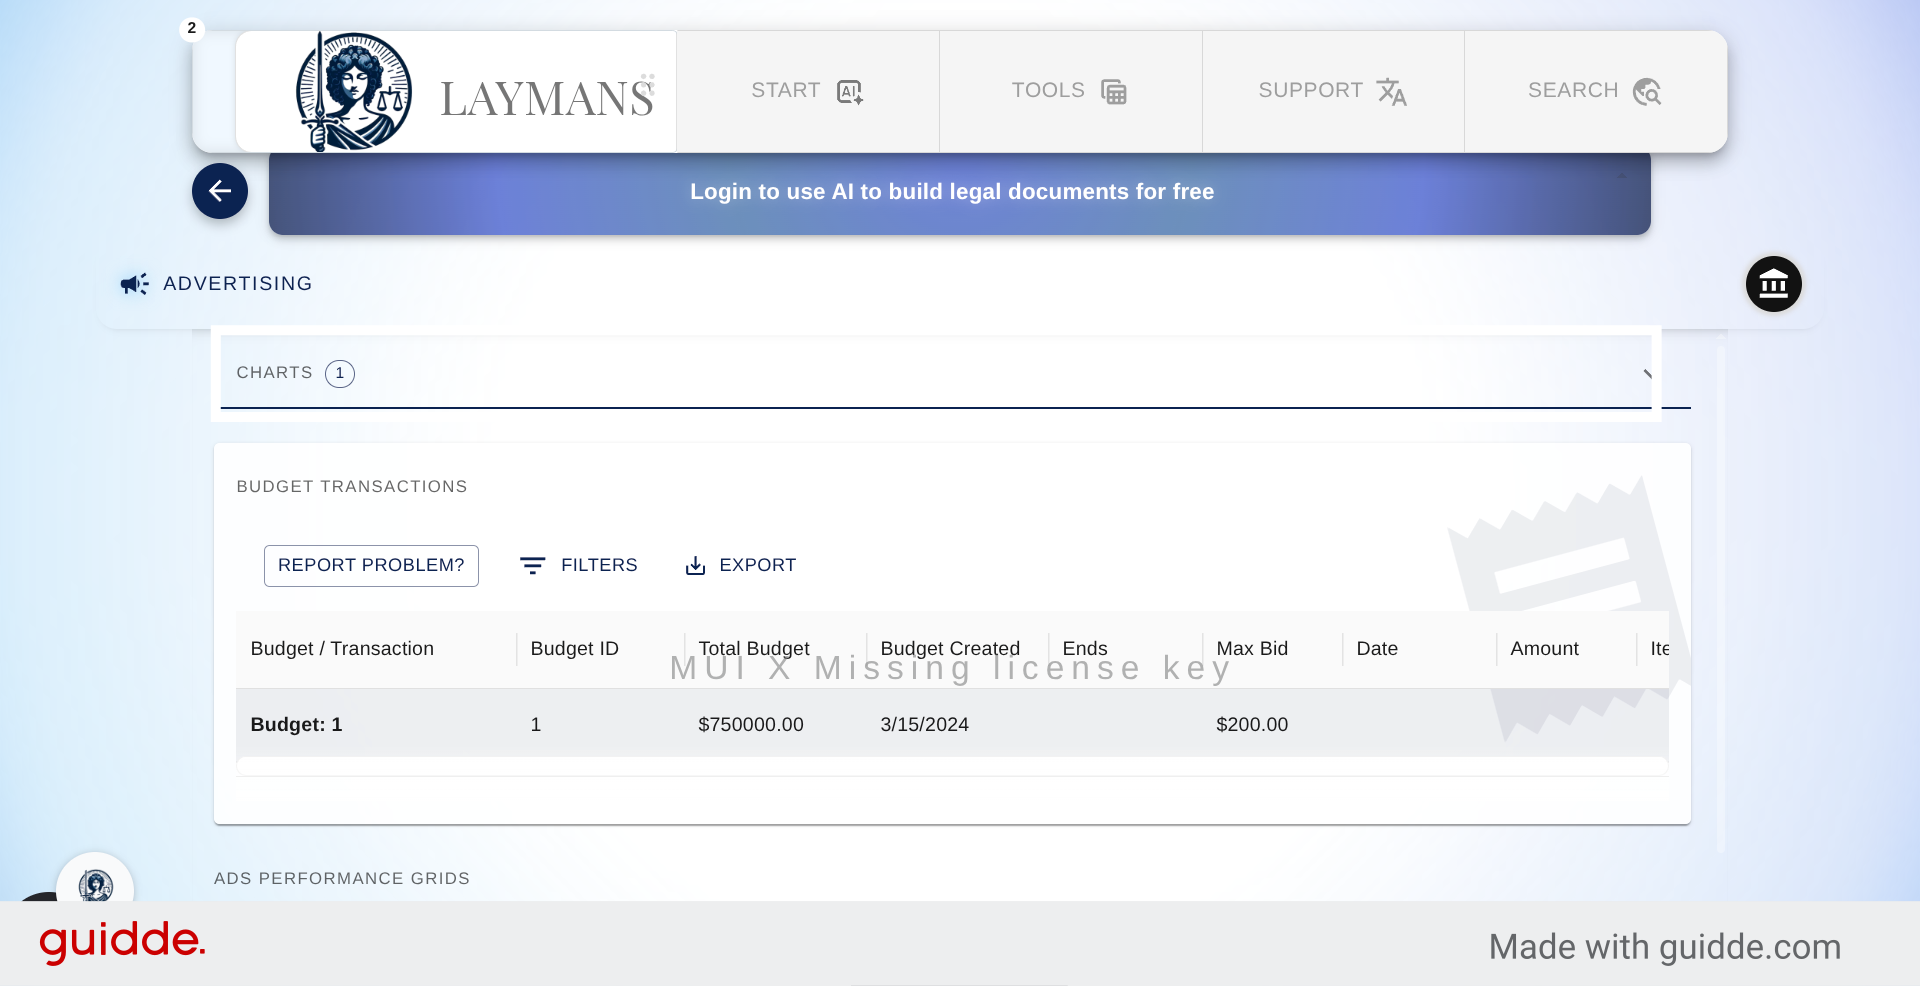
8. Export Advertising Data
The other panel allows you to -- if you're verified -- view the most successful Ads in your community.

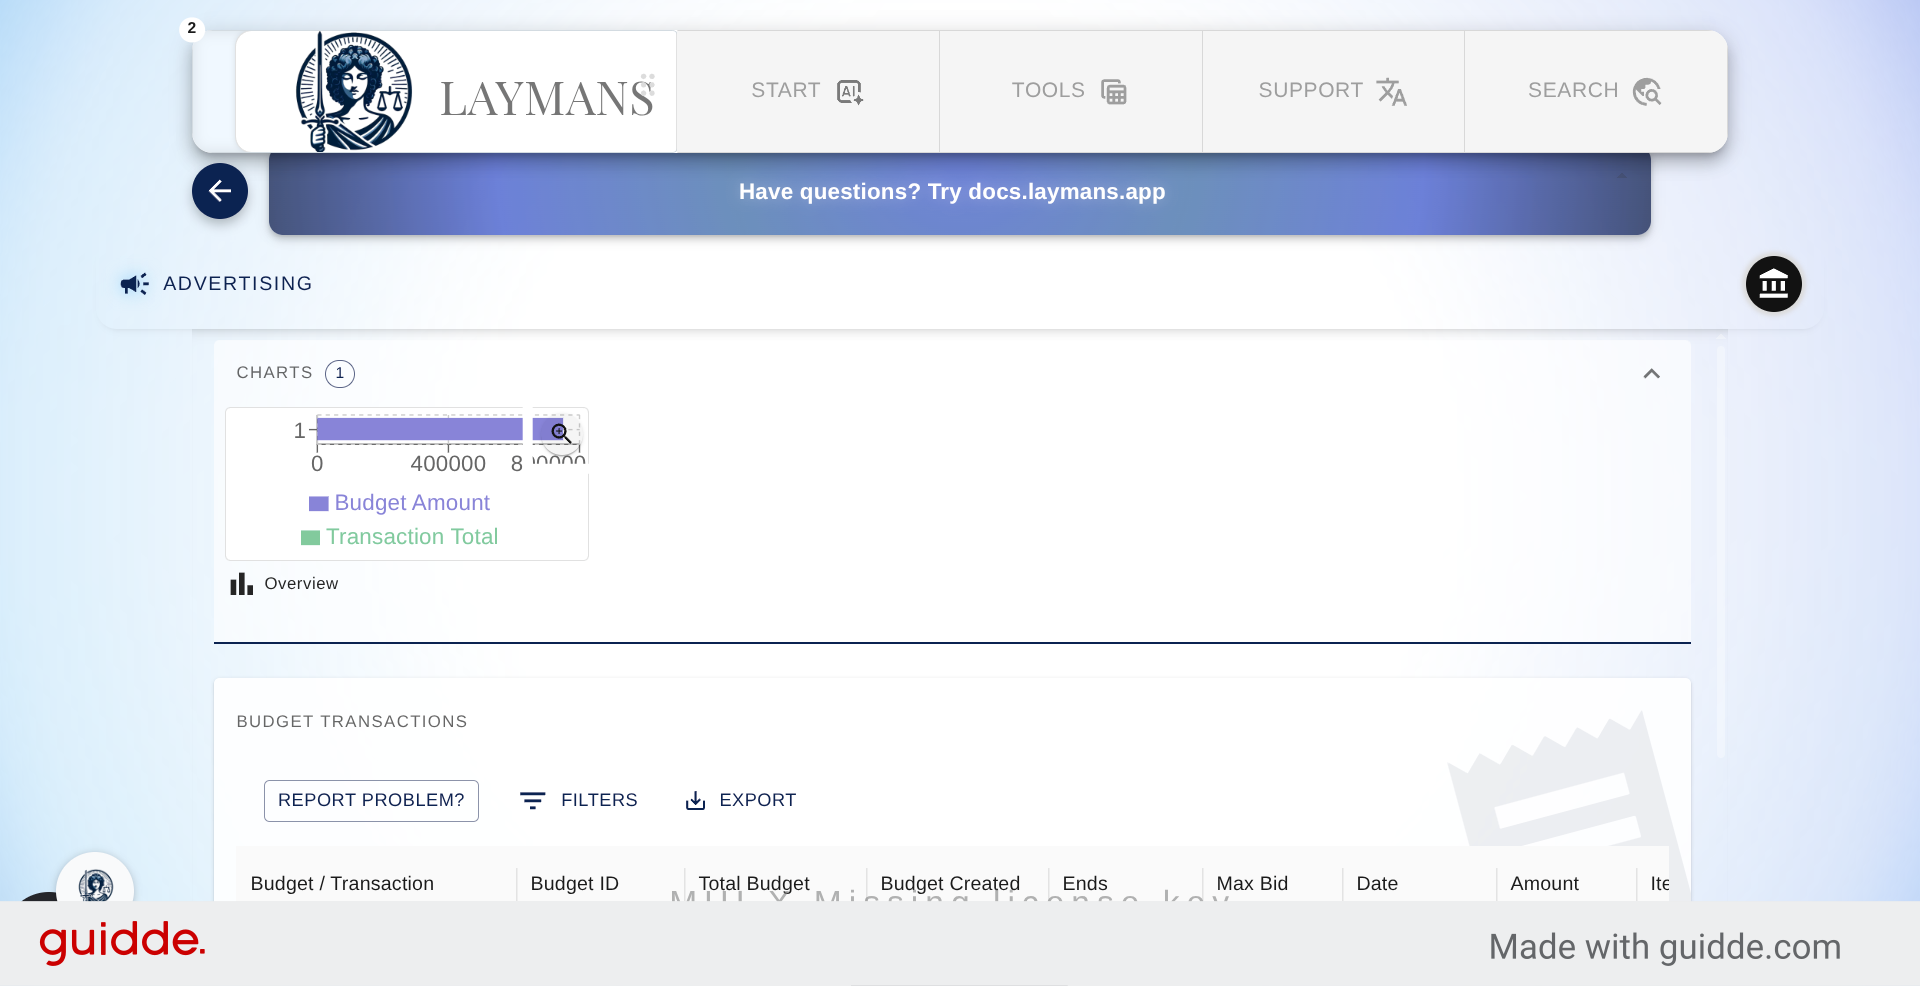
9. Open Charts View
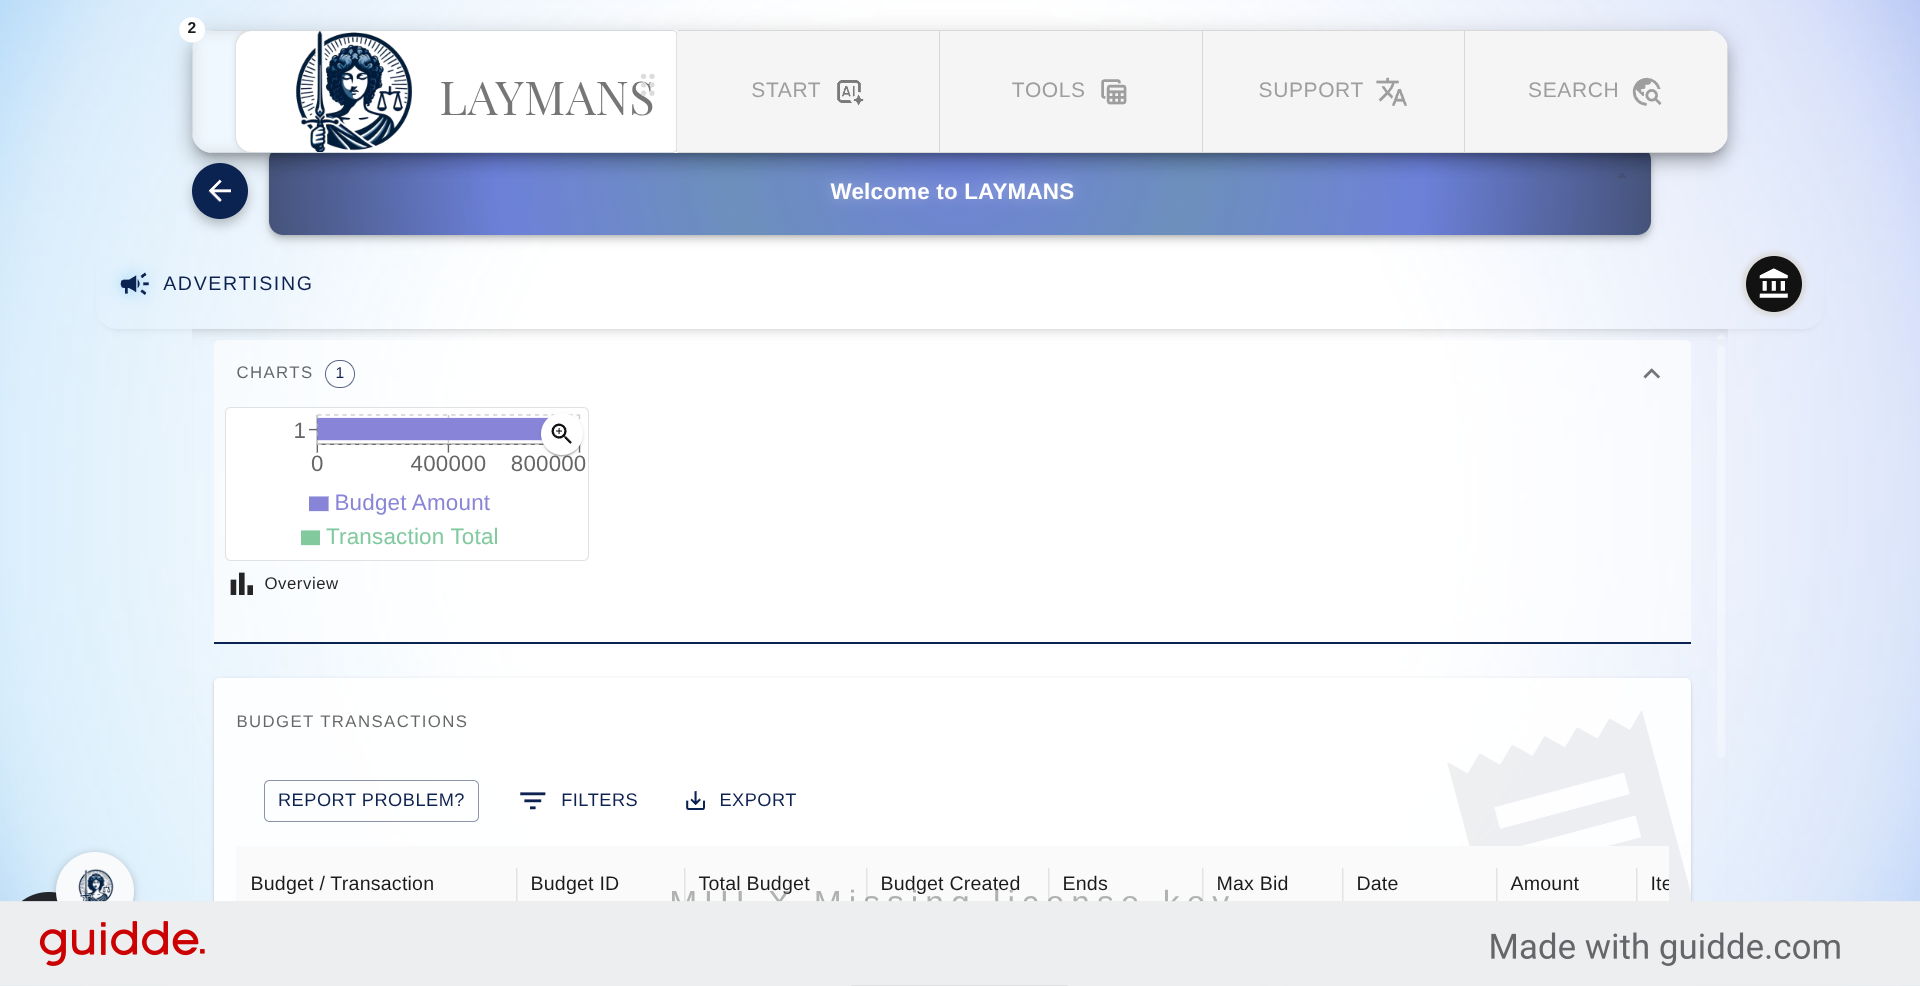
Let's go back and view the charts available for this section. You can view the current budget usage of your organization and the growth of Viewers over time for your organization.
10. Select Chart Area
Let's view the Budget Graph for reference for reference.
11. Access Additional Chart Options
No automatic transactions yet on our promoted content. Great Lets move on
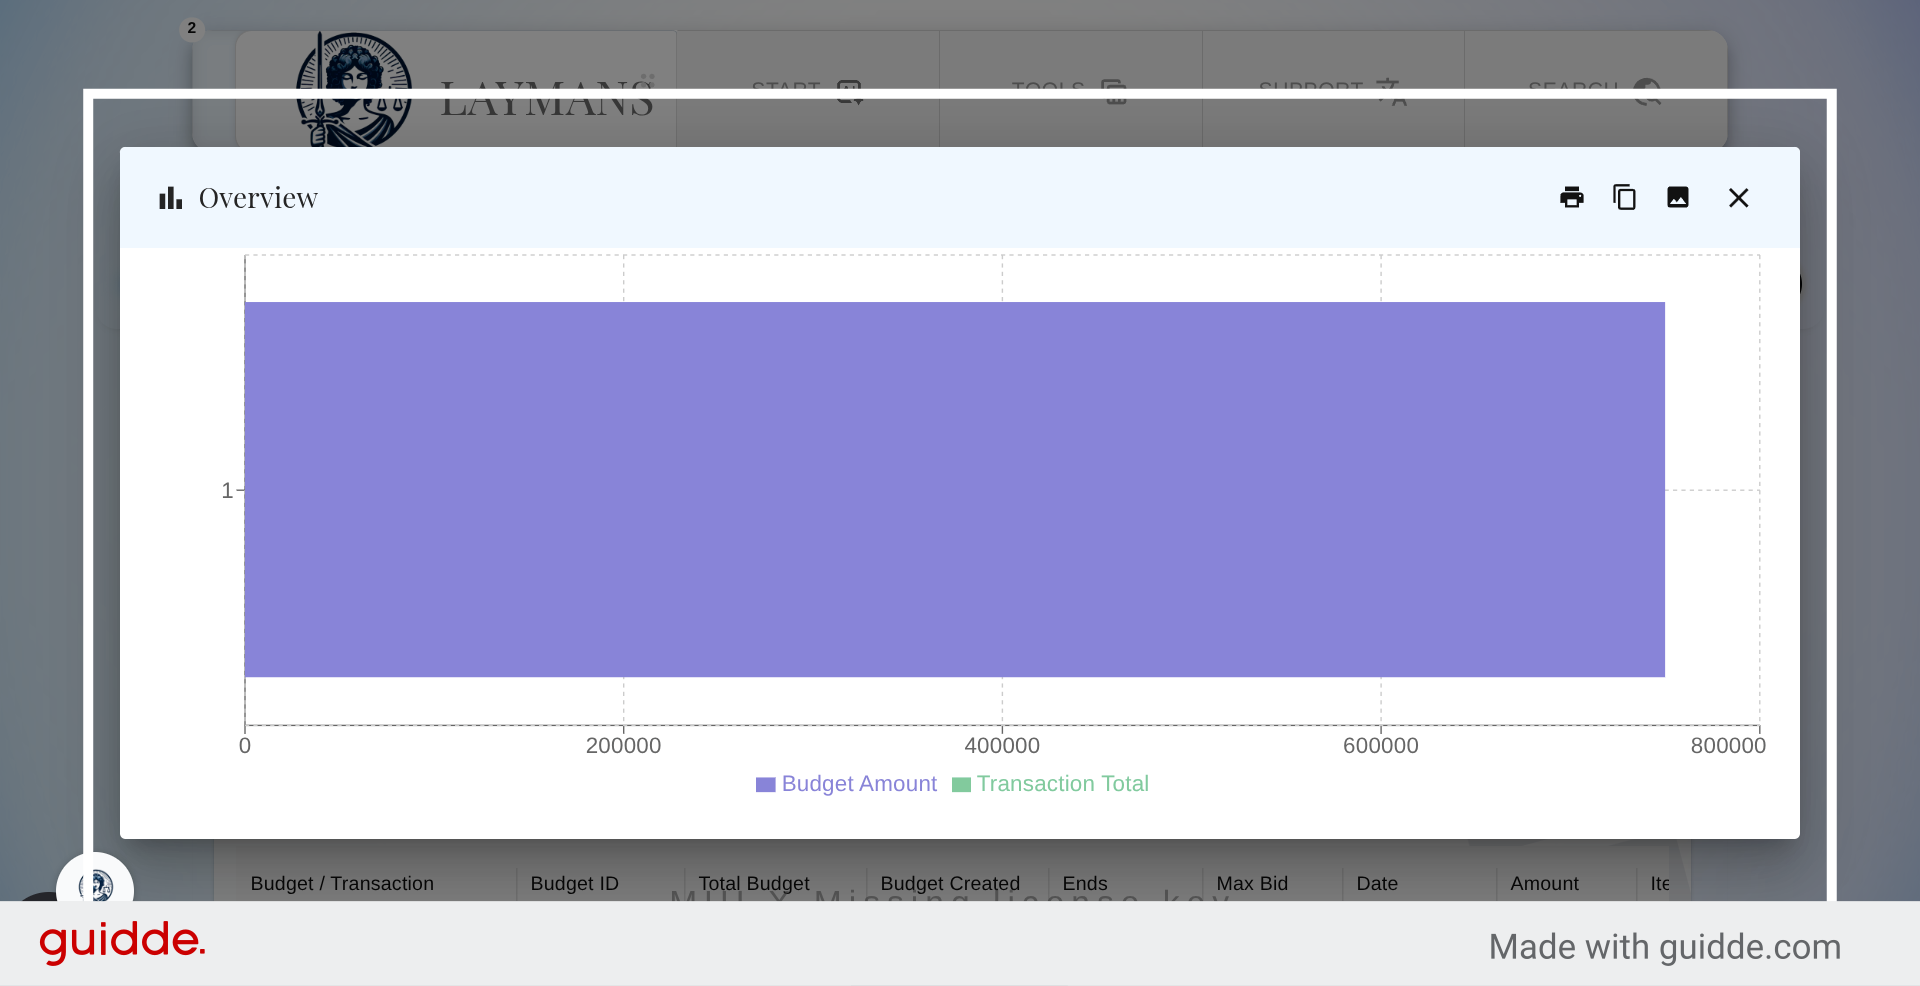
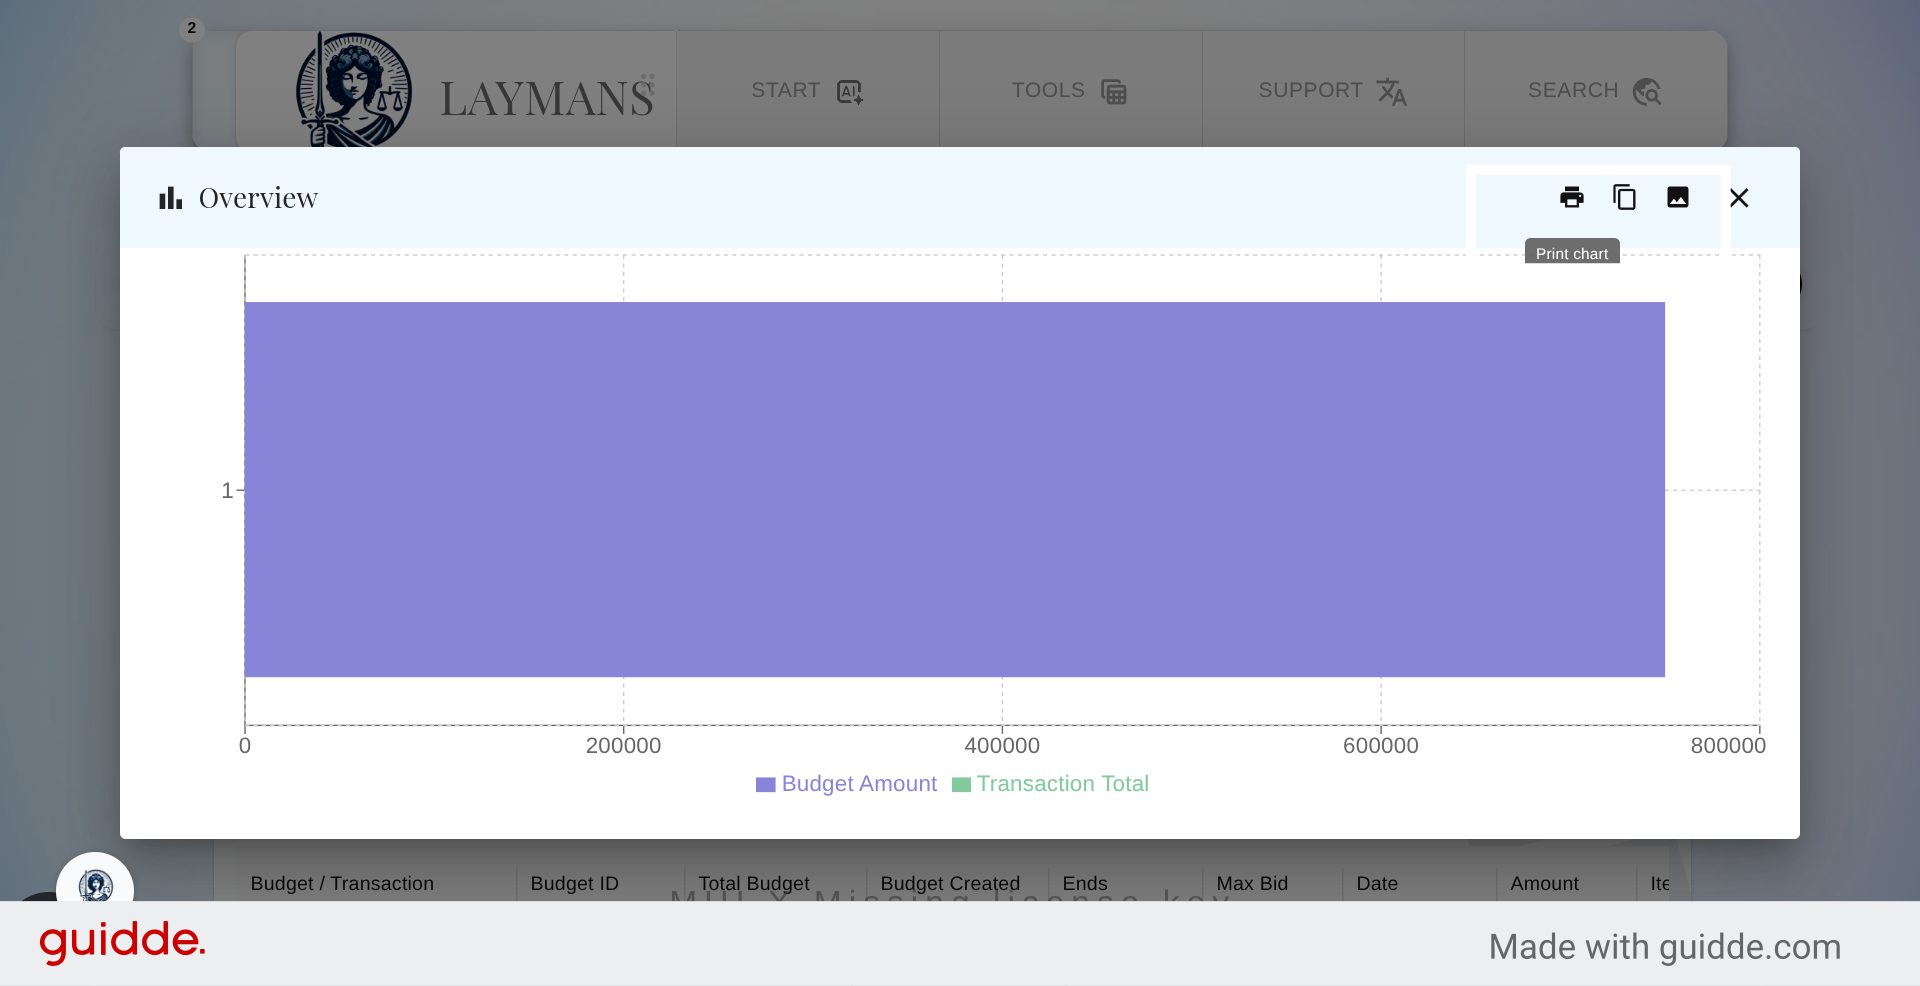
12. Print Current Chart
Note these options for copying, printing, and getting an image of your graphs for reports.
13. The Budget and Sponsored content Wizard
Now lets go back up and see how to create a budget and chose content to sponsor
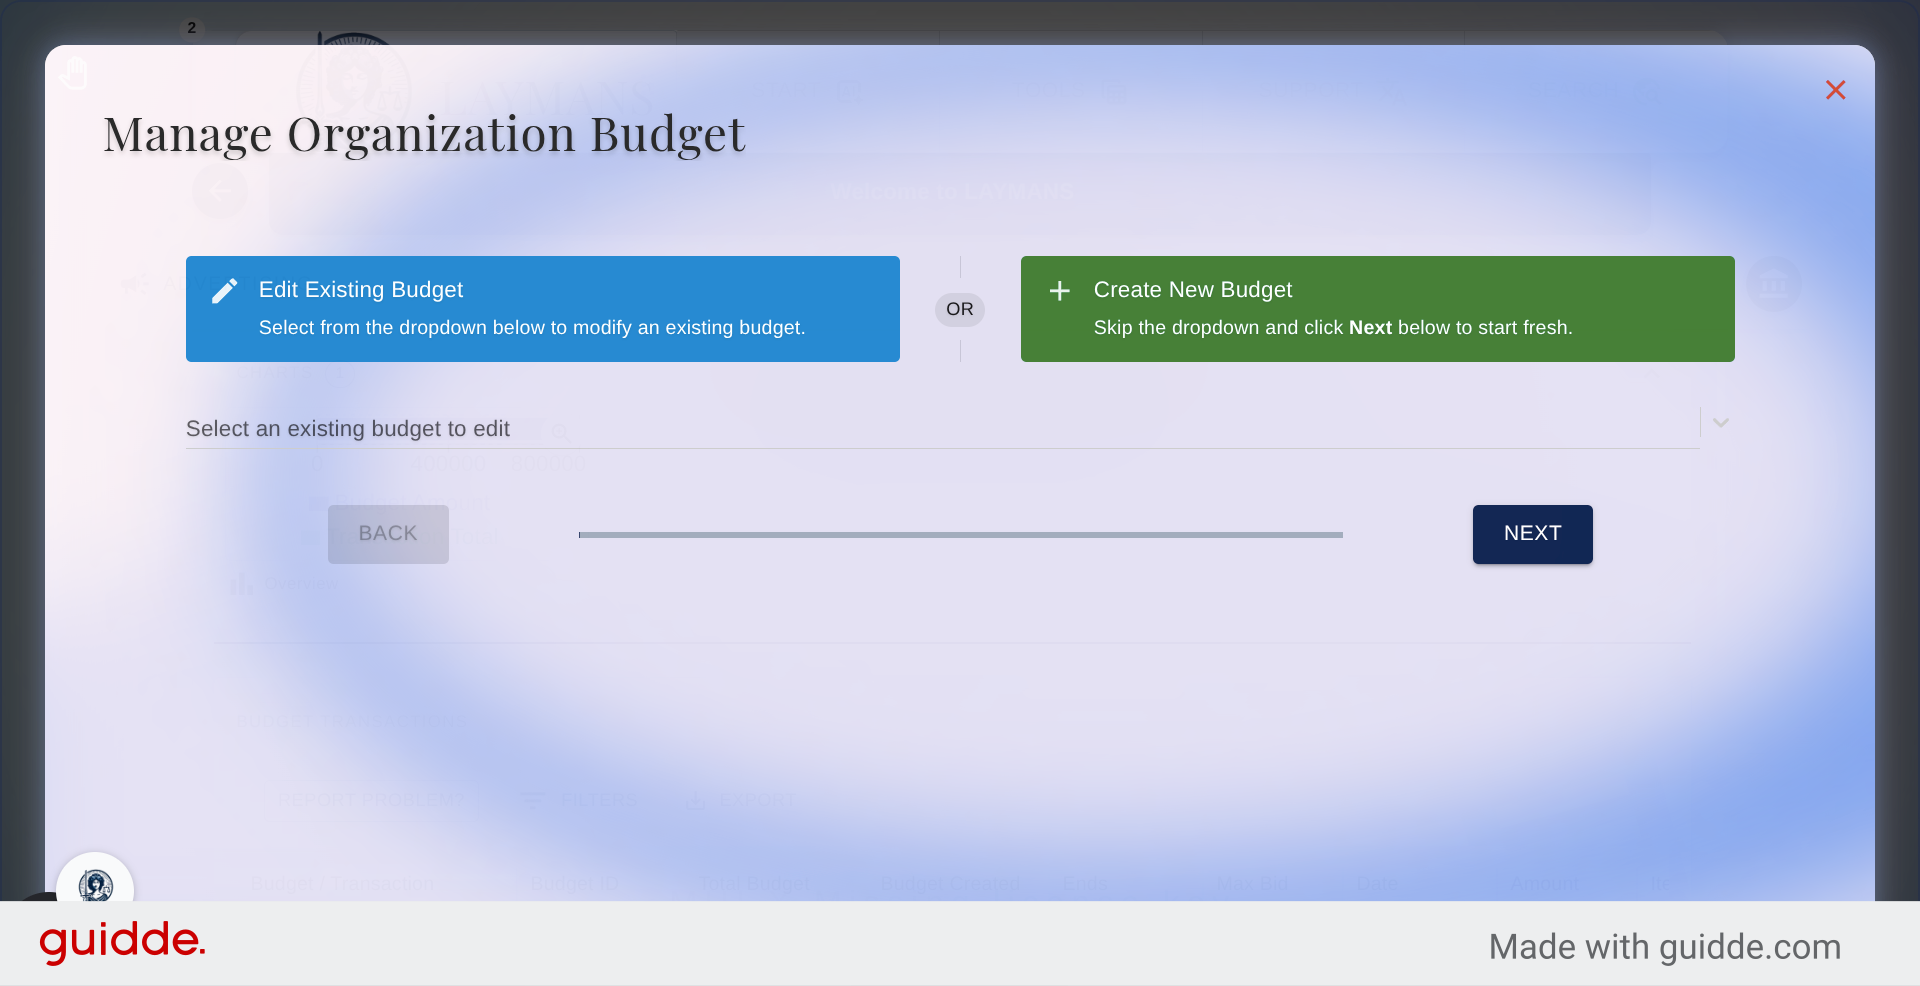
14. Edit or Create New Budget or Sponsored content
As with all professional wizard options you can edit any prior records or create new ones...
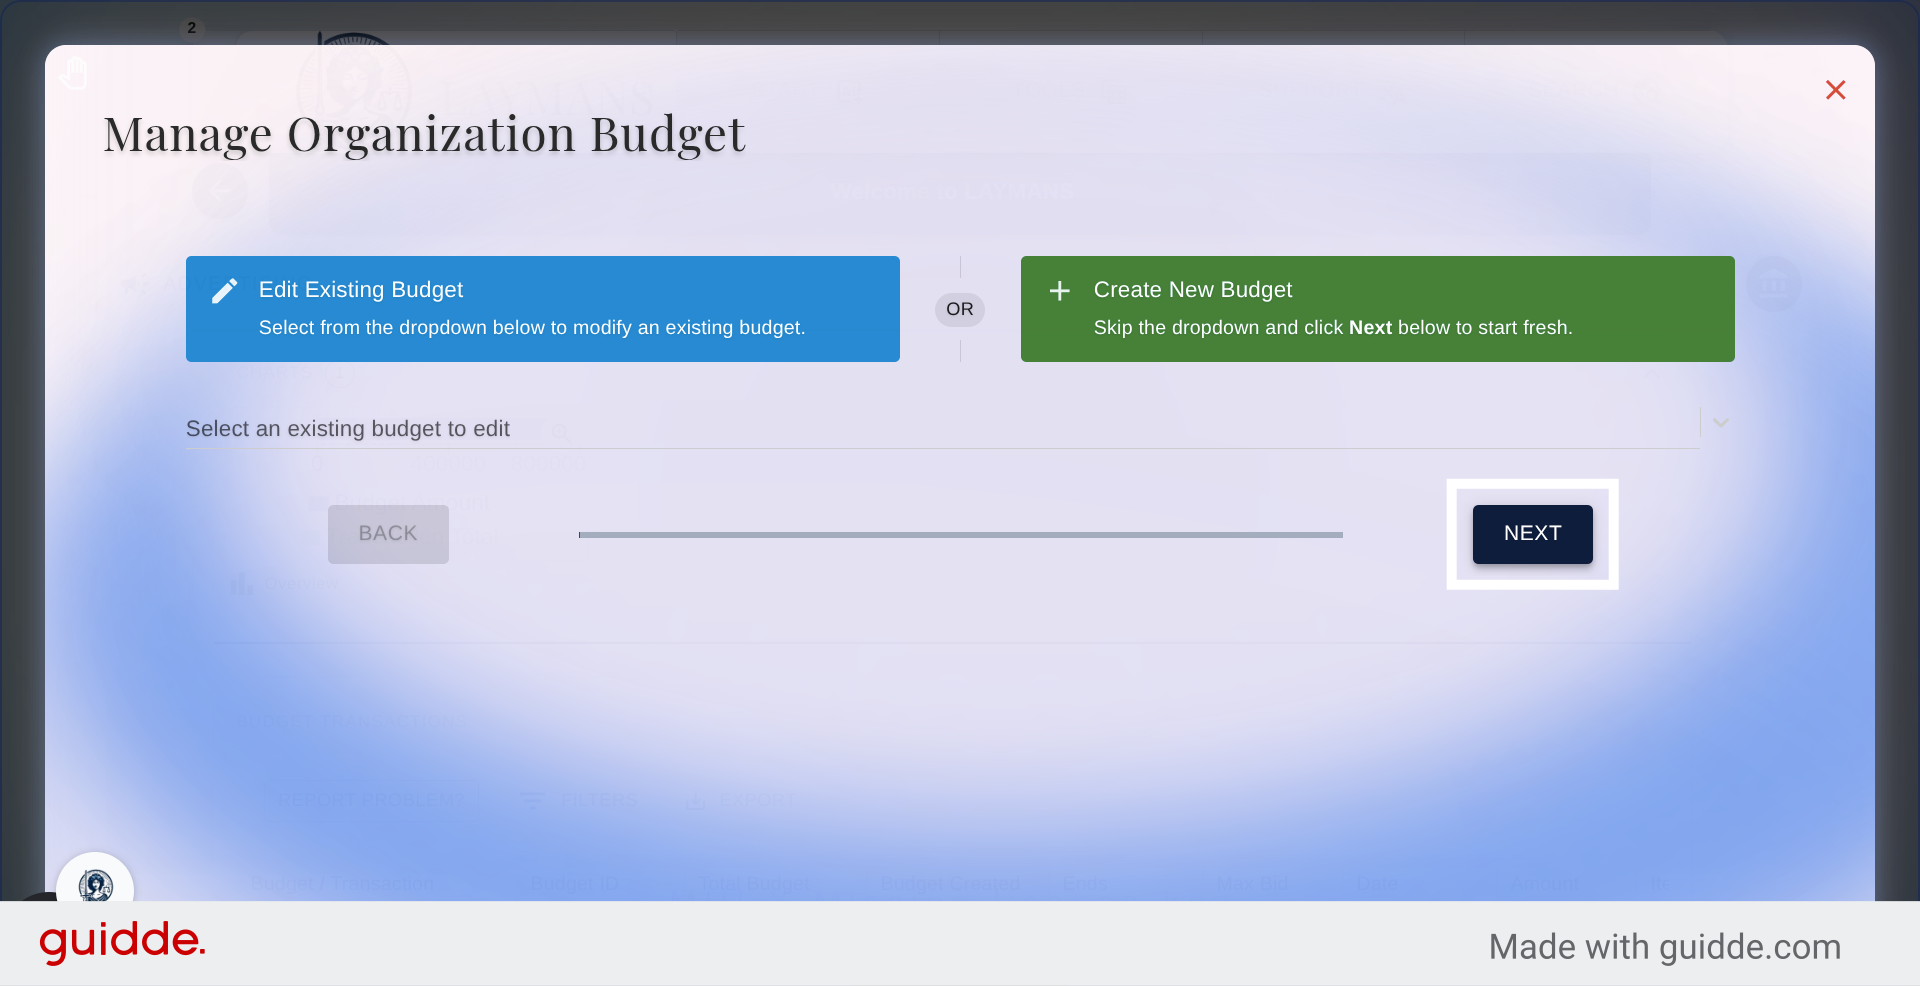
15. Proceed to Next Step
We'll create a new record
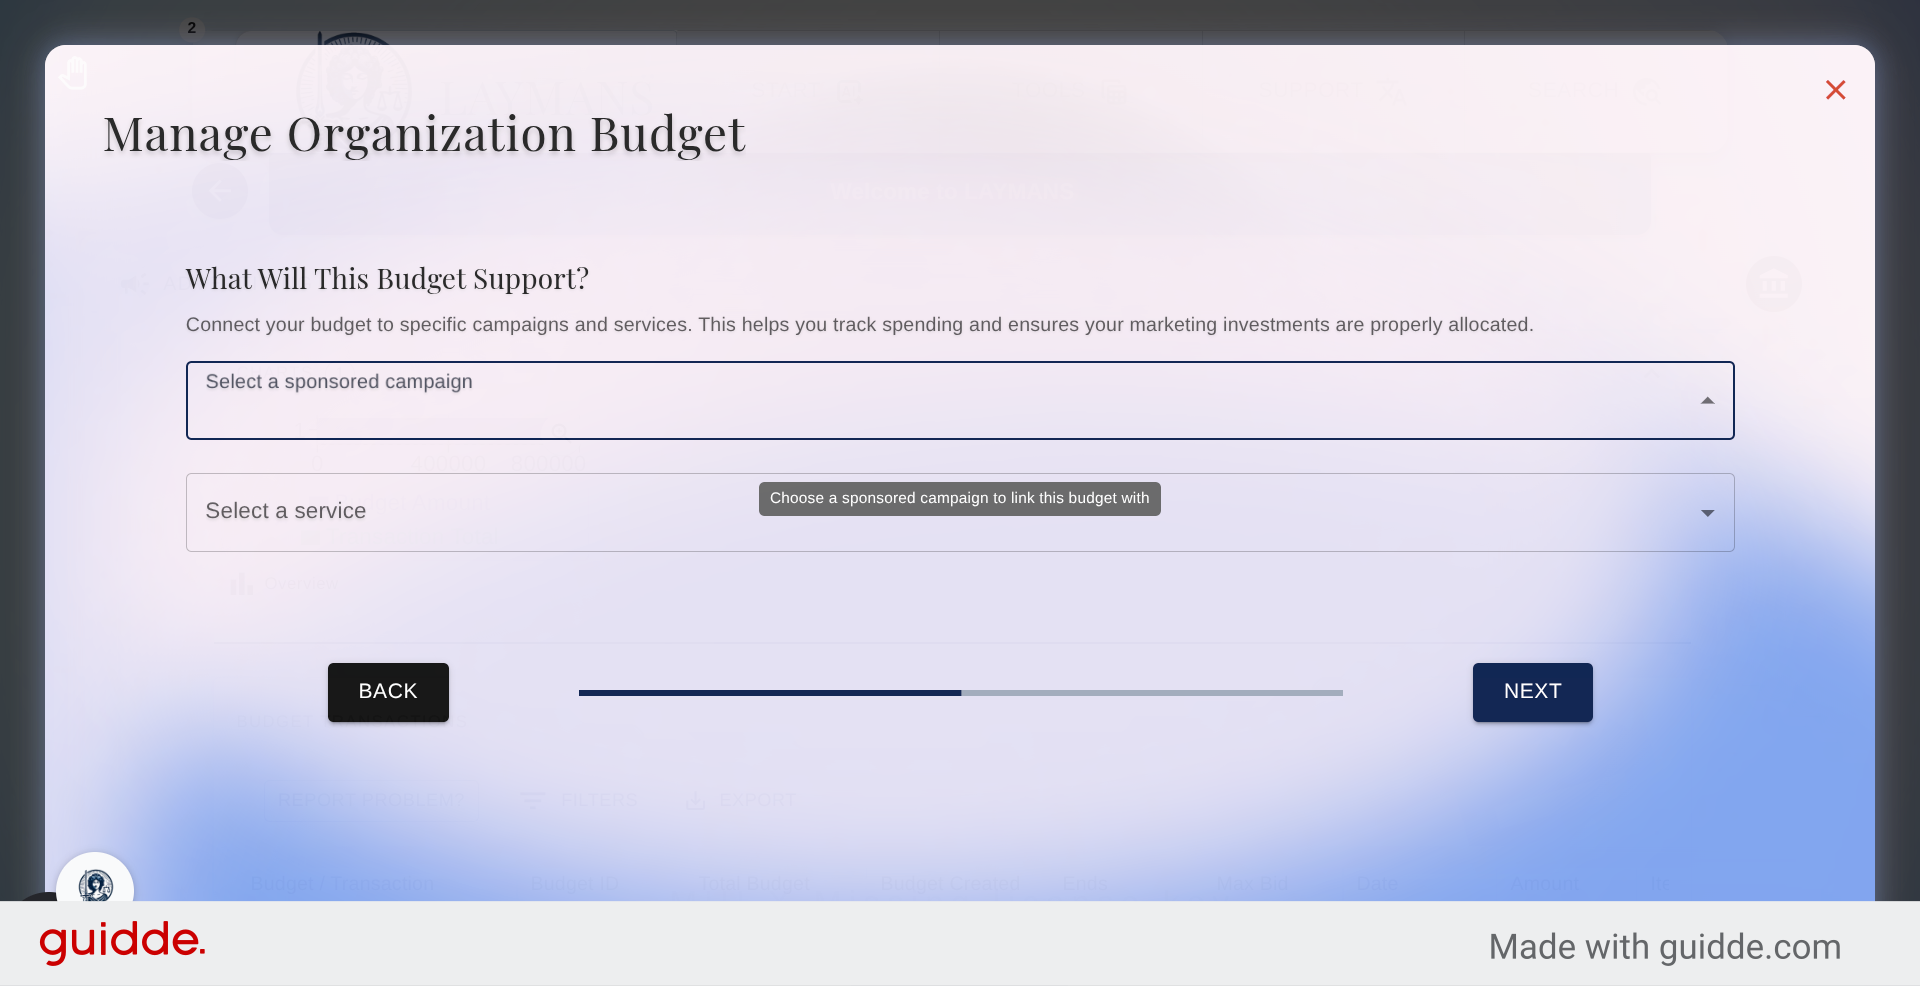
16. Interact with Budget Options
Here you can choose which post will be sponsored and which service it should connect to when interacted with.
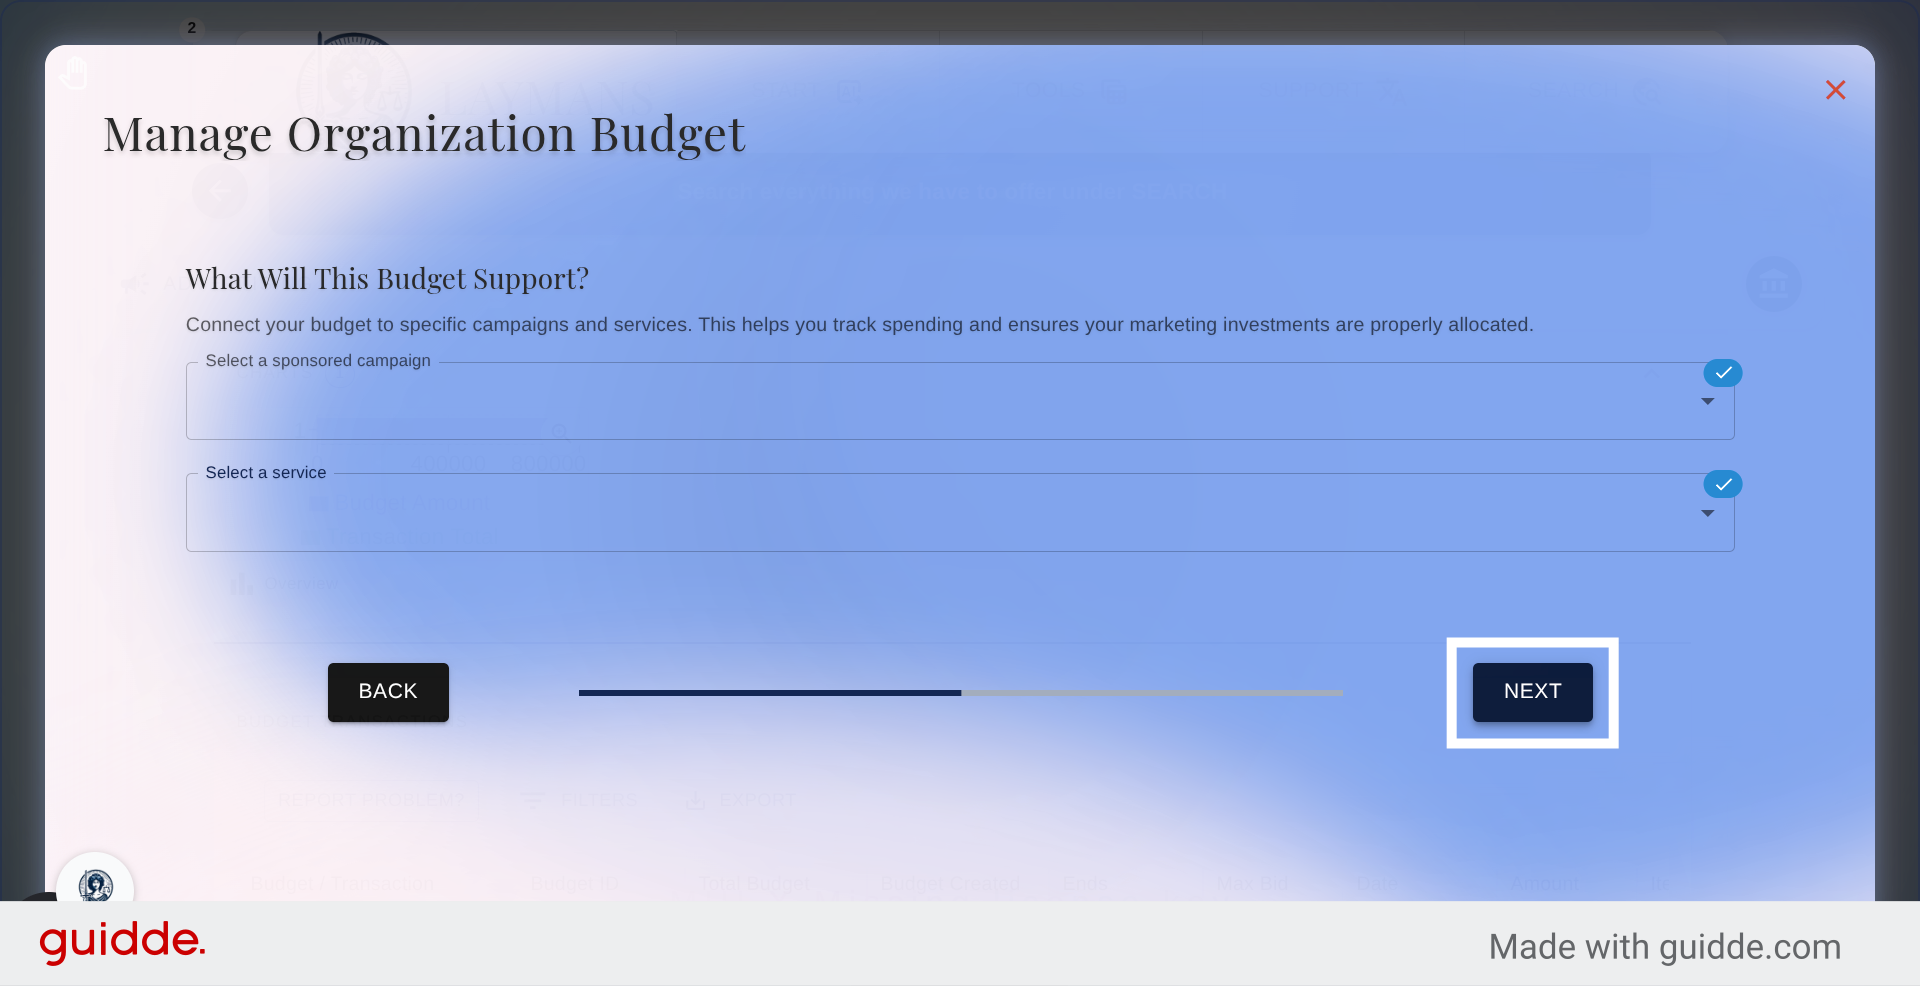
17. Continue to Budget Details
Once you've made your choices we can move on.
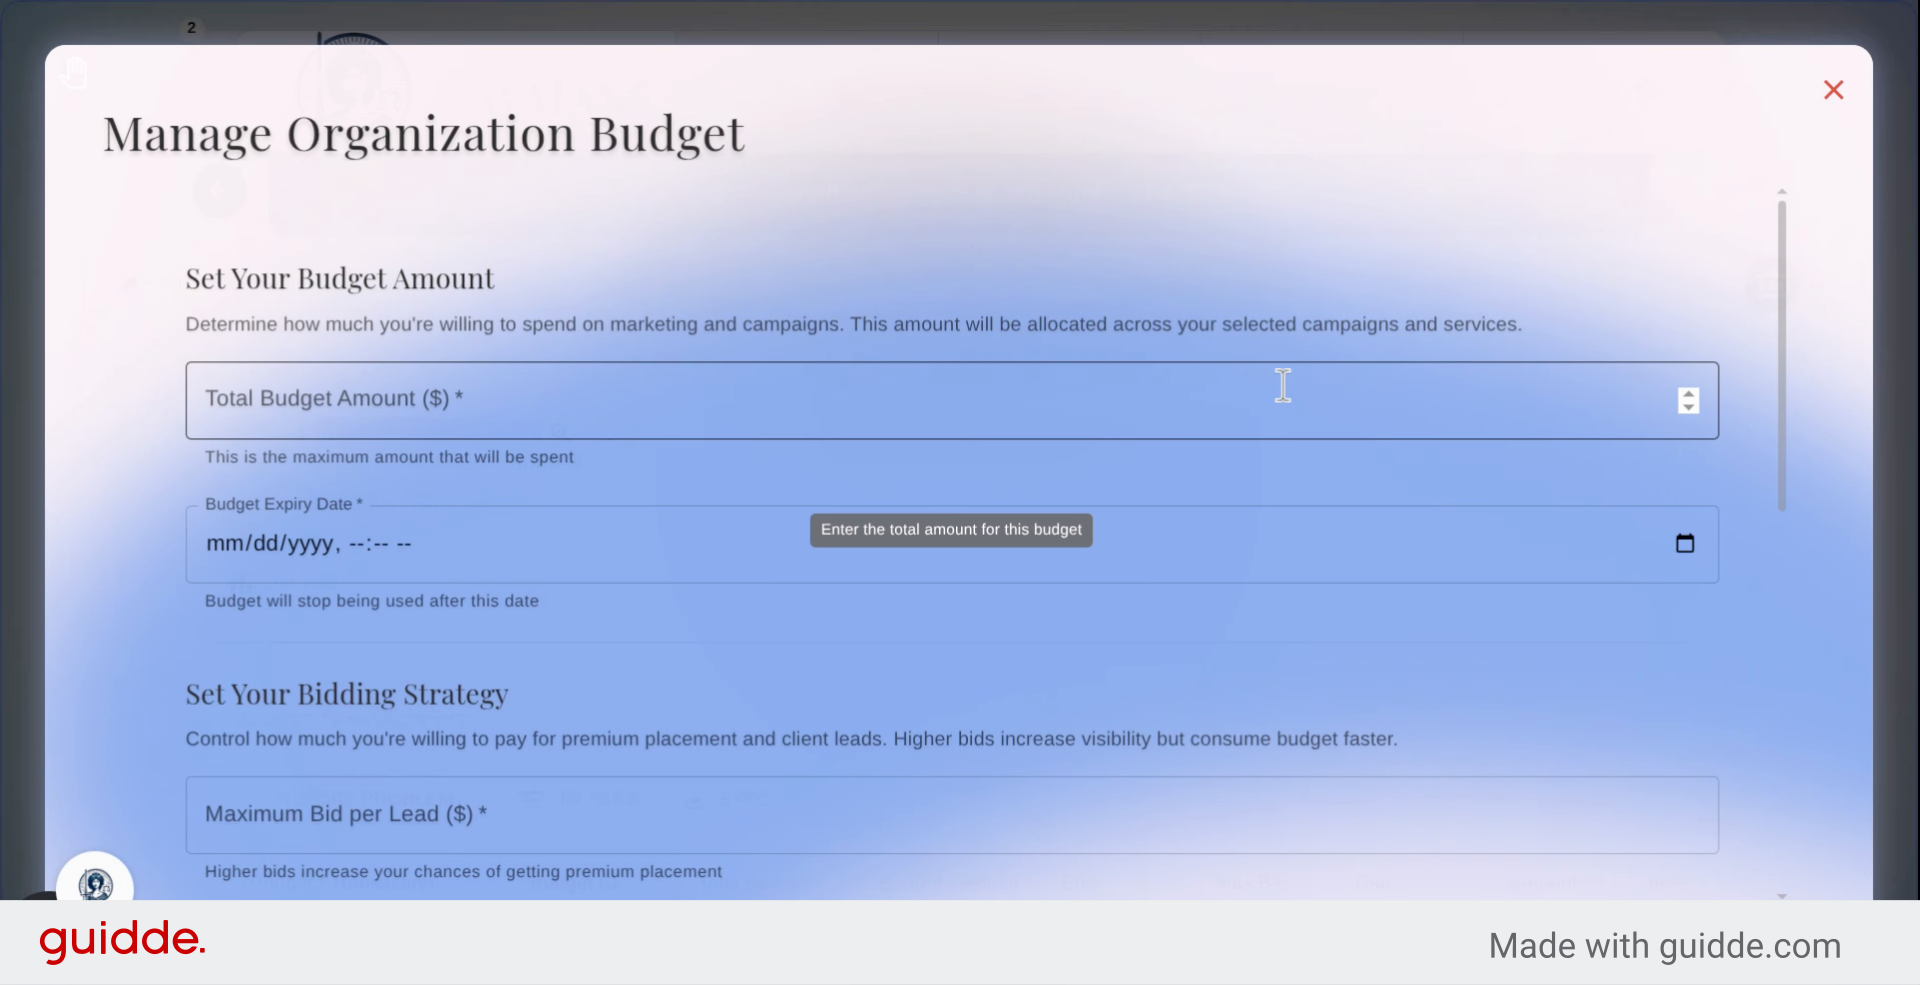
18. Enter Budget Amount
Then you must dedicate an amount for the adspend budget. We do not detract this amount immediately from your card on record. Instead we treat your budget as a pledge that this money is available for adspend and leads-generation. If we are unable to collect to the full amount while making transactions your sponsorship will end otherwise, you can end your sponsored campaign at any time by changing the budget end date.
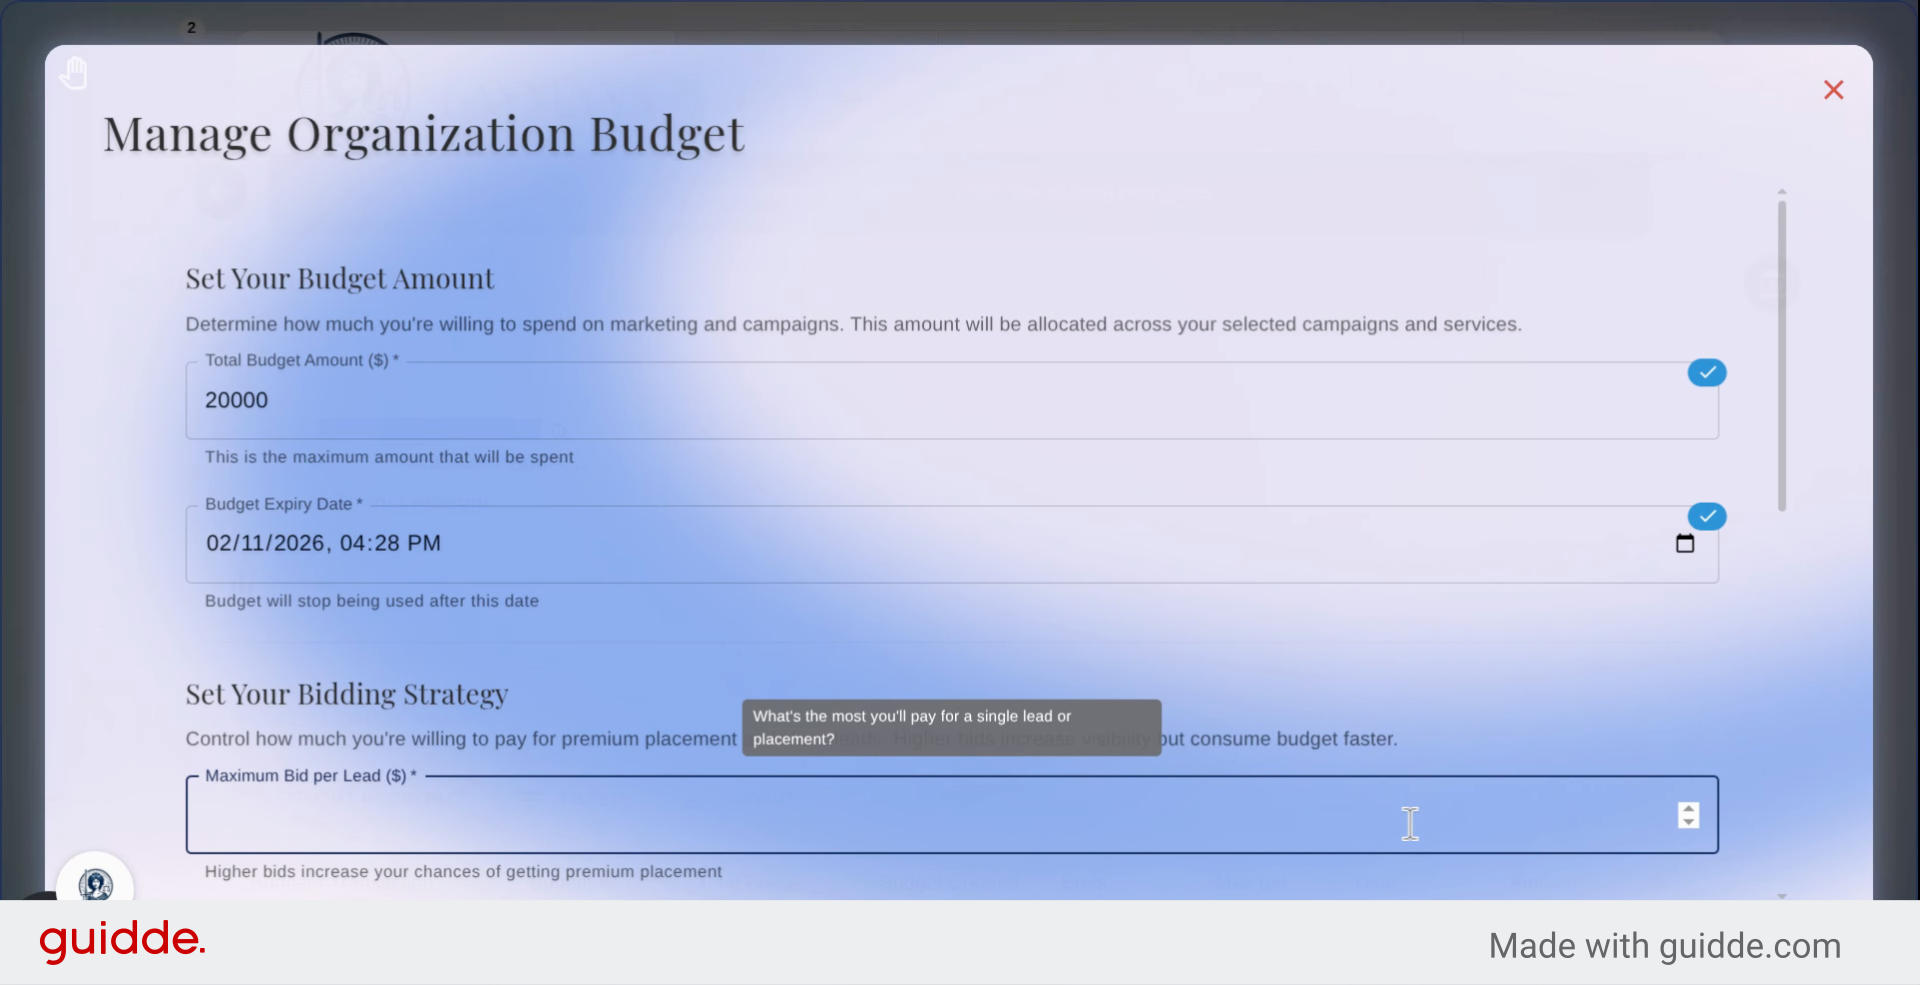
19. Set Budget Expiry Date
Then set a date for the Budget to End, this will be the end of the sponsoring of your content regardless of how much has been charged over time. This is not required.

20. Enter Maximum Bid Amount
Then place a maximum bid amount, this is the amount we will never charge above per instance of sponsoring your content to a user to be viewed. This determines what time windows your content will be sponsored for.
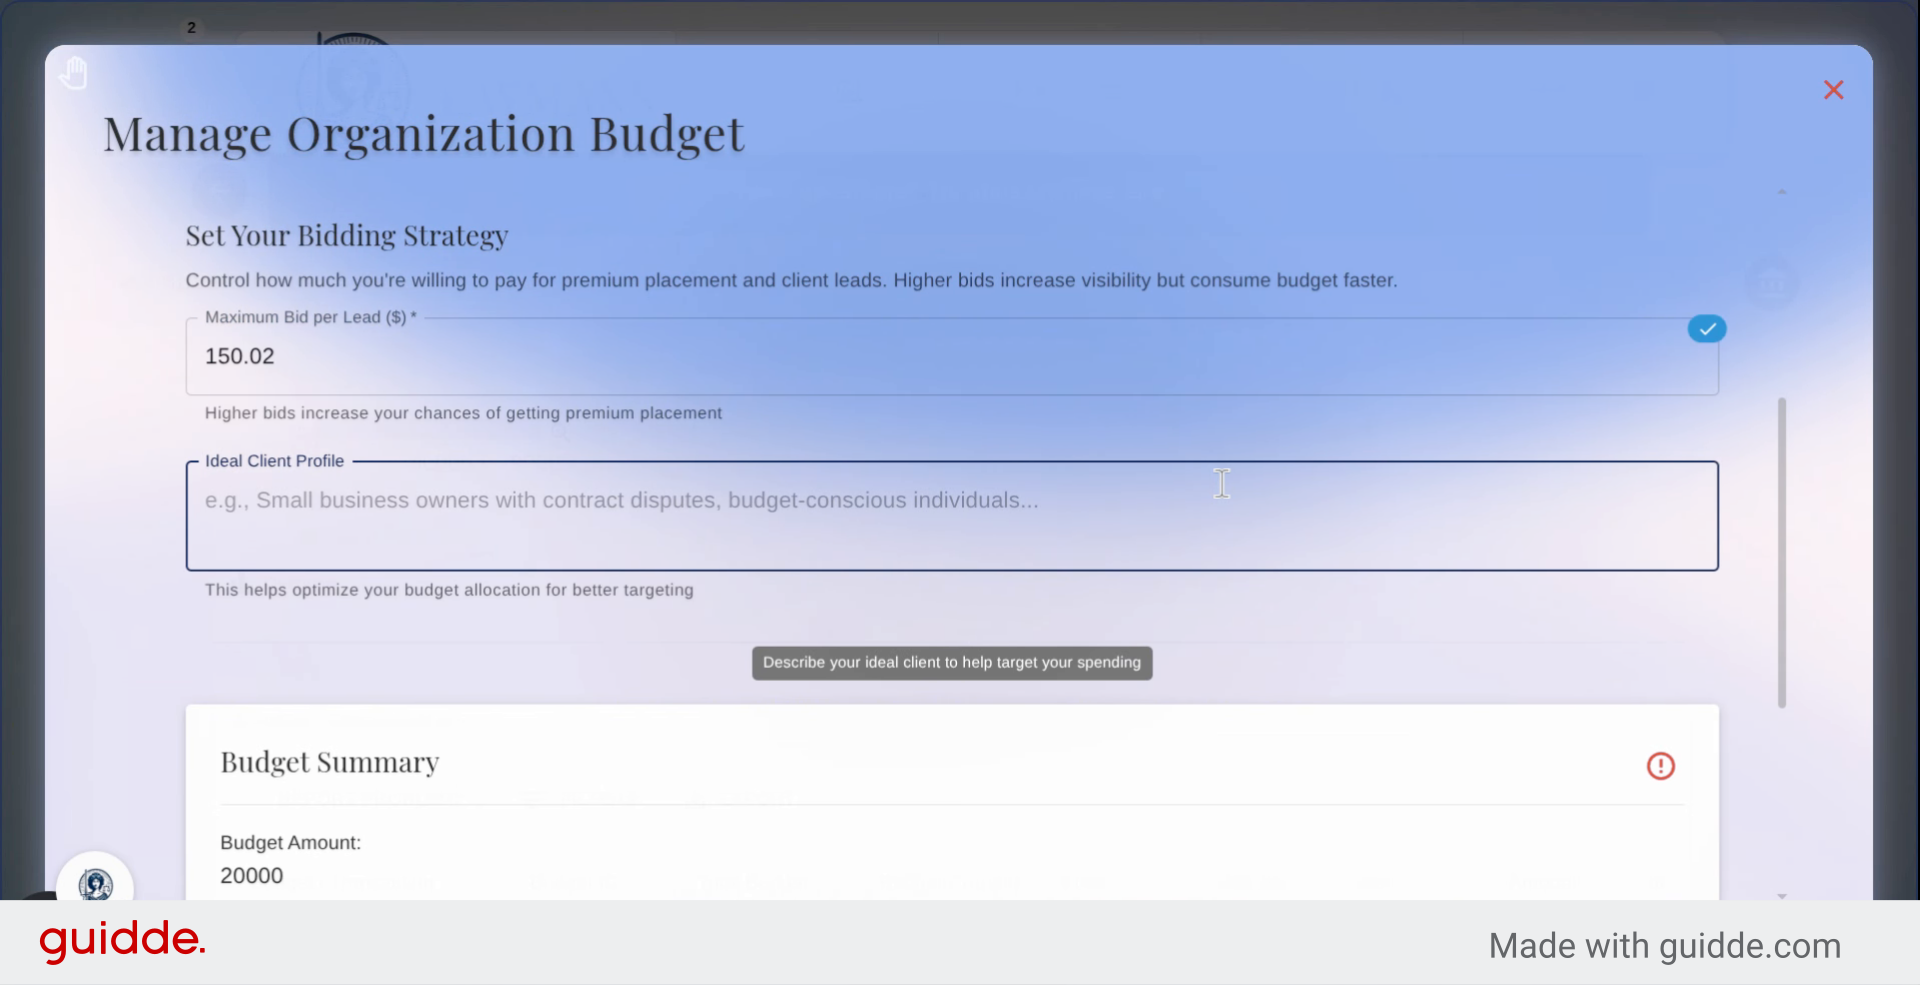
21. Specify Client Profile
When we try to create client profiles and match your content to appropriate future clients we'll do our best to fit your client profile. This is especially relevant when we package and email incoming potential clients to your organization directly. You can learn about tailored lead-gen in the corresponding guide.
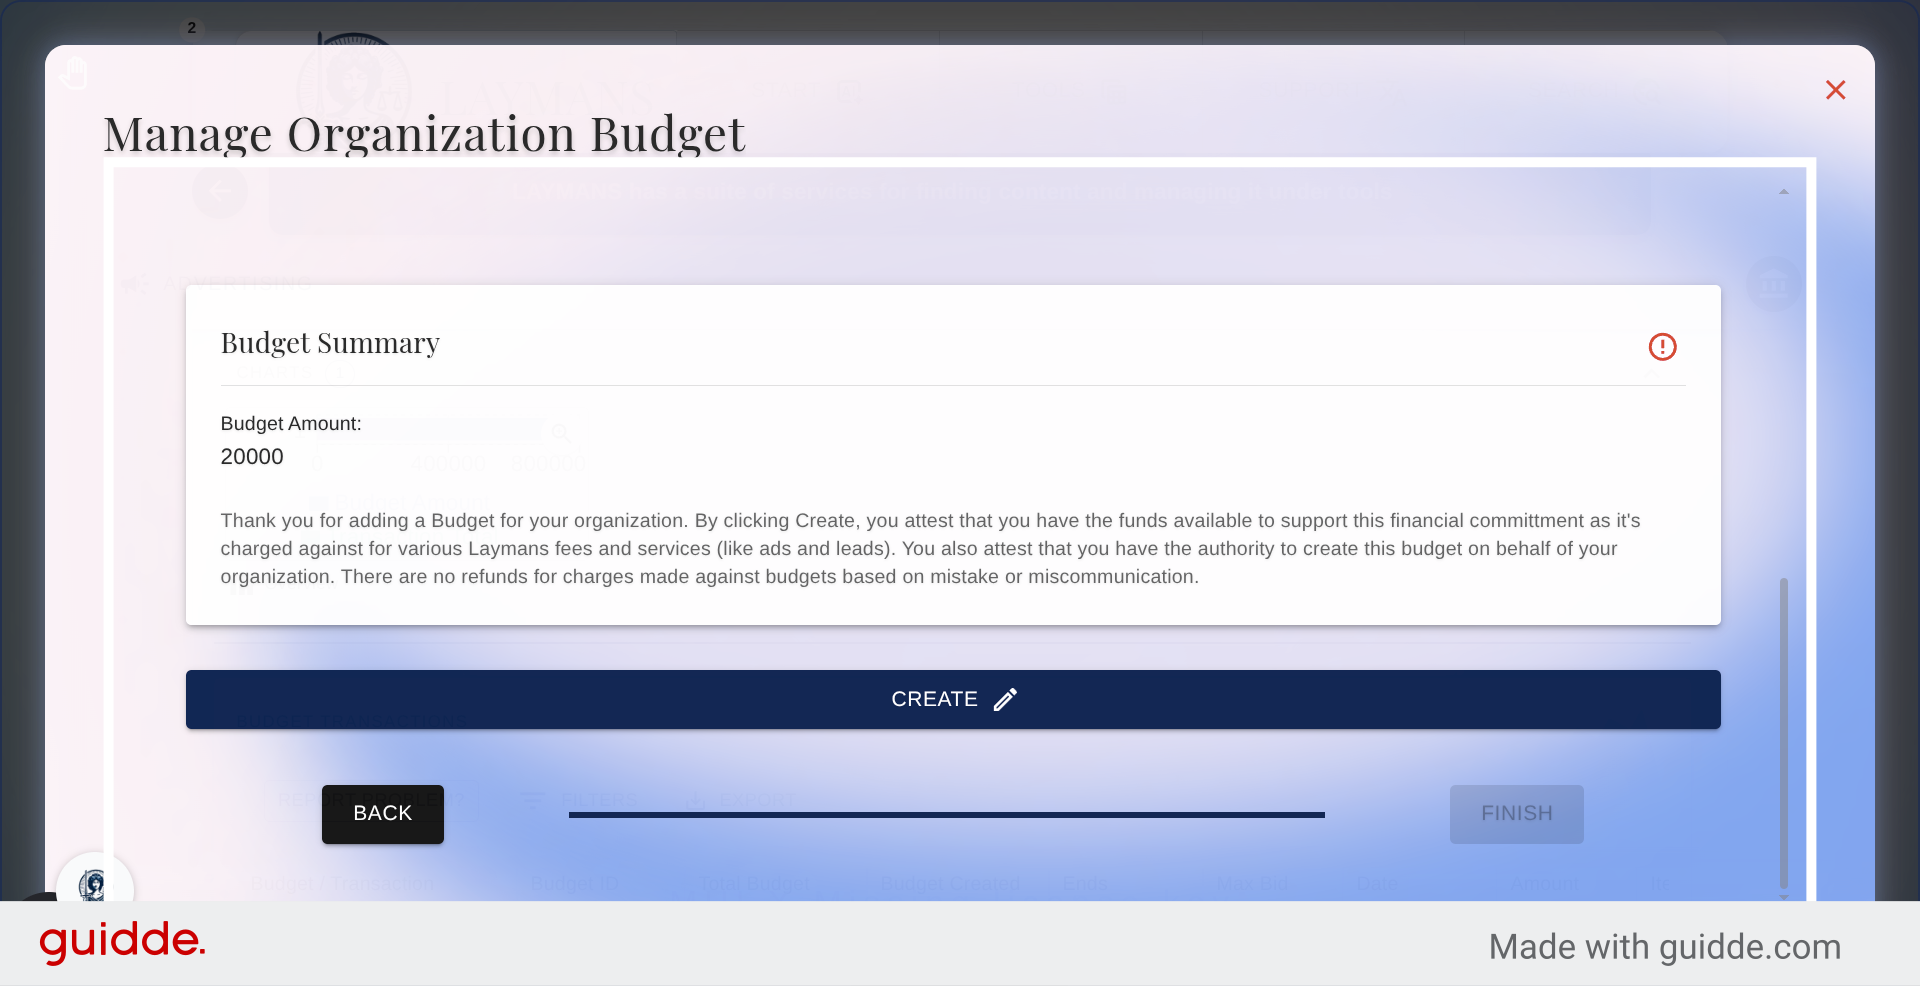
22. Finalize Campaign Setup
Now you've made your first ad campaign on Laymans. Click Create to create the campaign and we'll briefly review your messaging to make sure it complies with our Terms of Service and you'll soon be live! You can go back to this Dashboard at any time to end, change bid pricing, target population, and sponsored content at any time.