Build your case with our AI-native Text Editor on Laymans
Go to www.laymans.app
1. Introduction
The last option for building your case is to write it with our text editor. You have to have created your case record first (review the how to start a case on the Layman's Guide) to be able to write it. Our Text Editor is state of the art for legal drafting, secure, collaborative, and integrates deeply with both Laymans and me—Layla, Layman's AI.
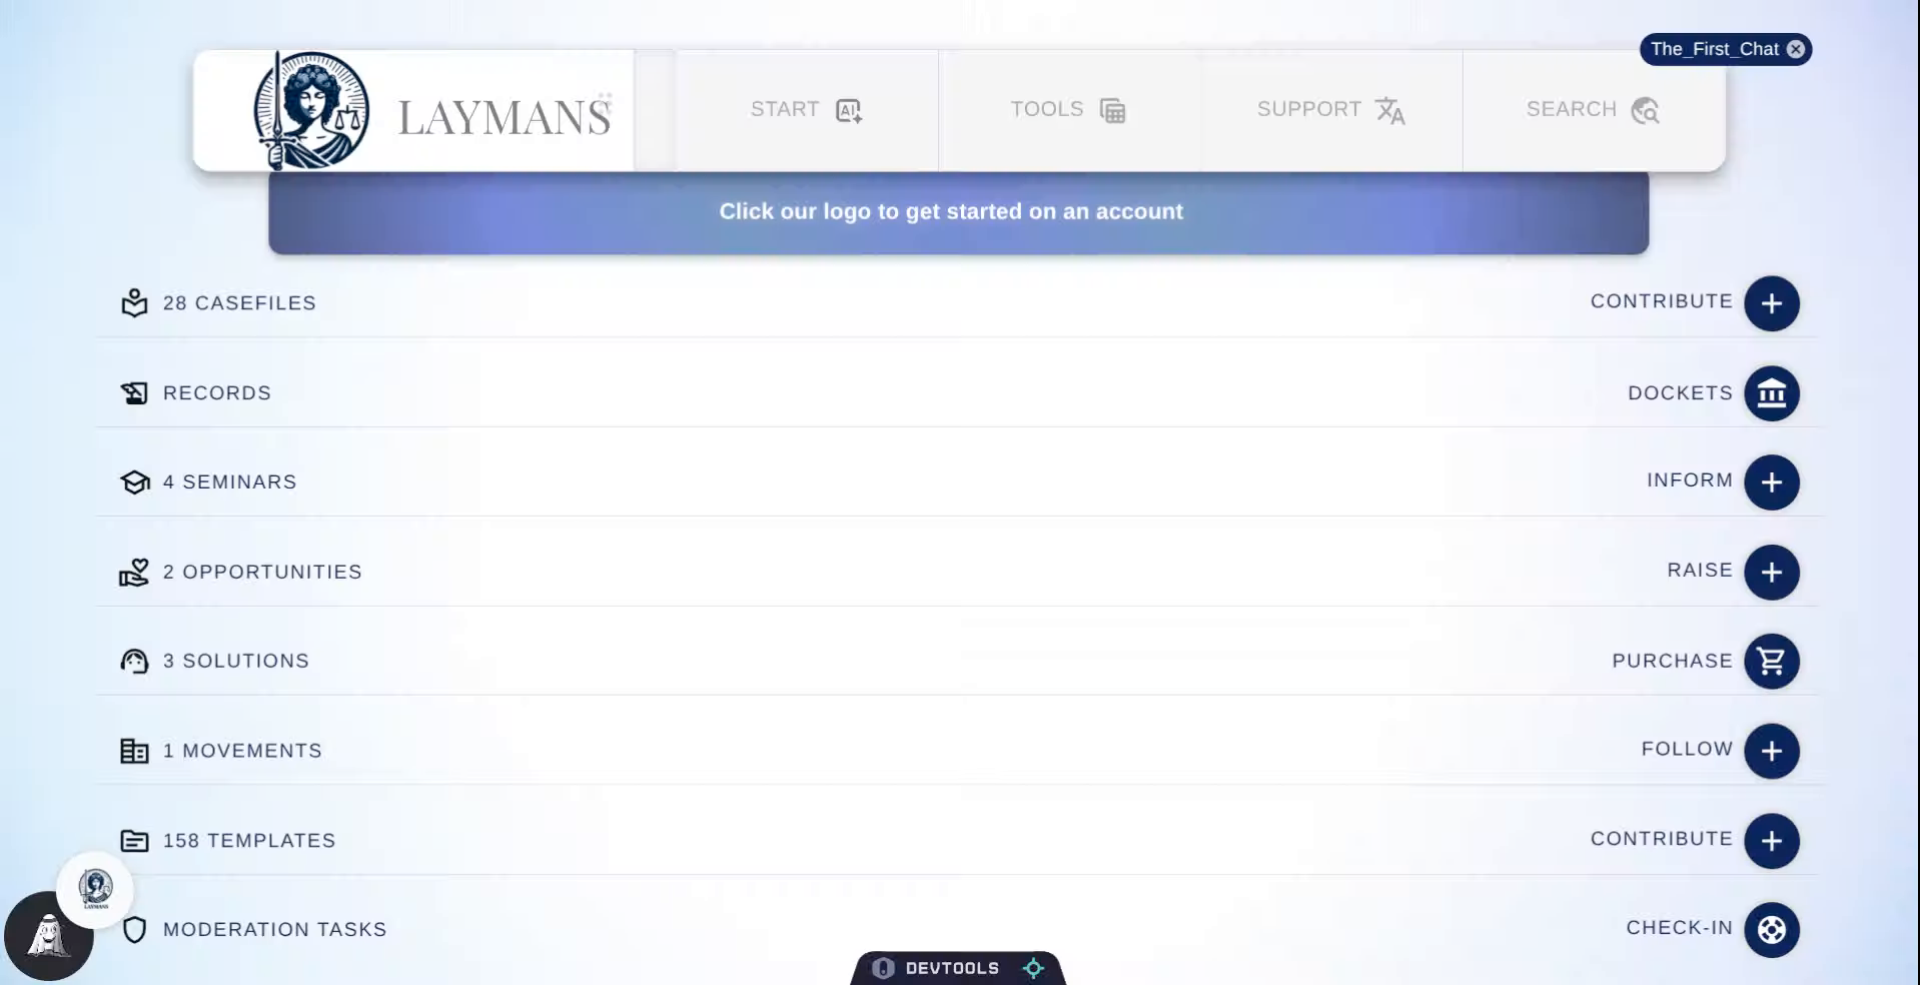
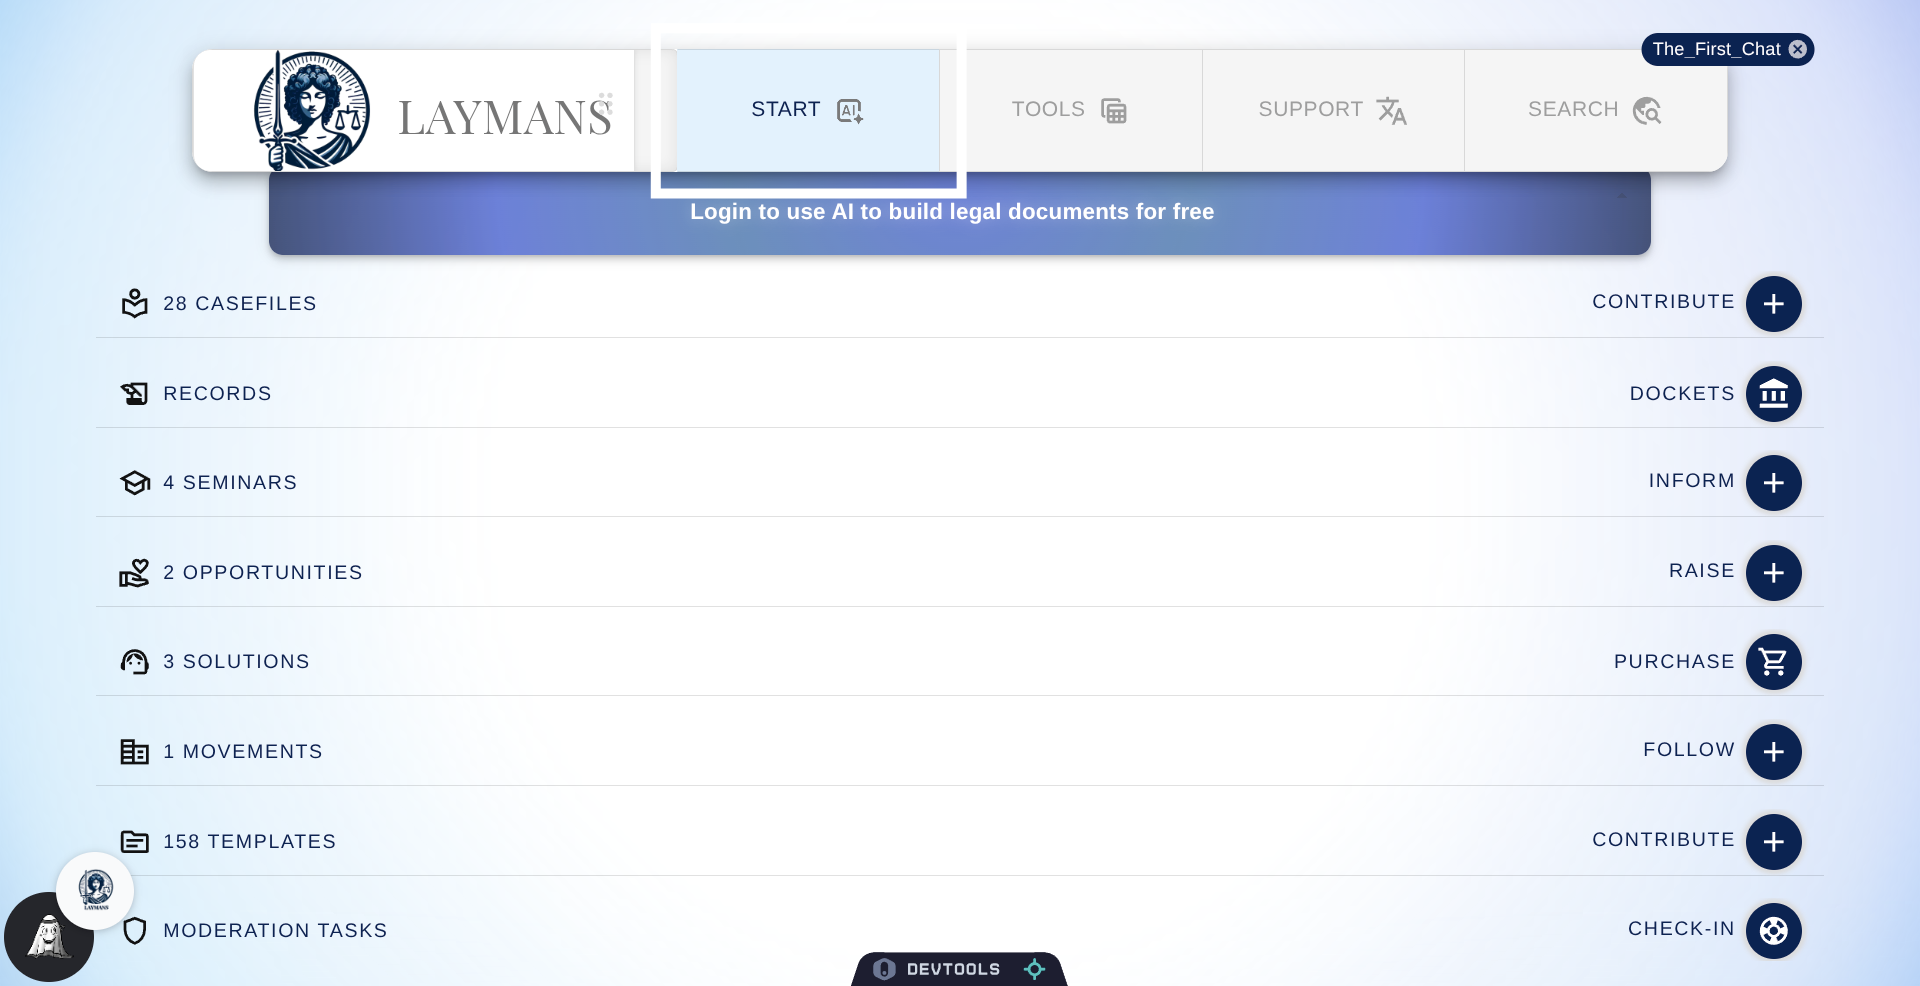
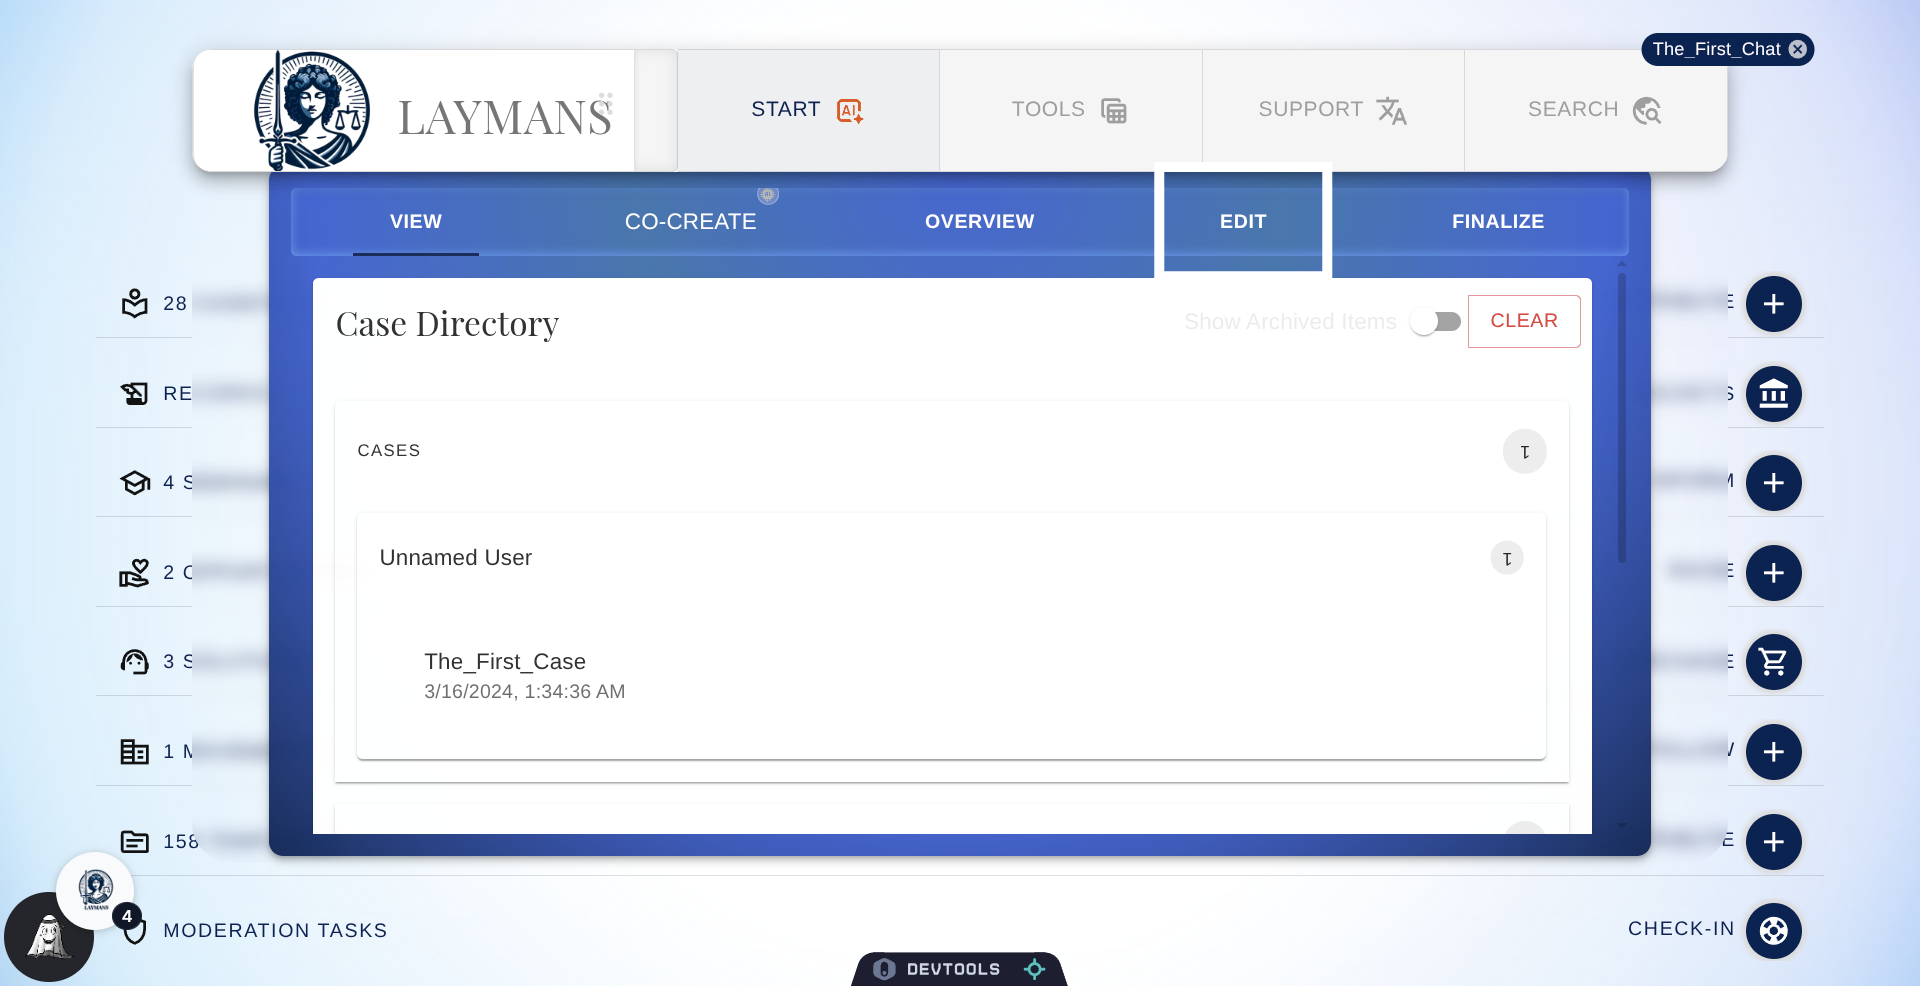
2. Click Start Button
To get to the Text Editor first click the start button.
3. Open Specific Case
Then you're going to click accordions until you get to the case you want to work on, unless the case is already set -- i.e., there's a Blue Chip on the top-right of the power bar.
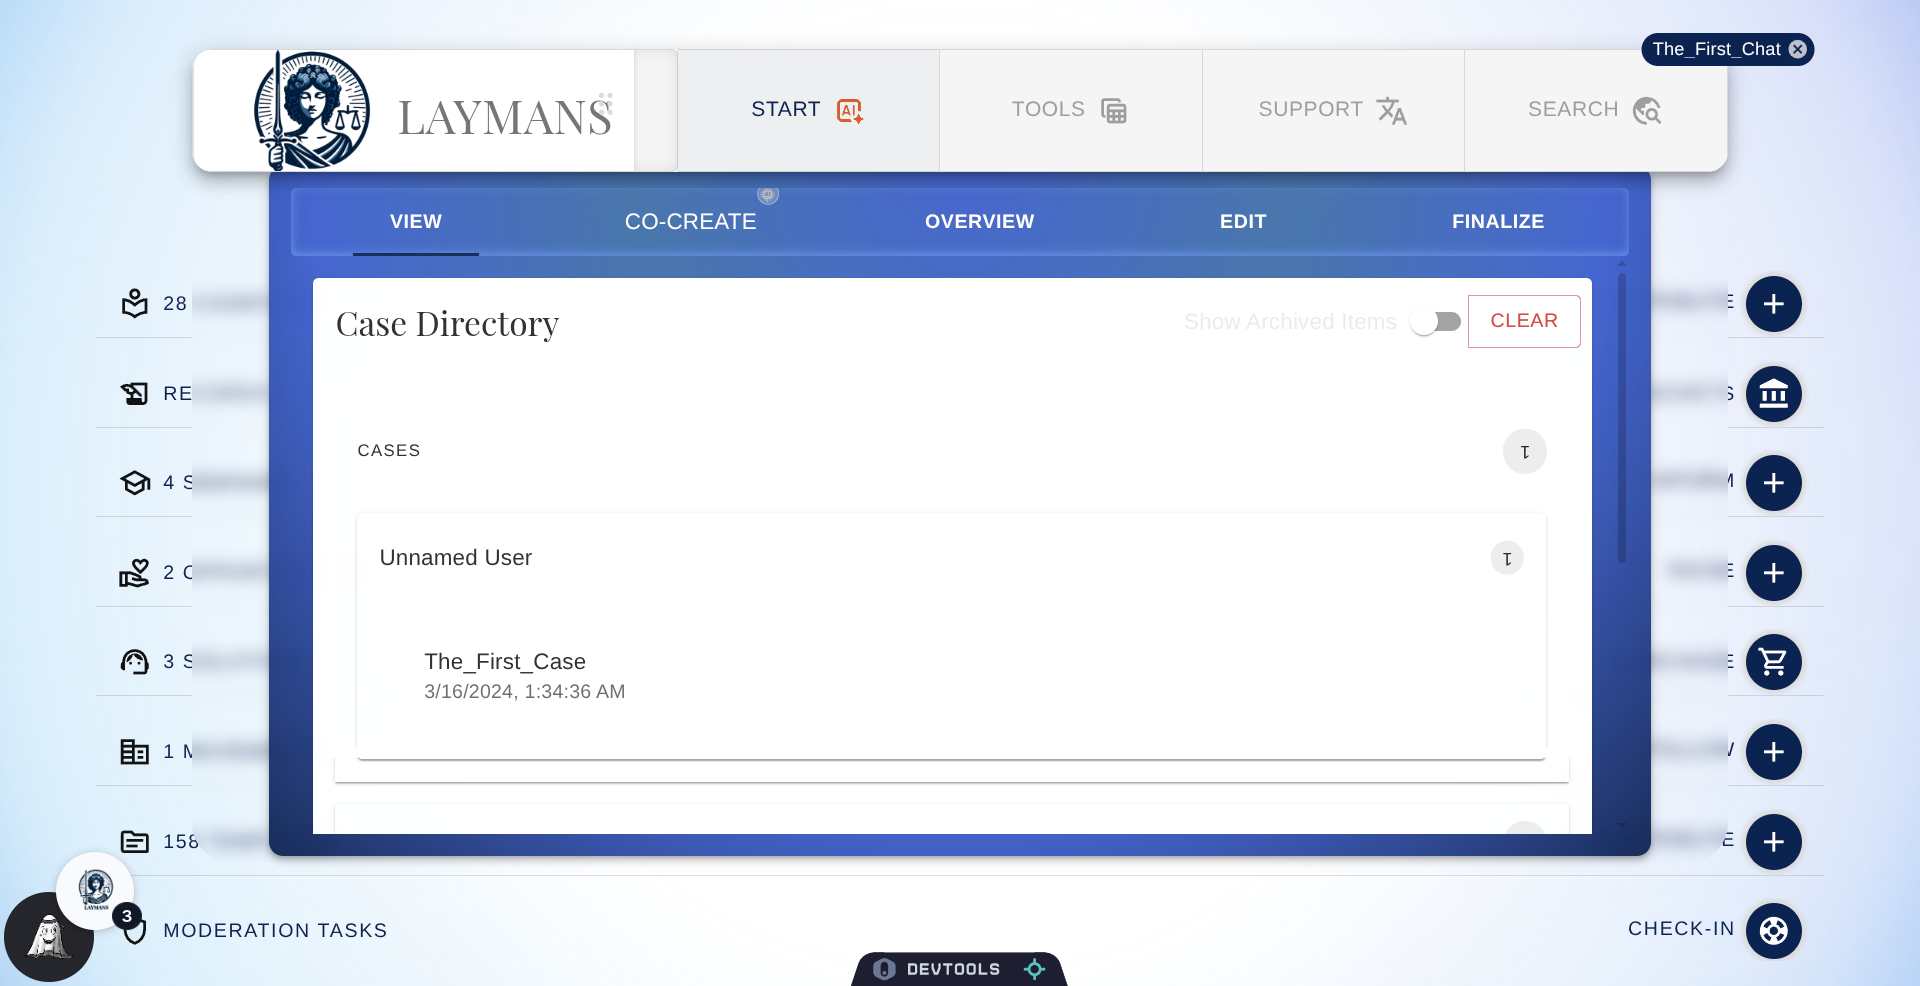
4. Enter Edit Mode
To open the Text Editor click "Edit" under "Start" in the power bar.
5. Enter Case Letter Template
You came in just as I was in the middle of some AI edits. The majority of the letter was already drafted by me—Layman's AI—from our conversation in "How to Build a Case with AI." Since we're already here, we're just going to correct the text and put in some fields for me to fill.
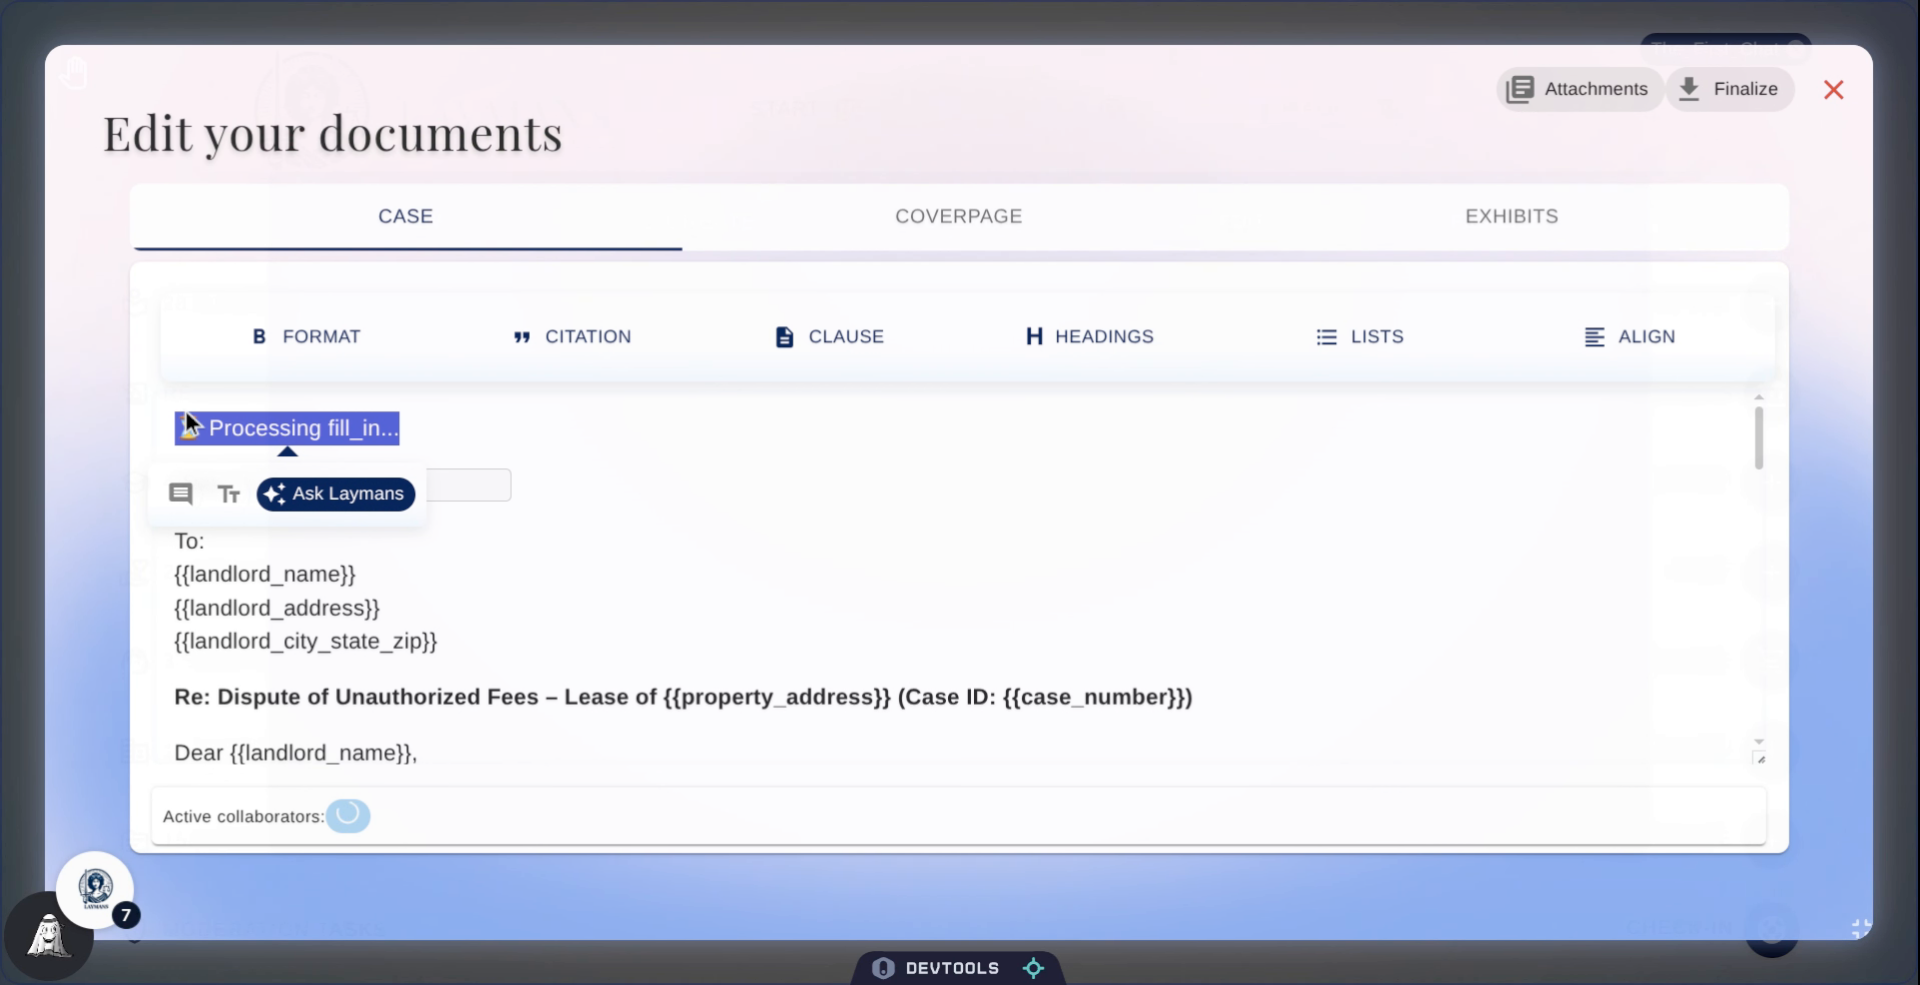
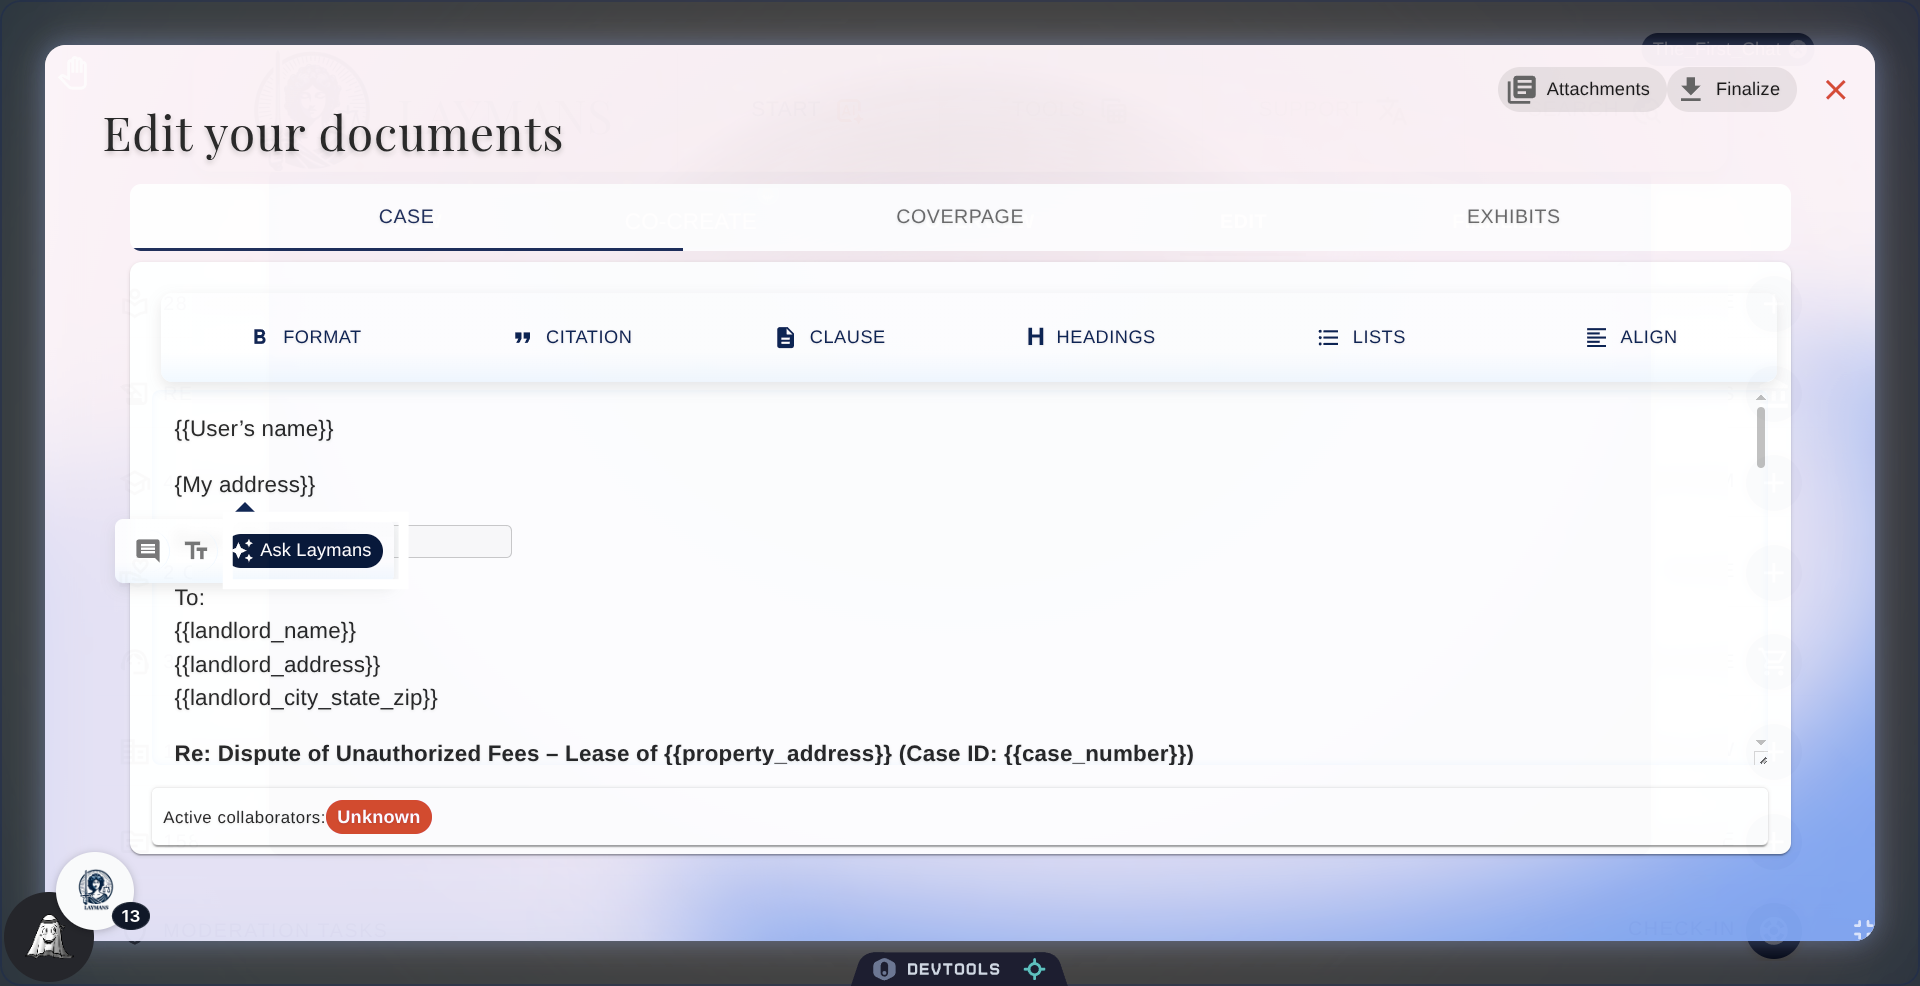
6. Select Text and Click "Ask Laymans"
Once that's done, lets open the AI methods popover. Select the text you want to change, and then click "Ask Laymans."
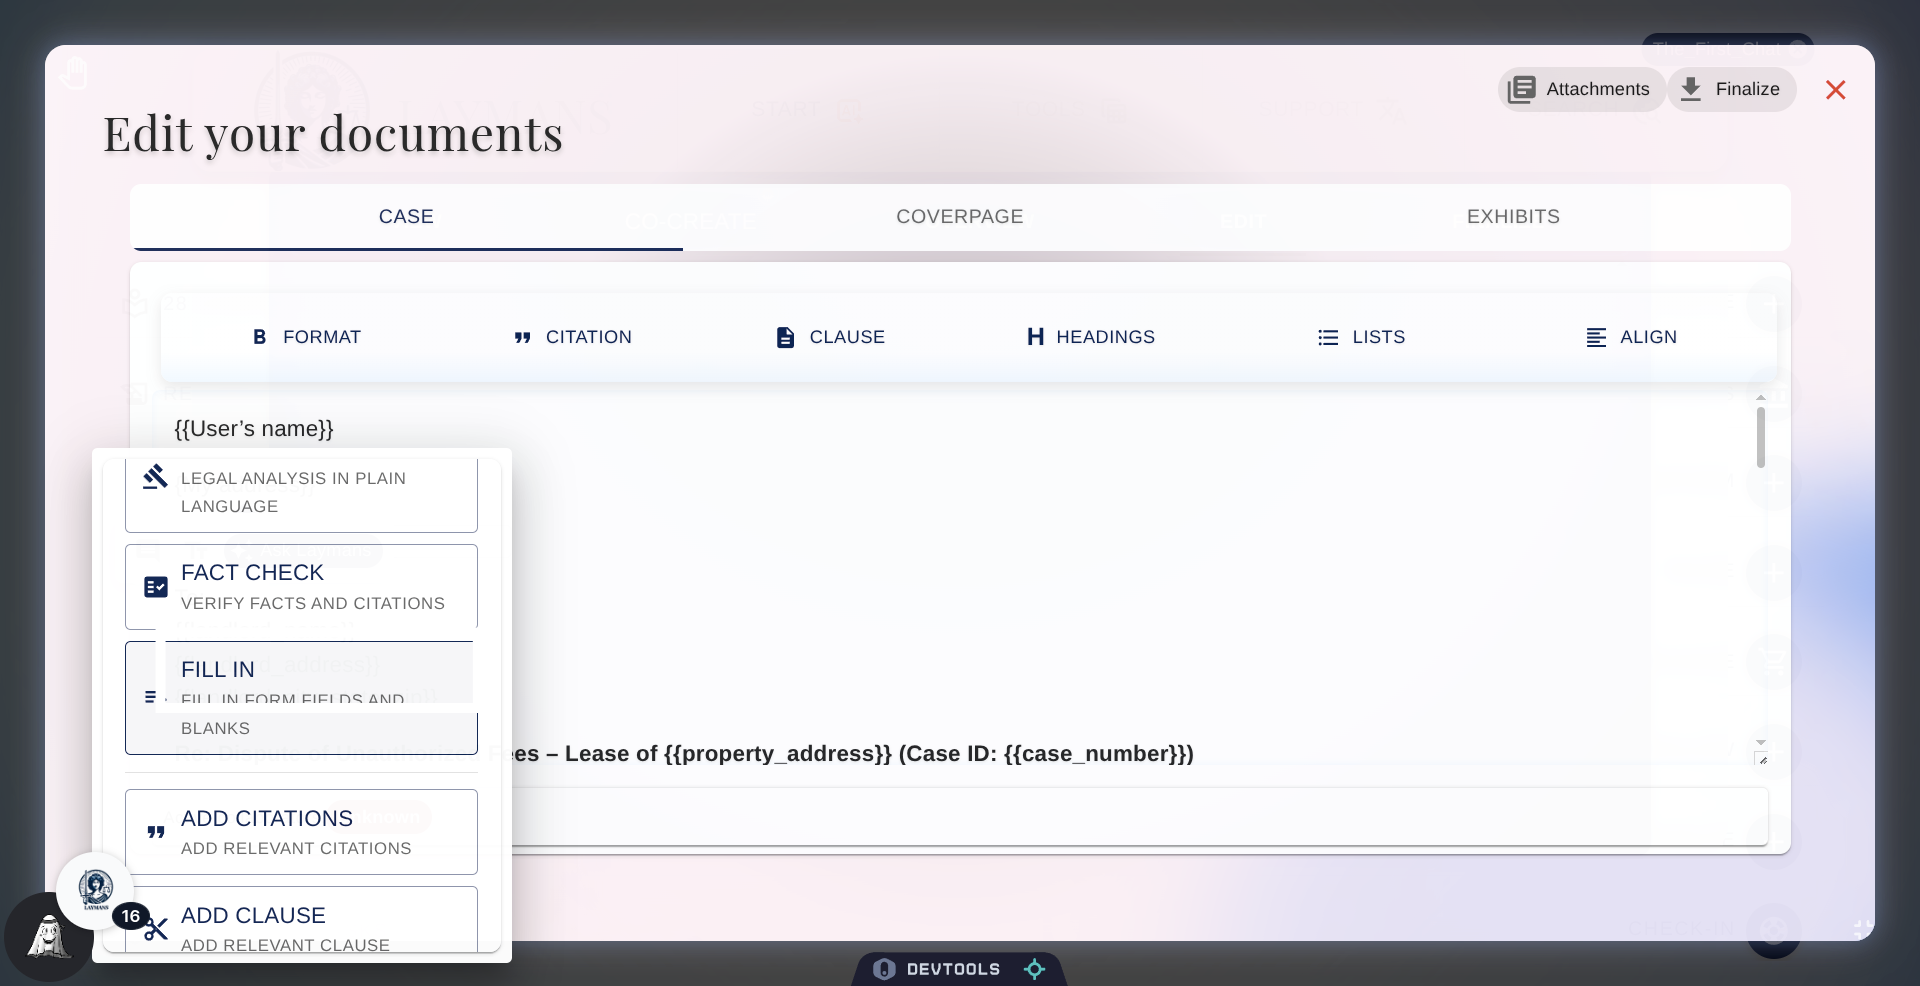
7. The AI Editor Options
So yes, you can talk to me, the exact same model, from co-create, now in the text editor. Let me go over the available options; I can enhance, analyze, and fact-check text. When enhancing, I try to make your voice sound more legal; in analyze I attempt to add some analysis to the fact you're asserting; and in factcheck I use your case records to check if what you're saying is true and add citations!
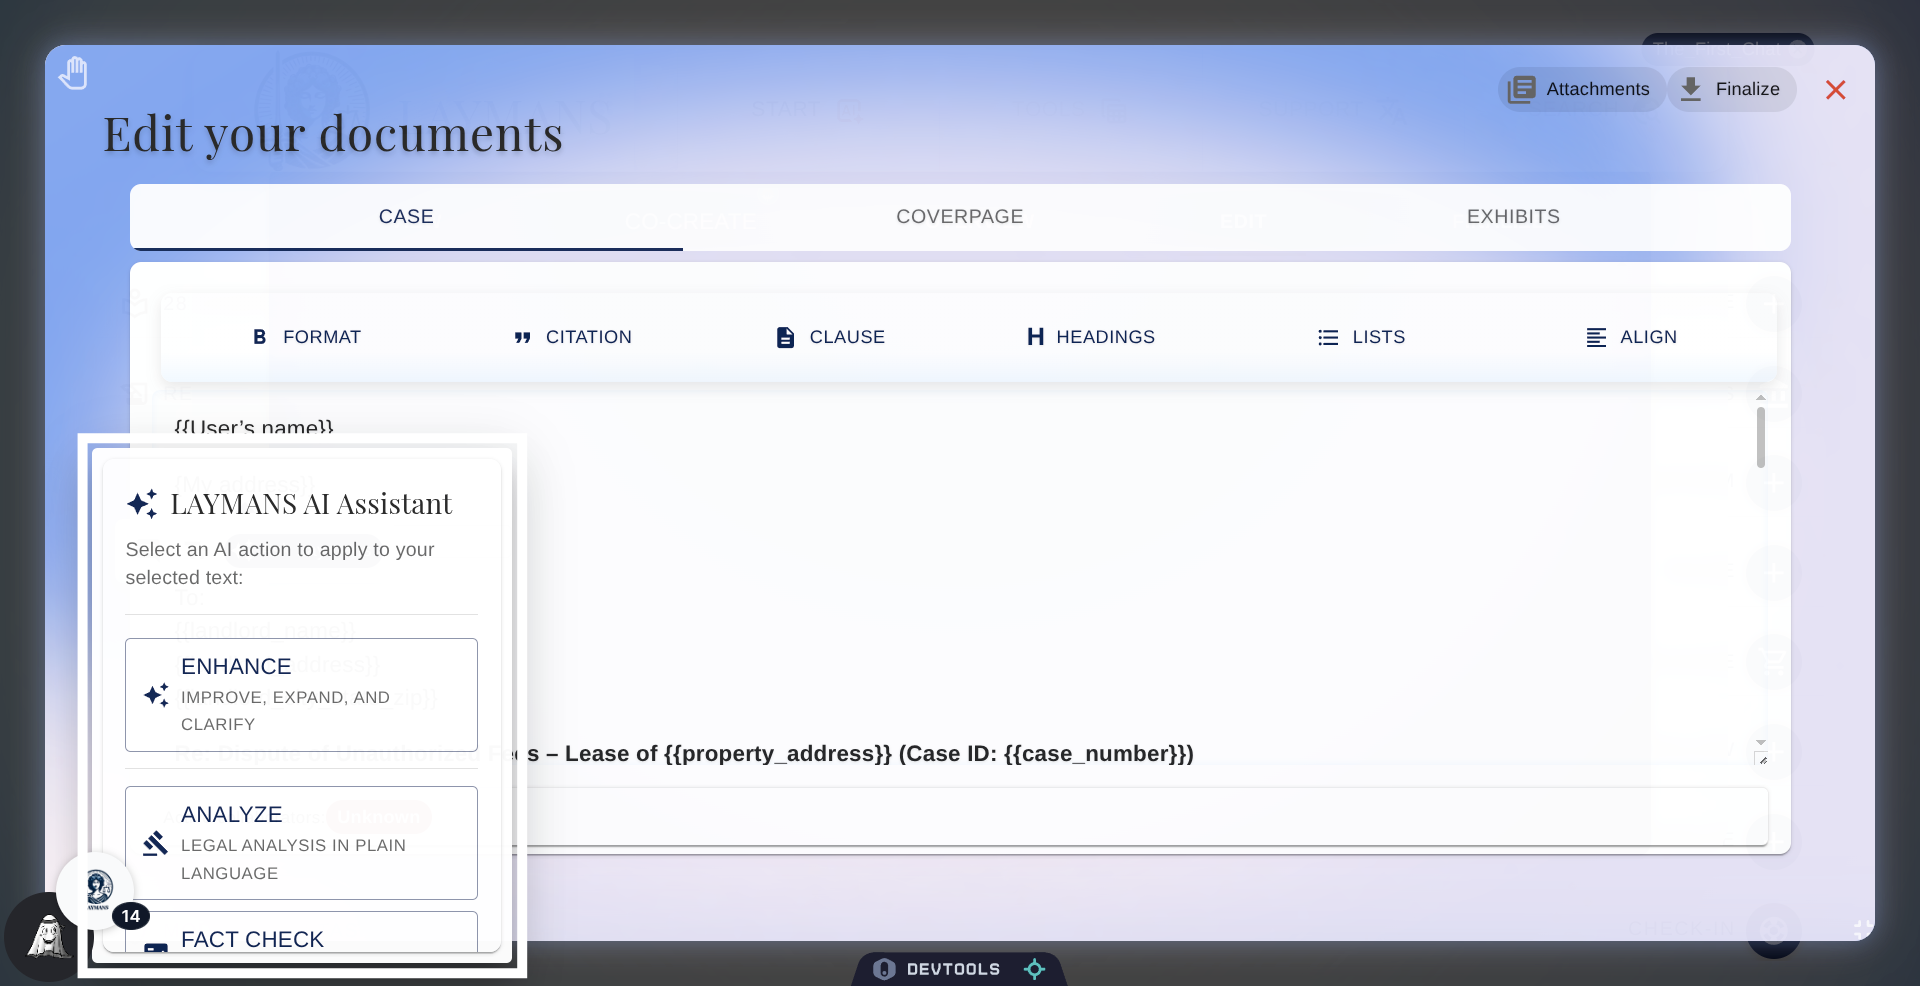
8. Scroll down on AI Actions
That's not all! I can do direct fill-in tasks, like filling in fields, adding citations for statements you've made, adding clauses from our repository, and adding templates from the Laymans system. My deep integration with Laymans means that the citations are from real resources cross-referenced against CourtListener, my clauses are real lawyer-made clauses from Laymans, and our templates are lawyer-built templates ready to edit and use. We'll come back to adding resources in the text editor in a minute.
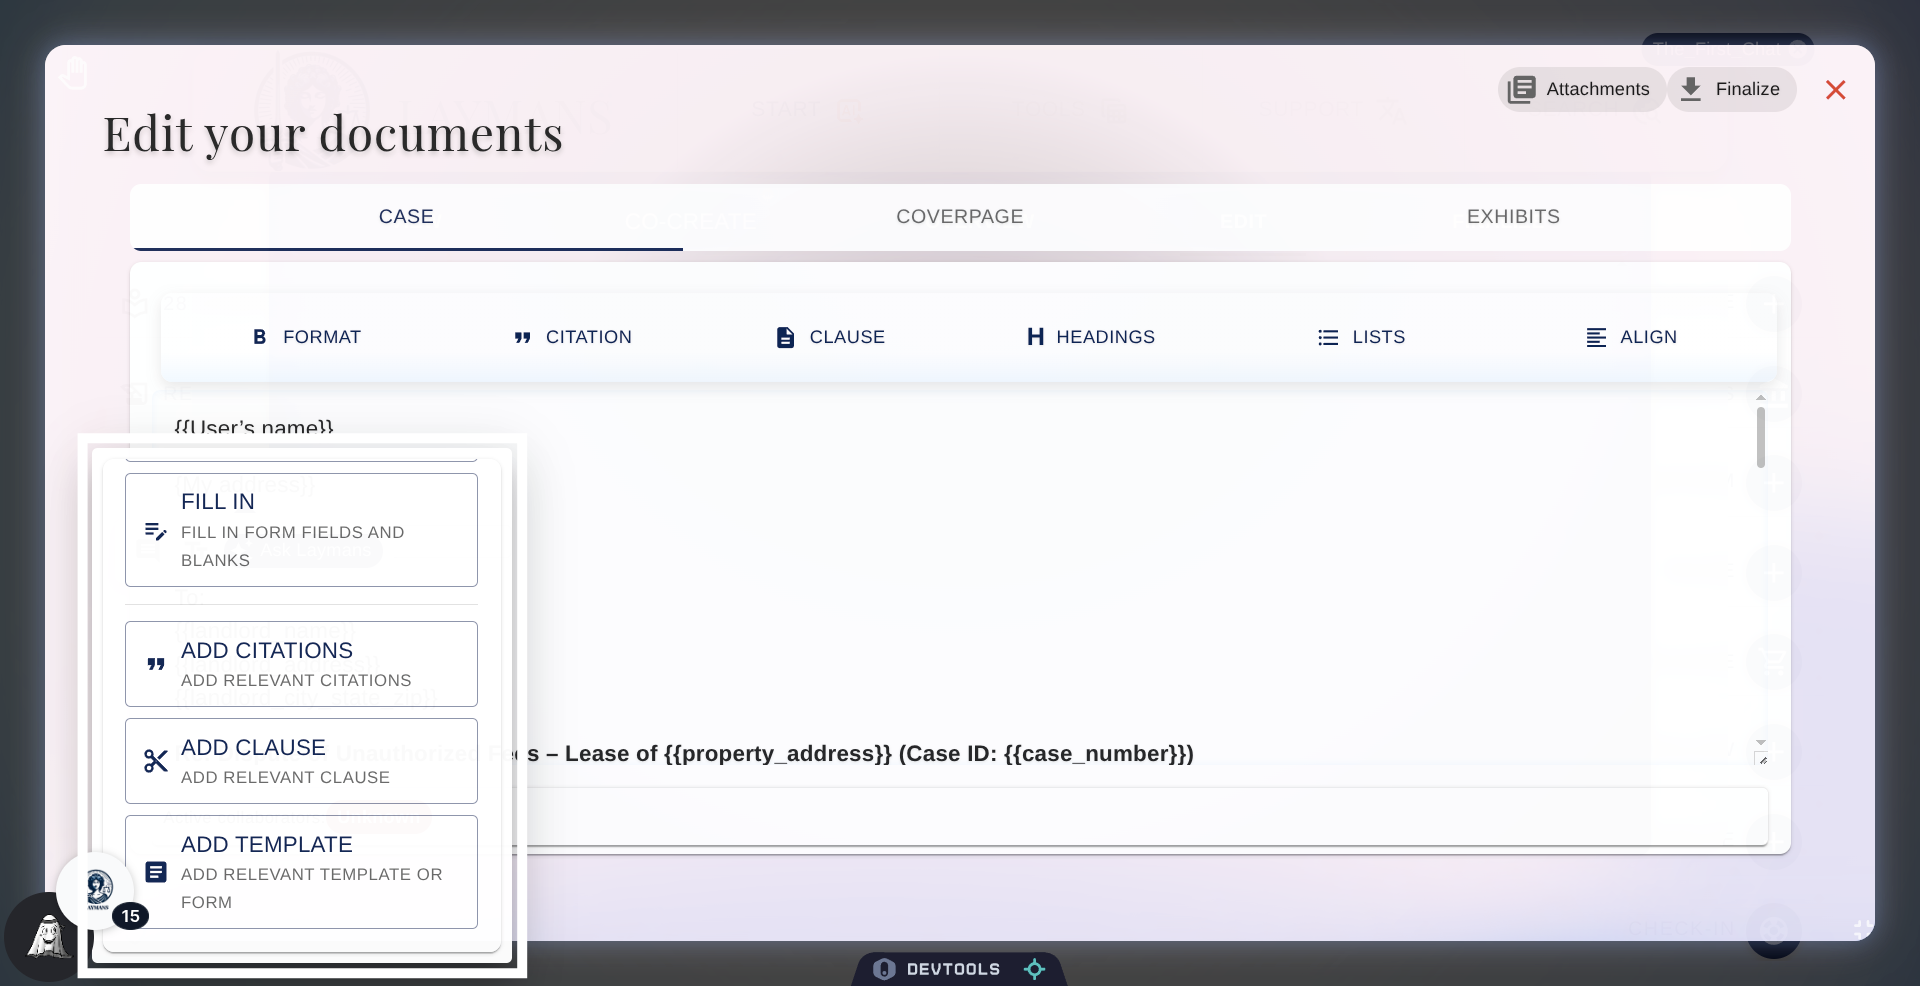
9. Choose Fill In Action
For now, let's click Fill-in to fill the fields I just added.
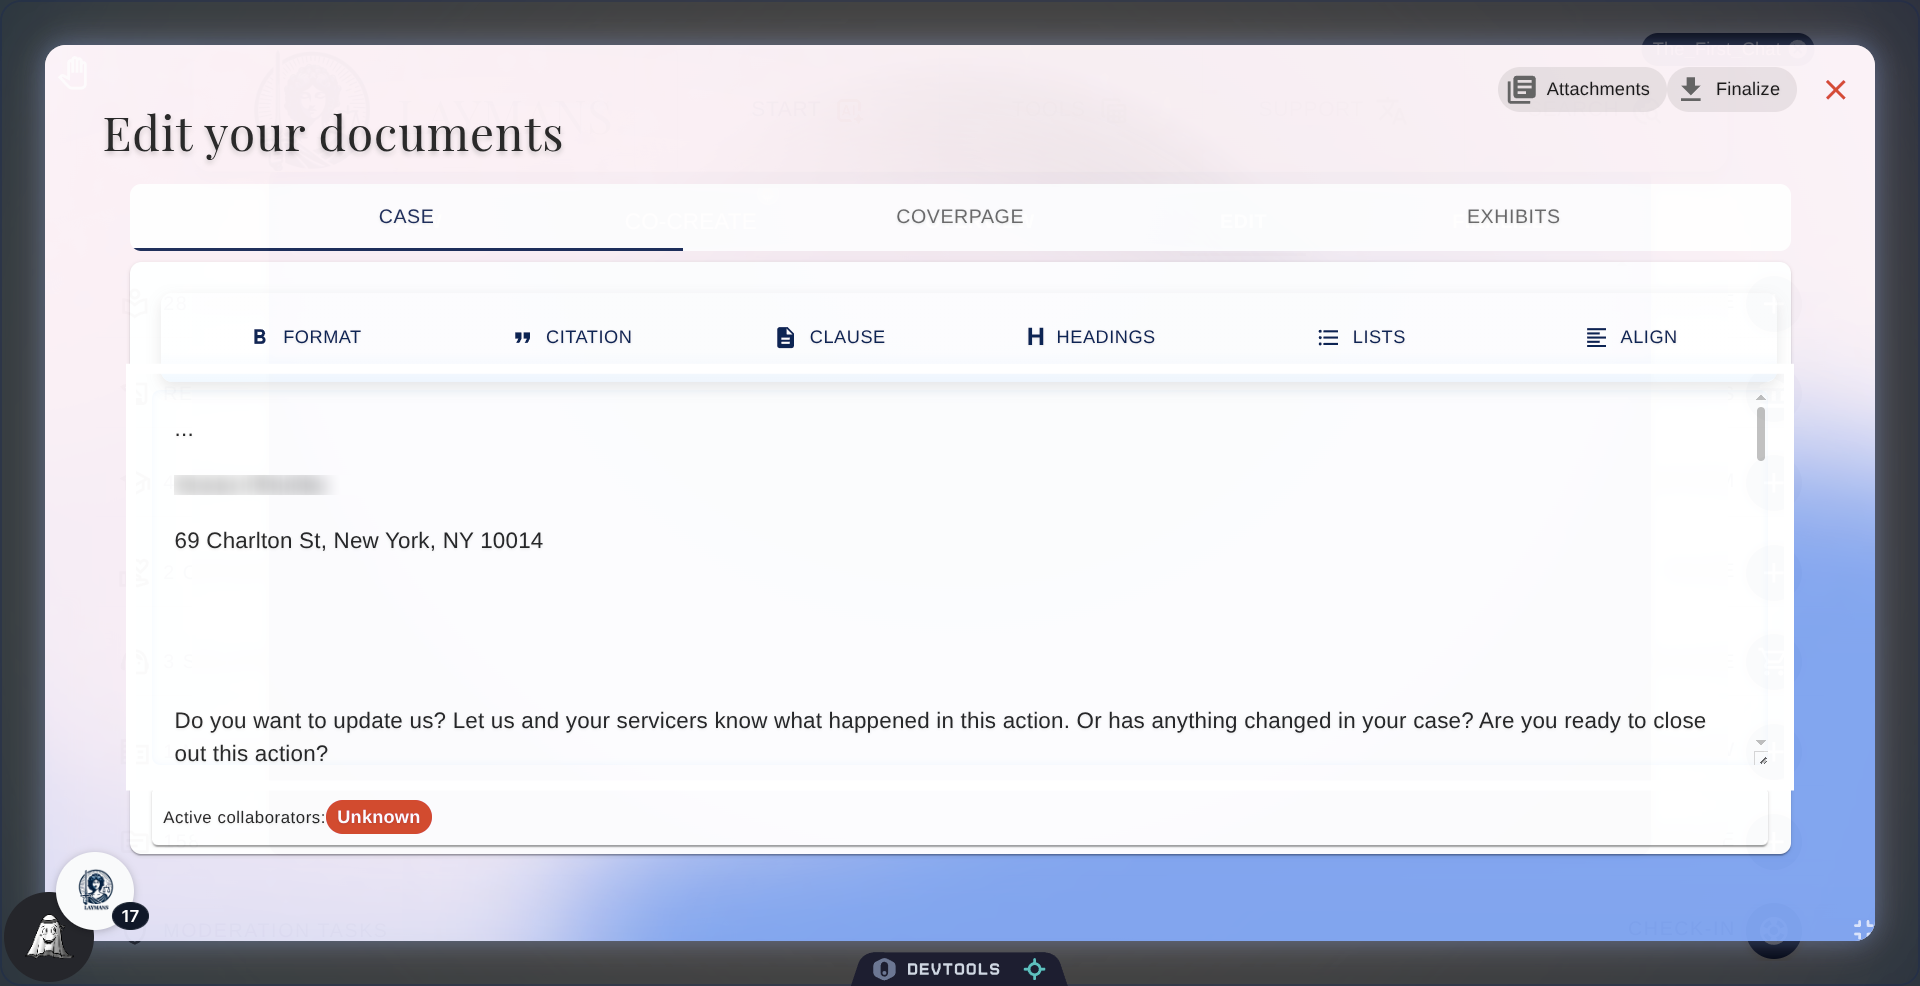
10. Select Address Text
Success! We updated the document to add the information of the current owner of this case.
11. Select Text and Click "Add Field"
But that's not all, you can also add fields for collaborators to fill in.
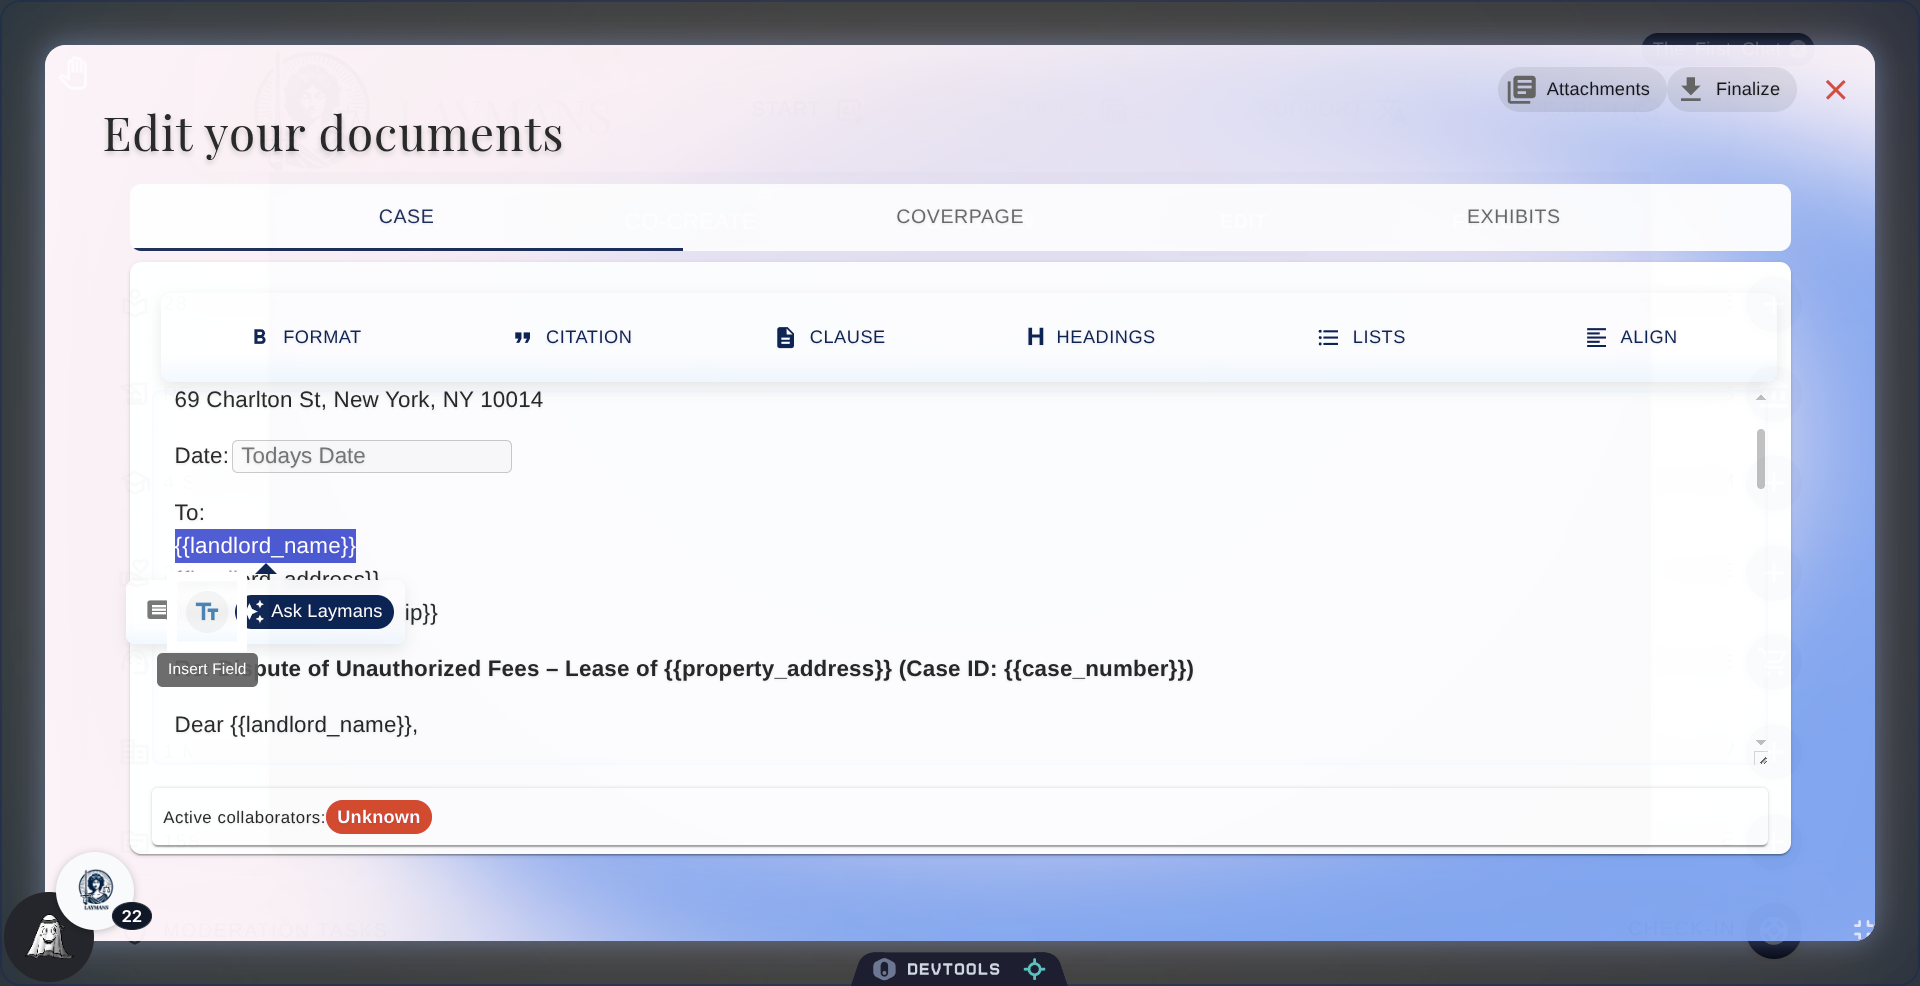
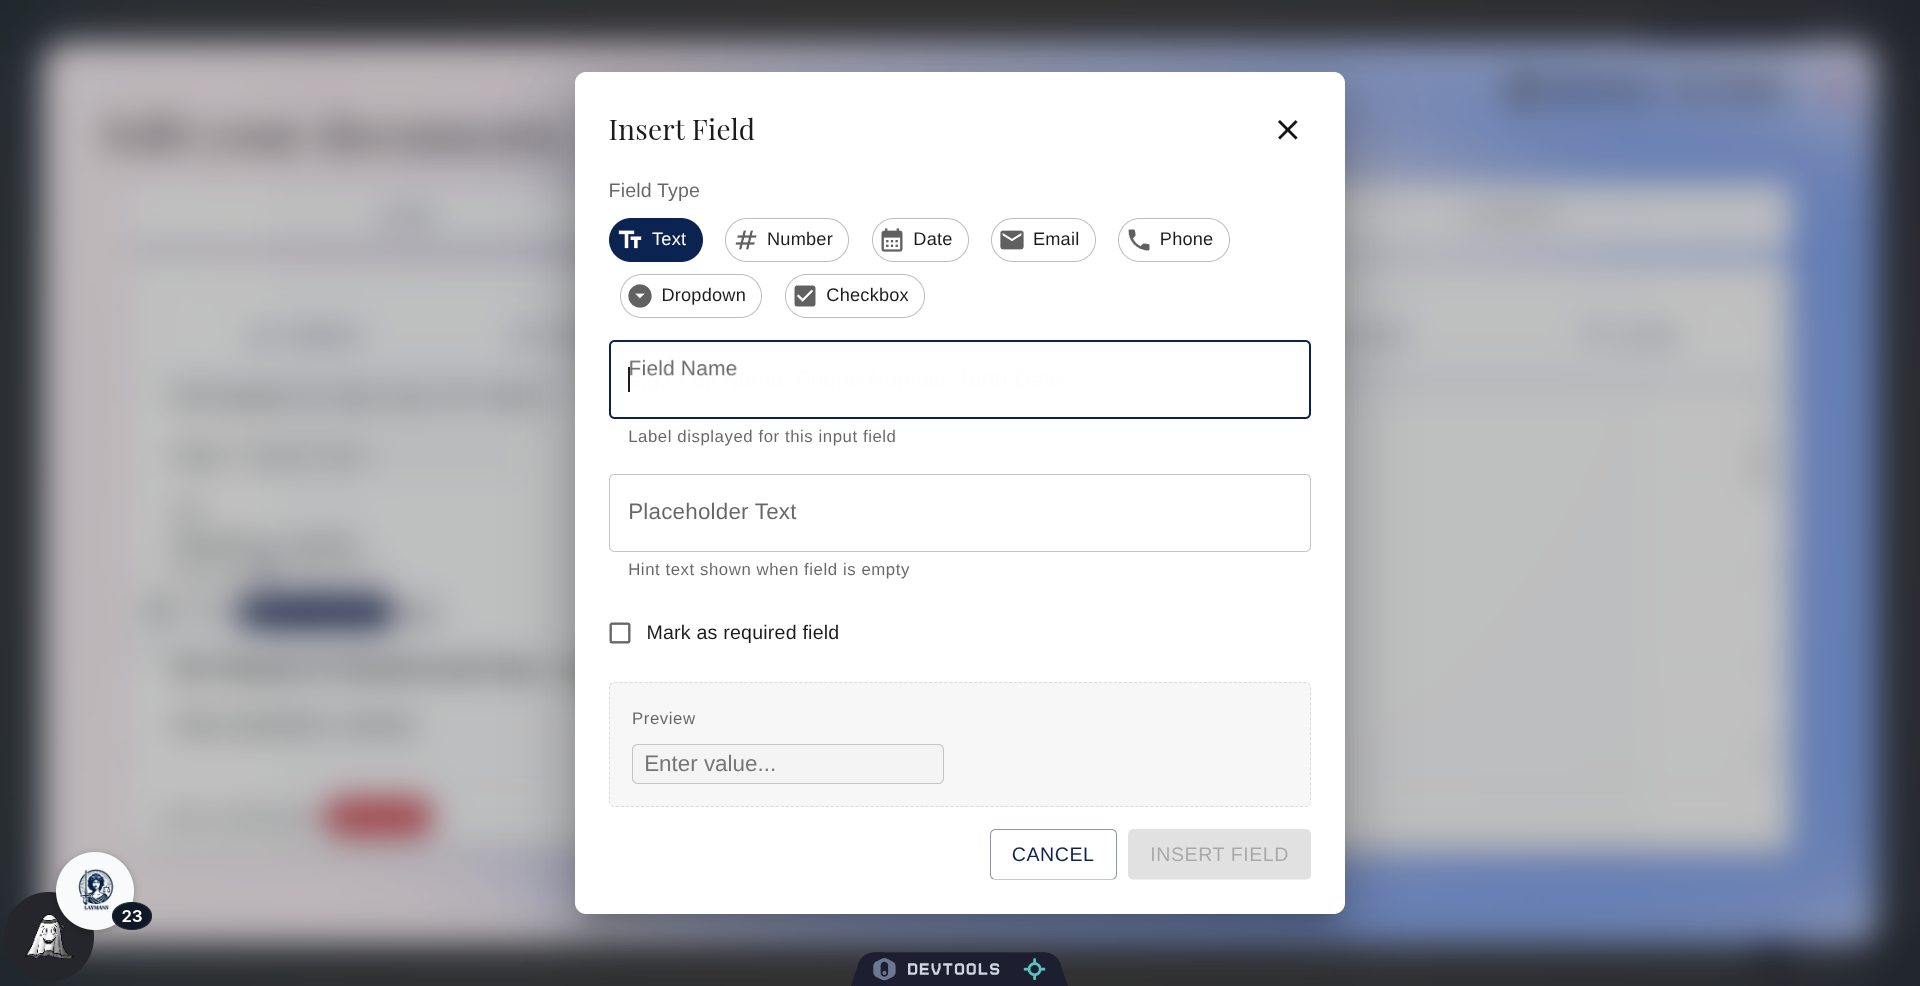
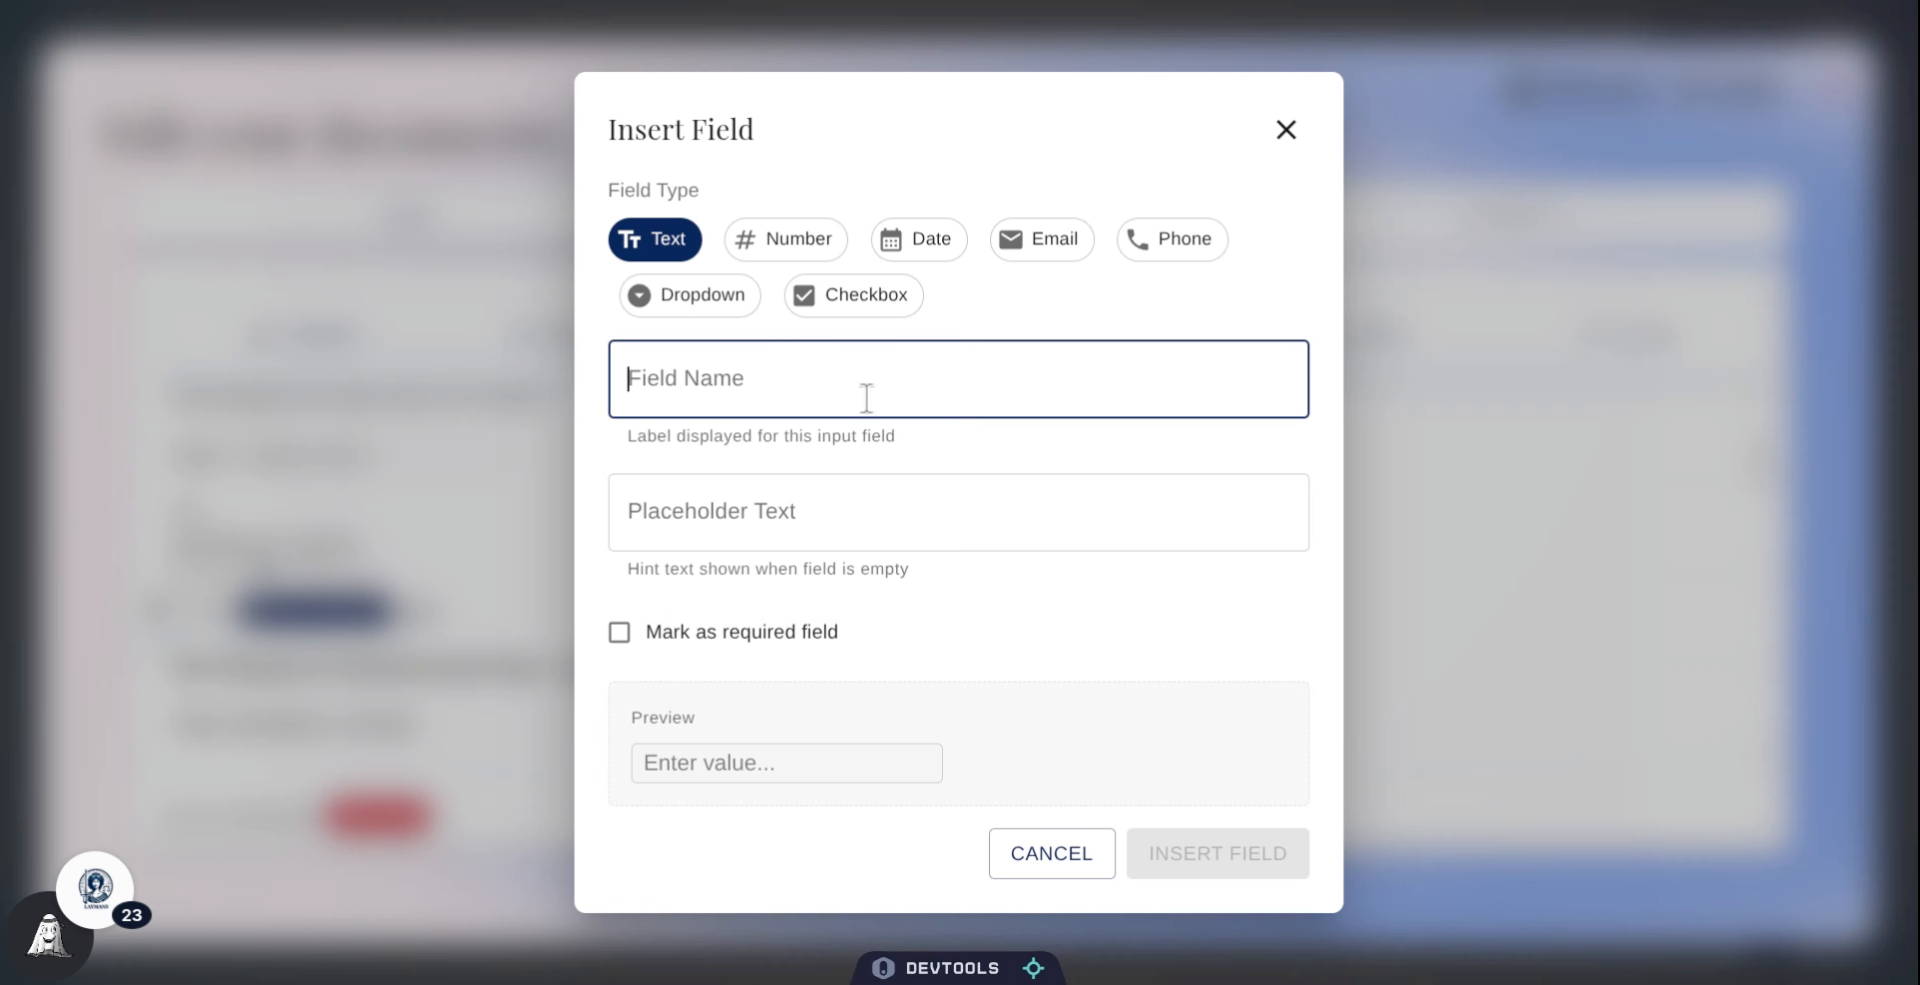
12. Open Field Name Menu
This allows your final document to be a rich form-ready pdf for signing and filling if necessary. Just pick the field type...
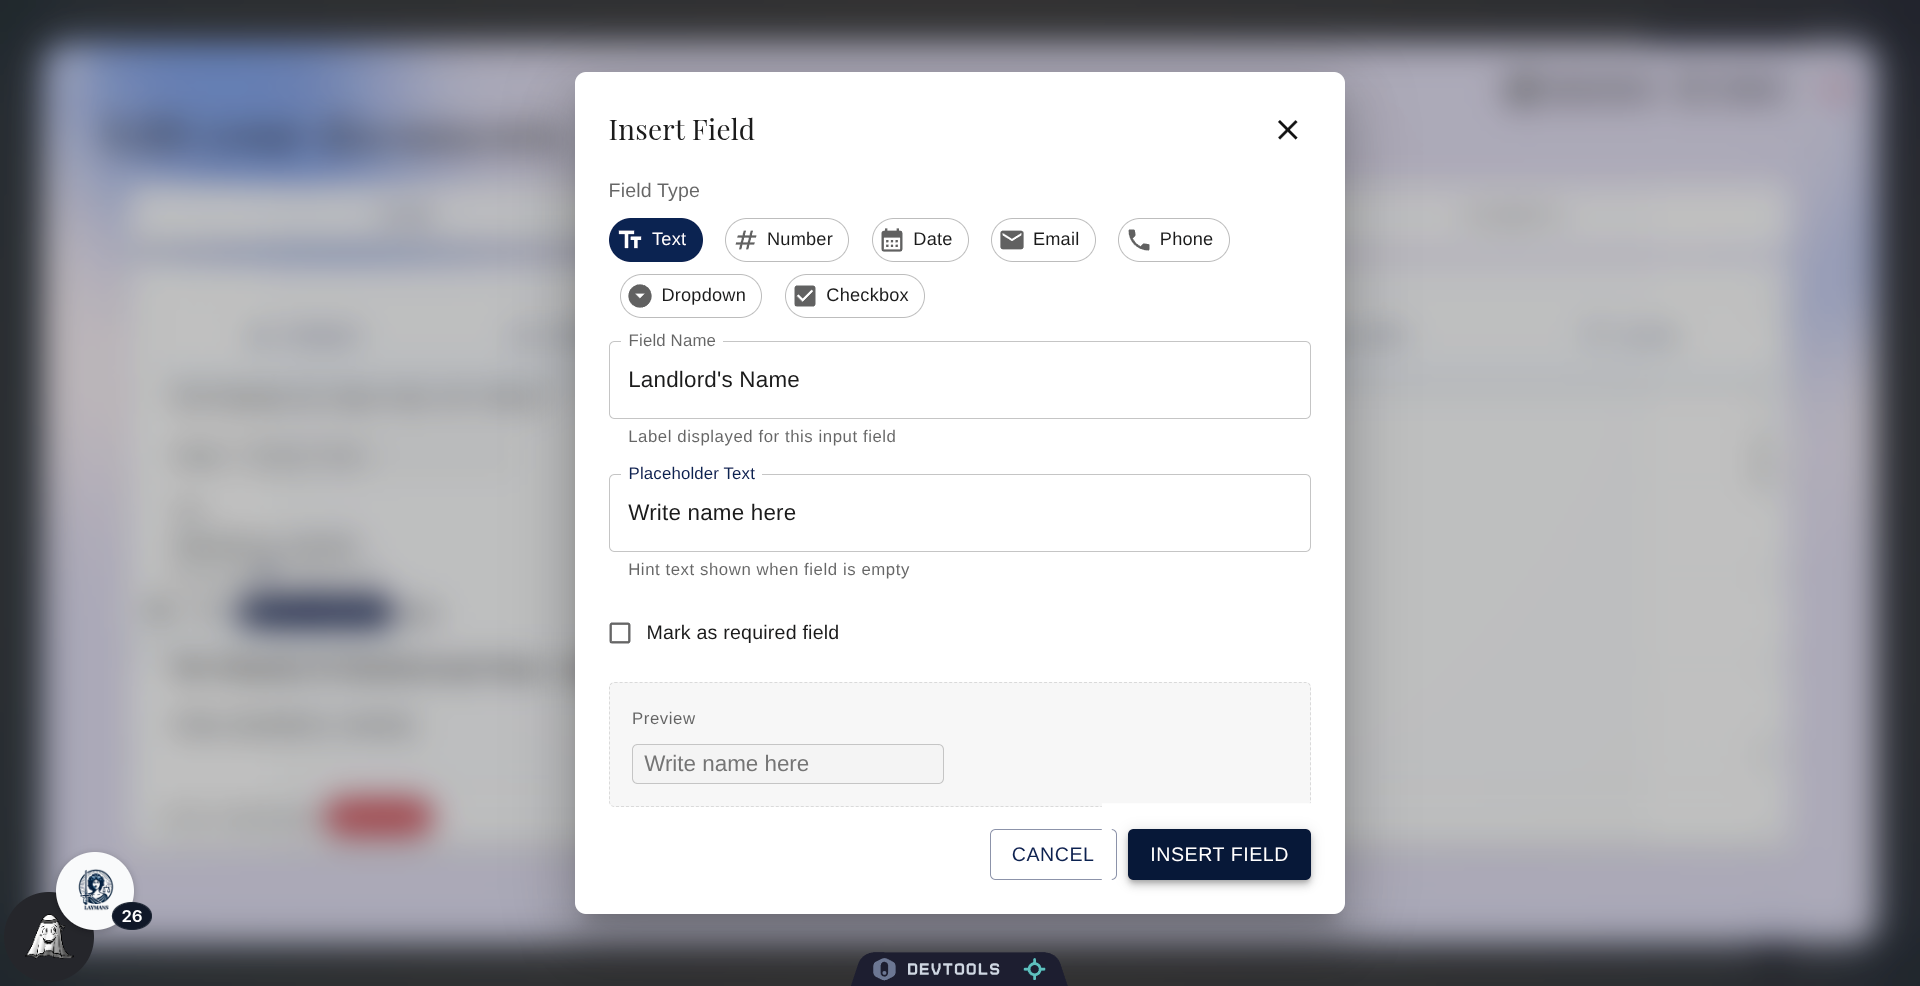
13. Write Placeholder and Label
Then write in the field name, if its required, and if there's any placeholder text.
14. Insert Field into Document
Let's insert!
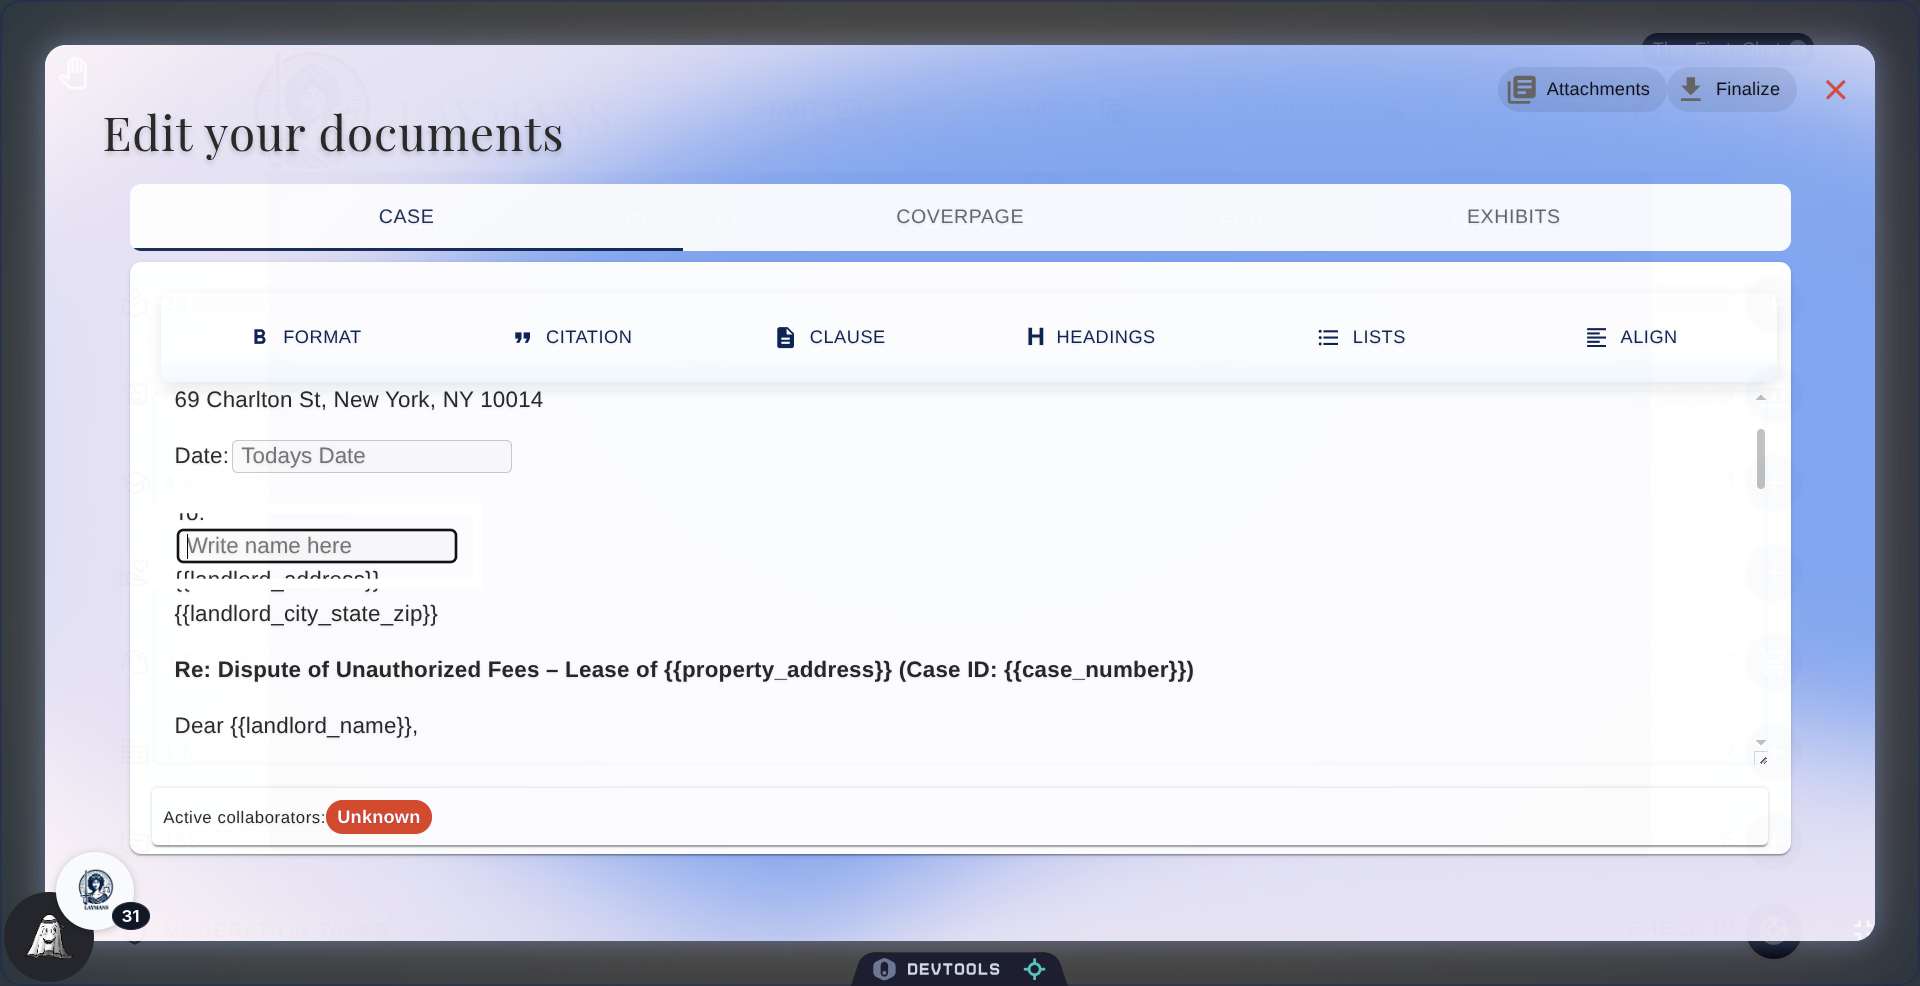
15. Select Placeholder Text Again
It worked -- great! Now there's a field for future editors.
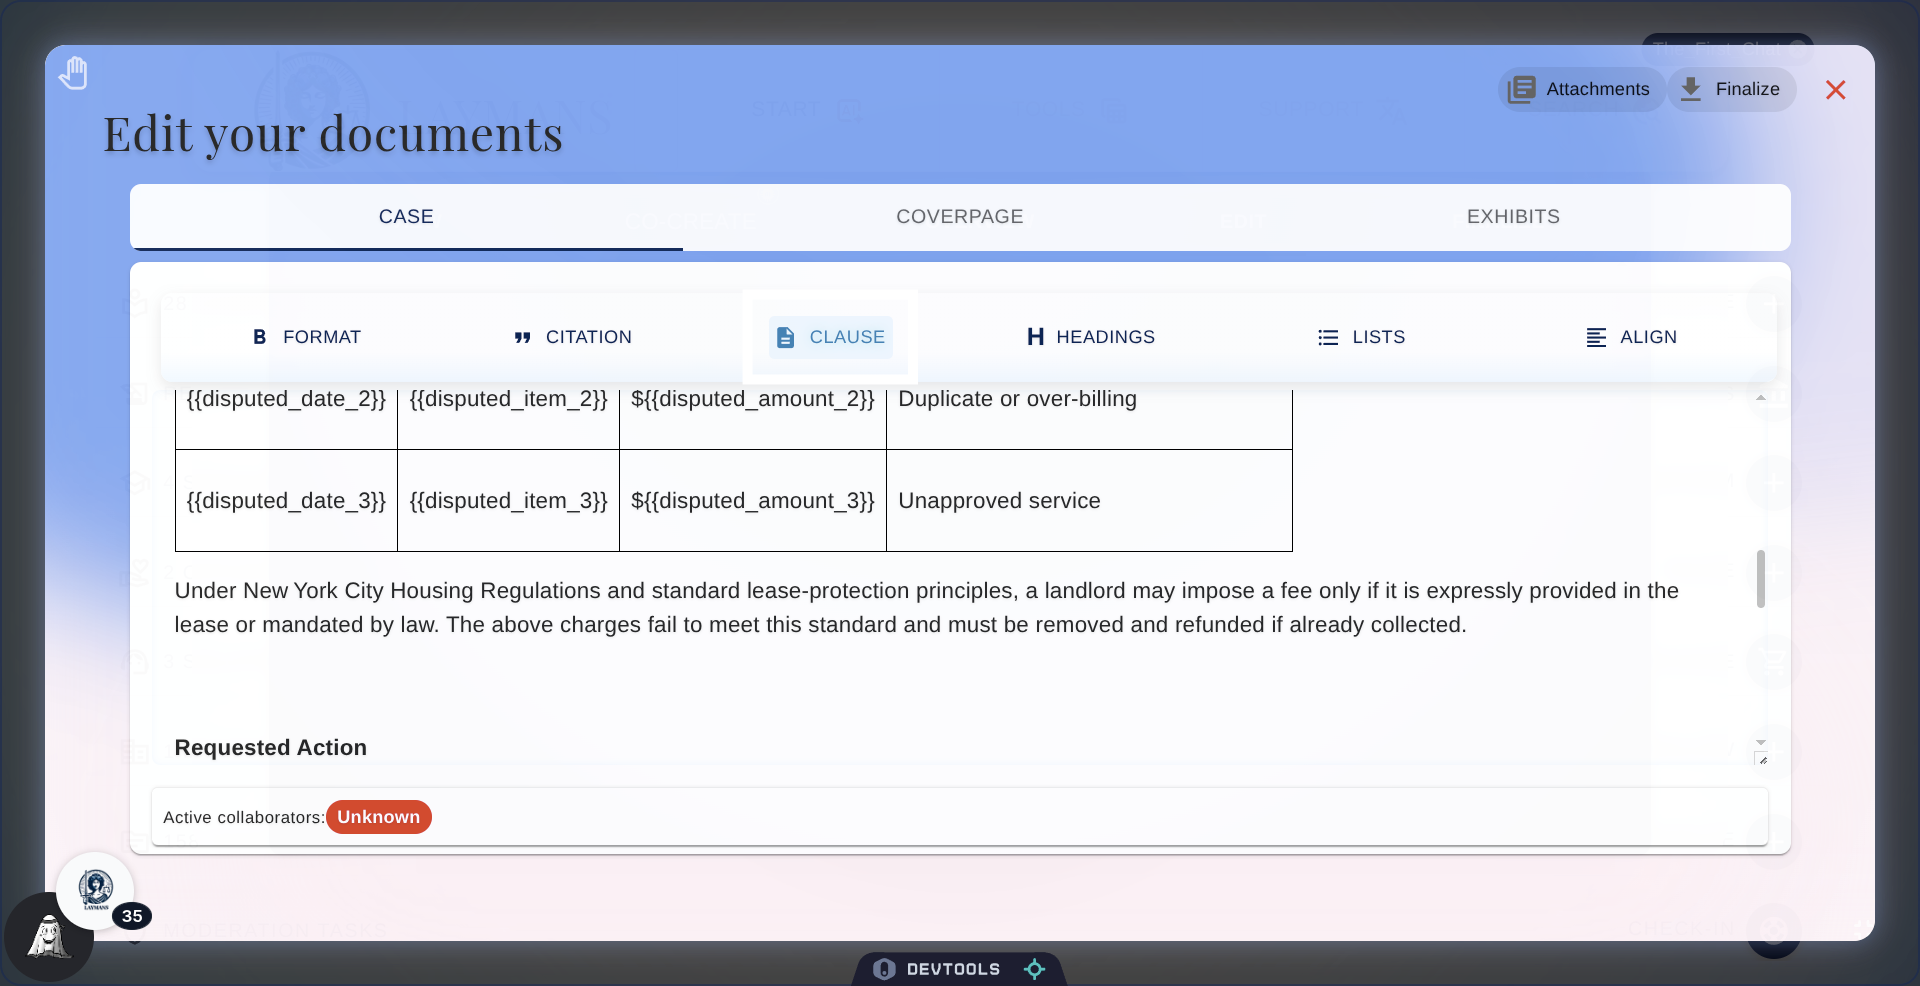
16. Open Clause Menu
Okay let's now add some clauses, I want to put a Bill of Particulars right here for some odd reason
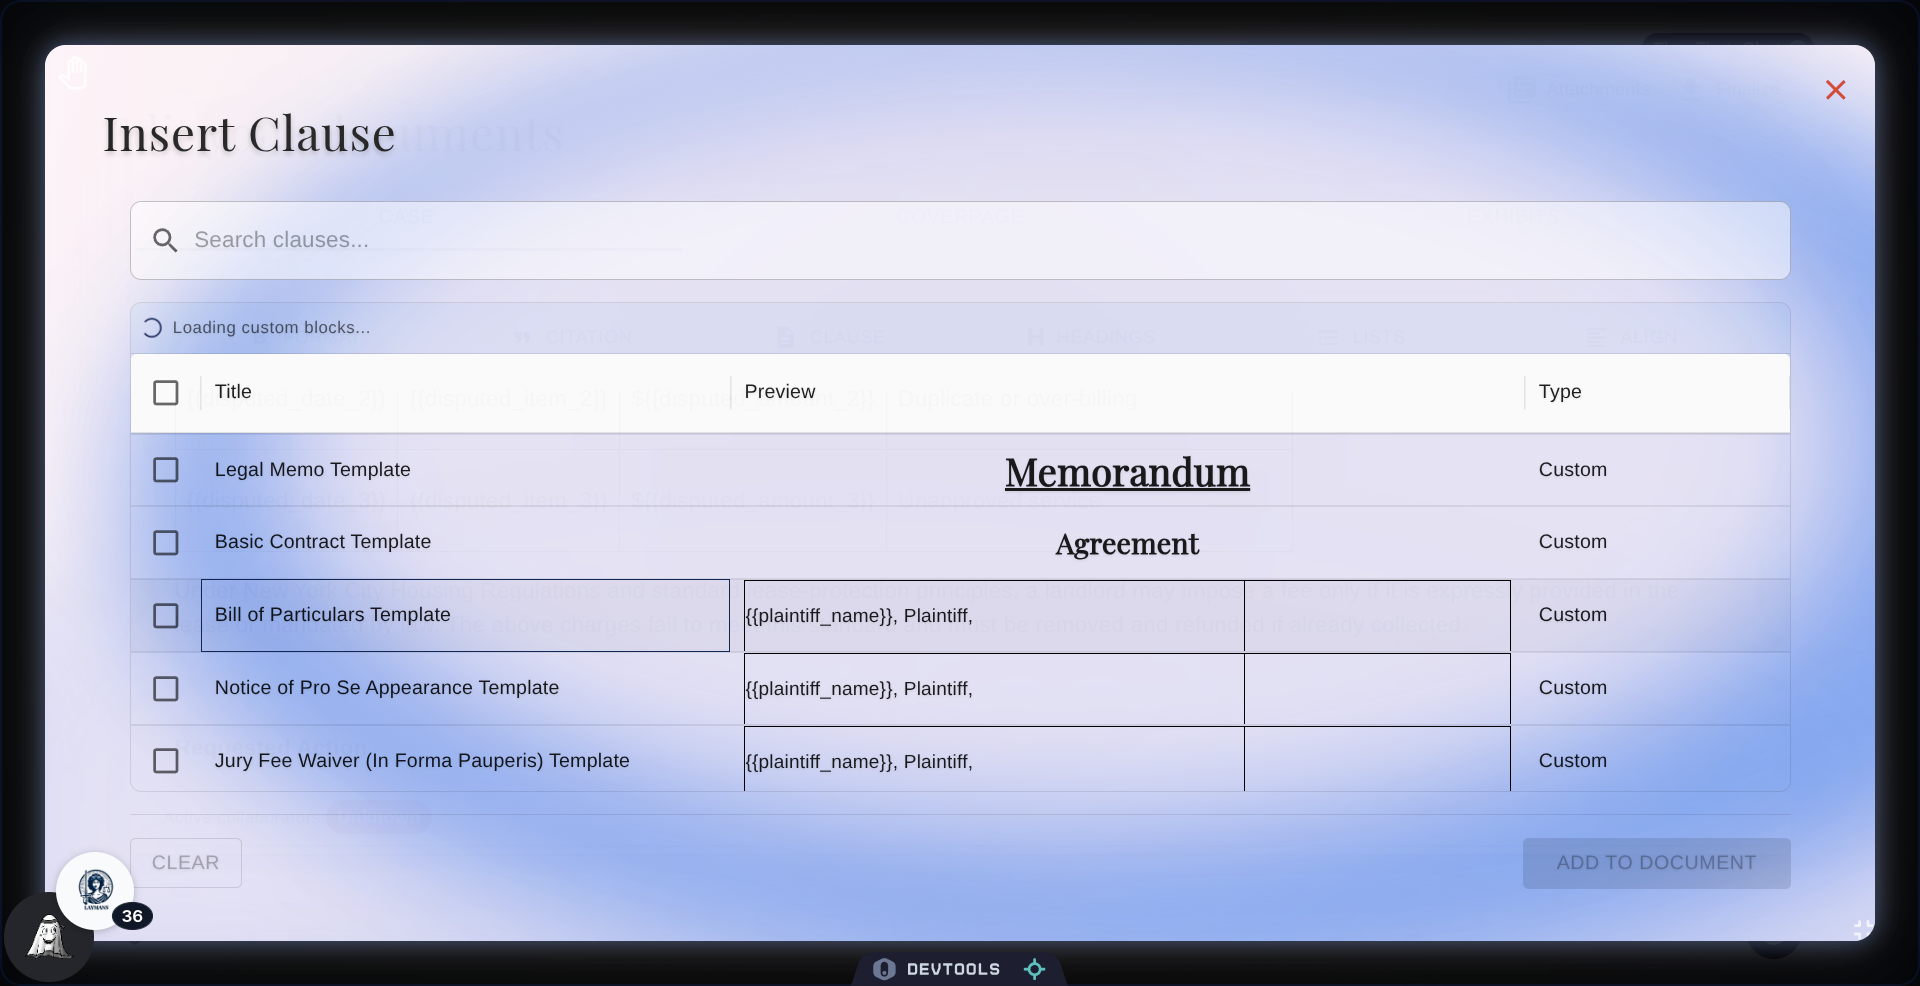
17. Clauses Dialog
LAymans offers a wide array of clauses and templates to add directly to cases in the text editor. We combine not only some Laymans-made content but also any clauses drafted by you or your team if you are an attorney.
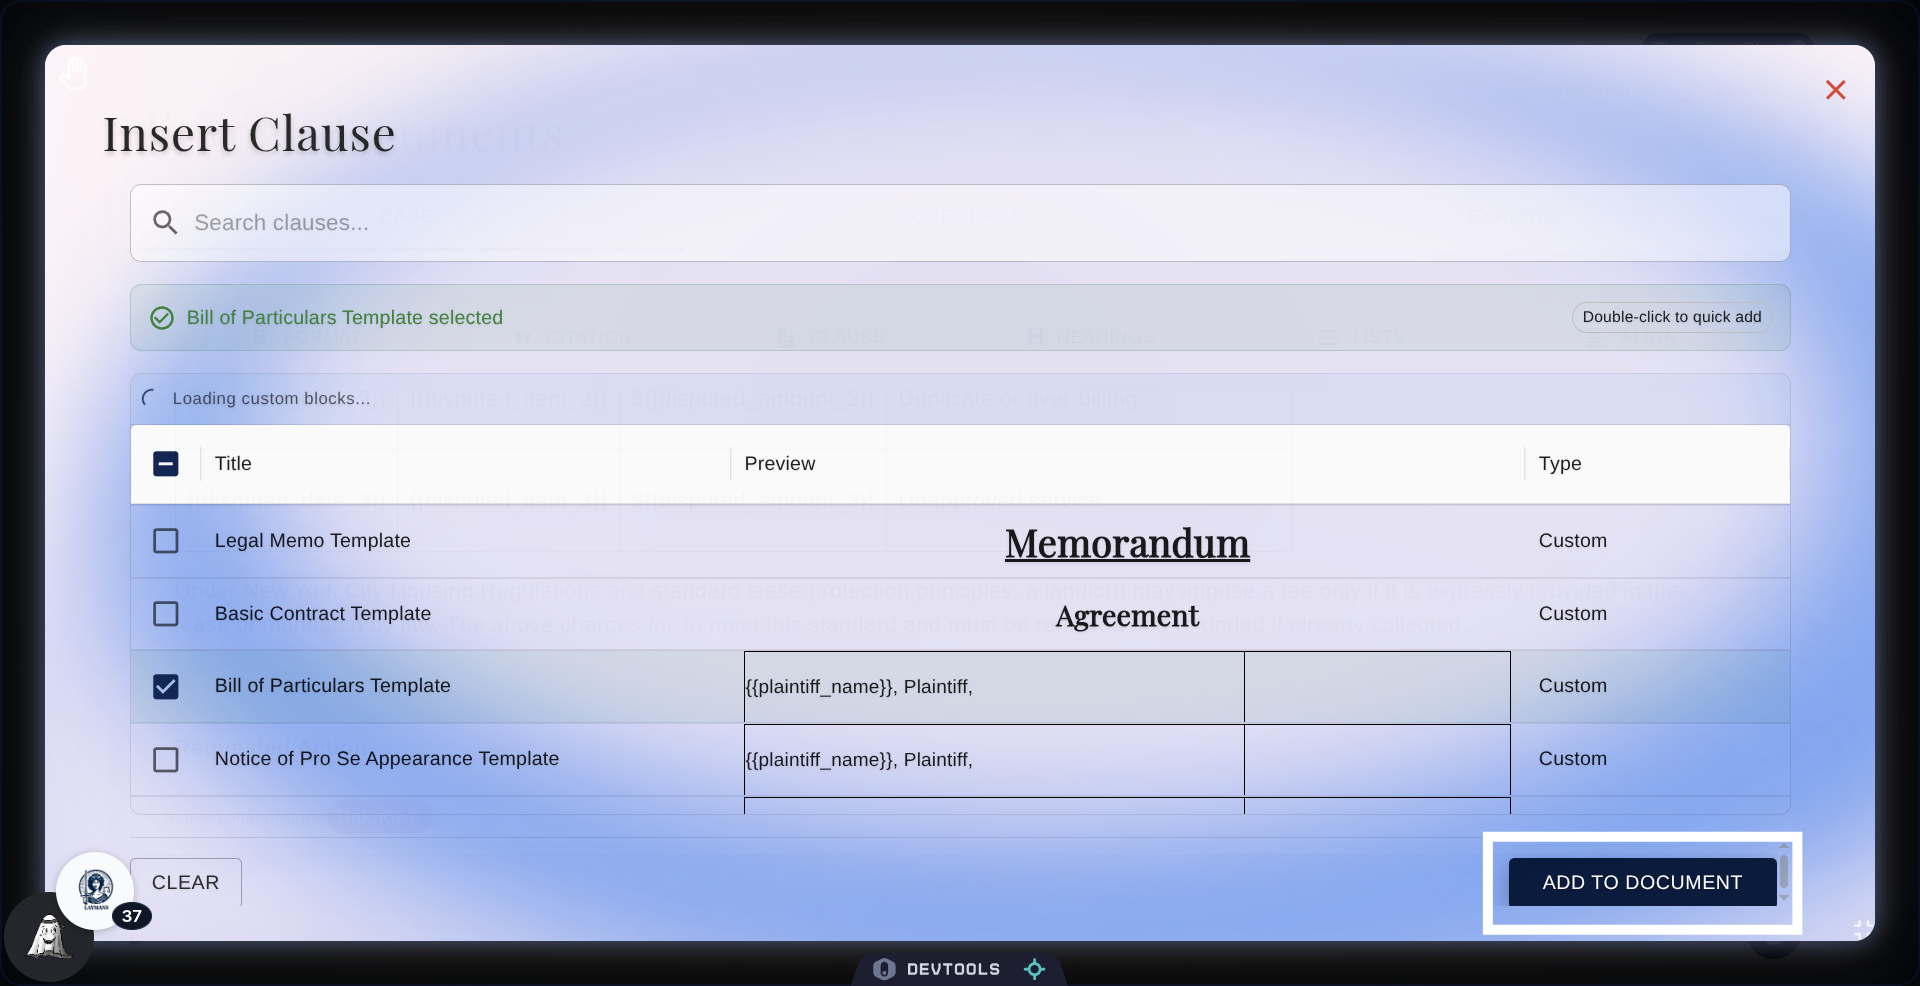
18. Select Bill of Particulars Template
Im gonna set the Bill of Particulars option

19. Add Clause to Document
Then click add to document to add your selection
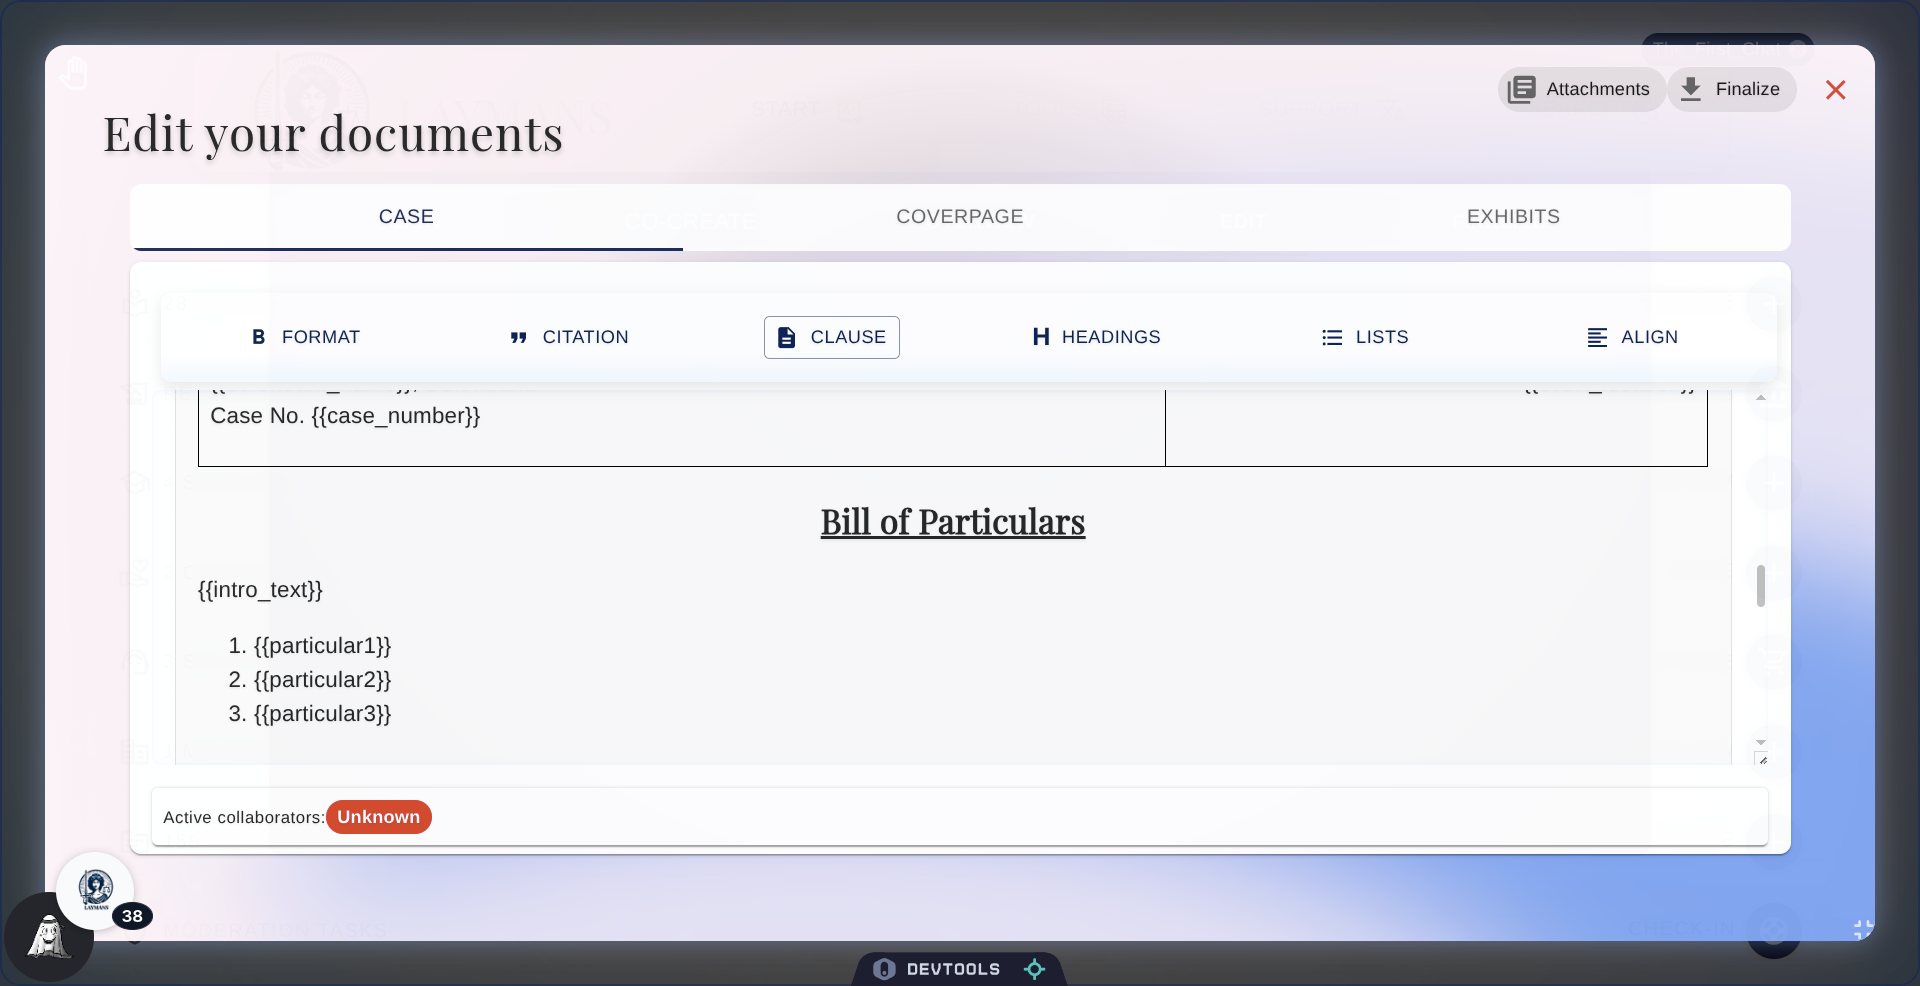
20. View Clause Selection
And just like that—there it is! Available for further editing and filling. You can then once again use me to fill in information, or we can talk about it in Co-Create!
21. Open Citation Section
Now Let's add a Citation.
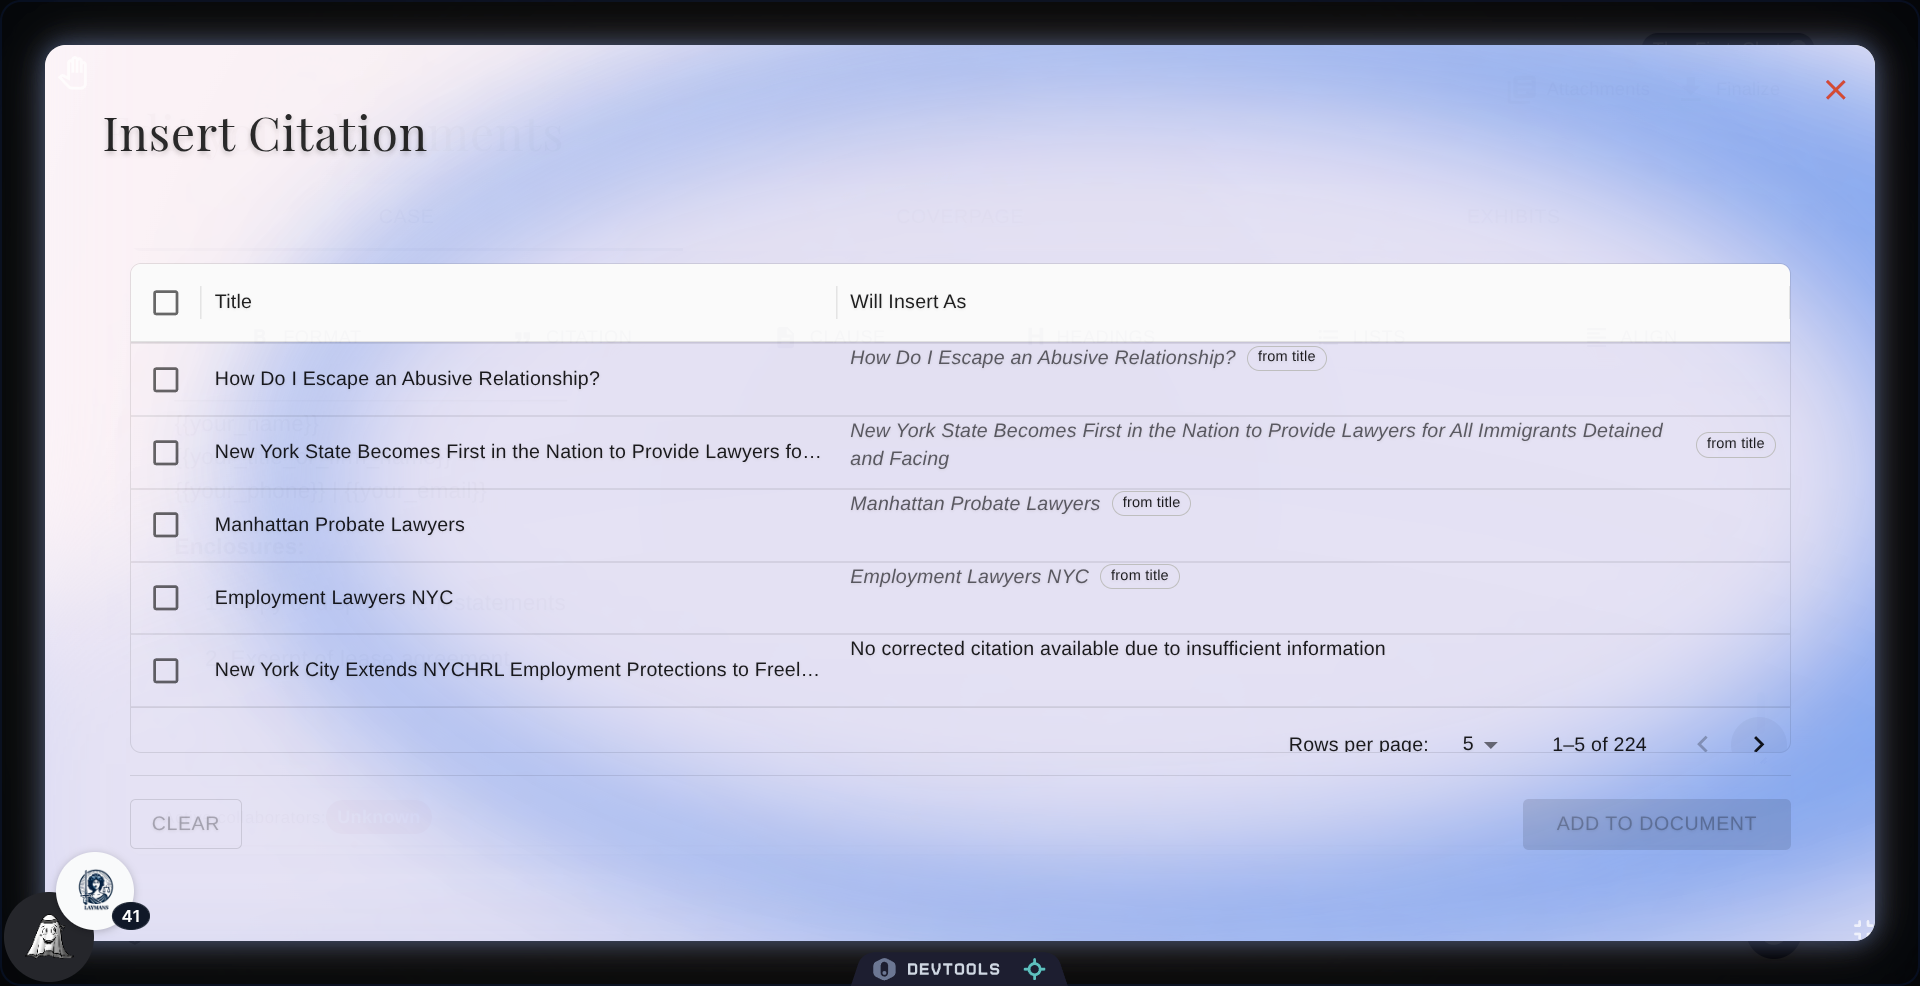
22. The Citation Dialog
You can also add citations to your document from casefiles you created, bookmarked, or were created by your team. We try our best to construct citations in Bluebook format asynchronously to help your materials stay cited. If a citation comes out incorrect, you can ask me to fix it, but if it's not real, ask me to fact-check the citation against real dockets.
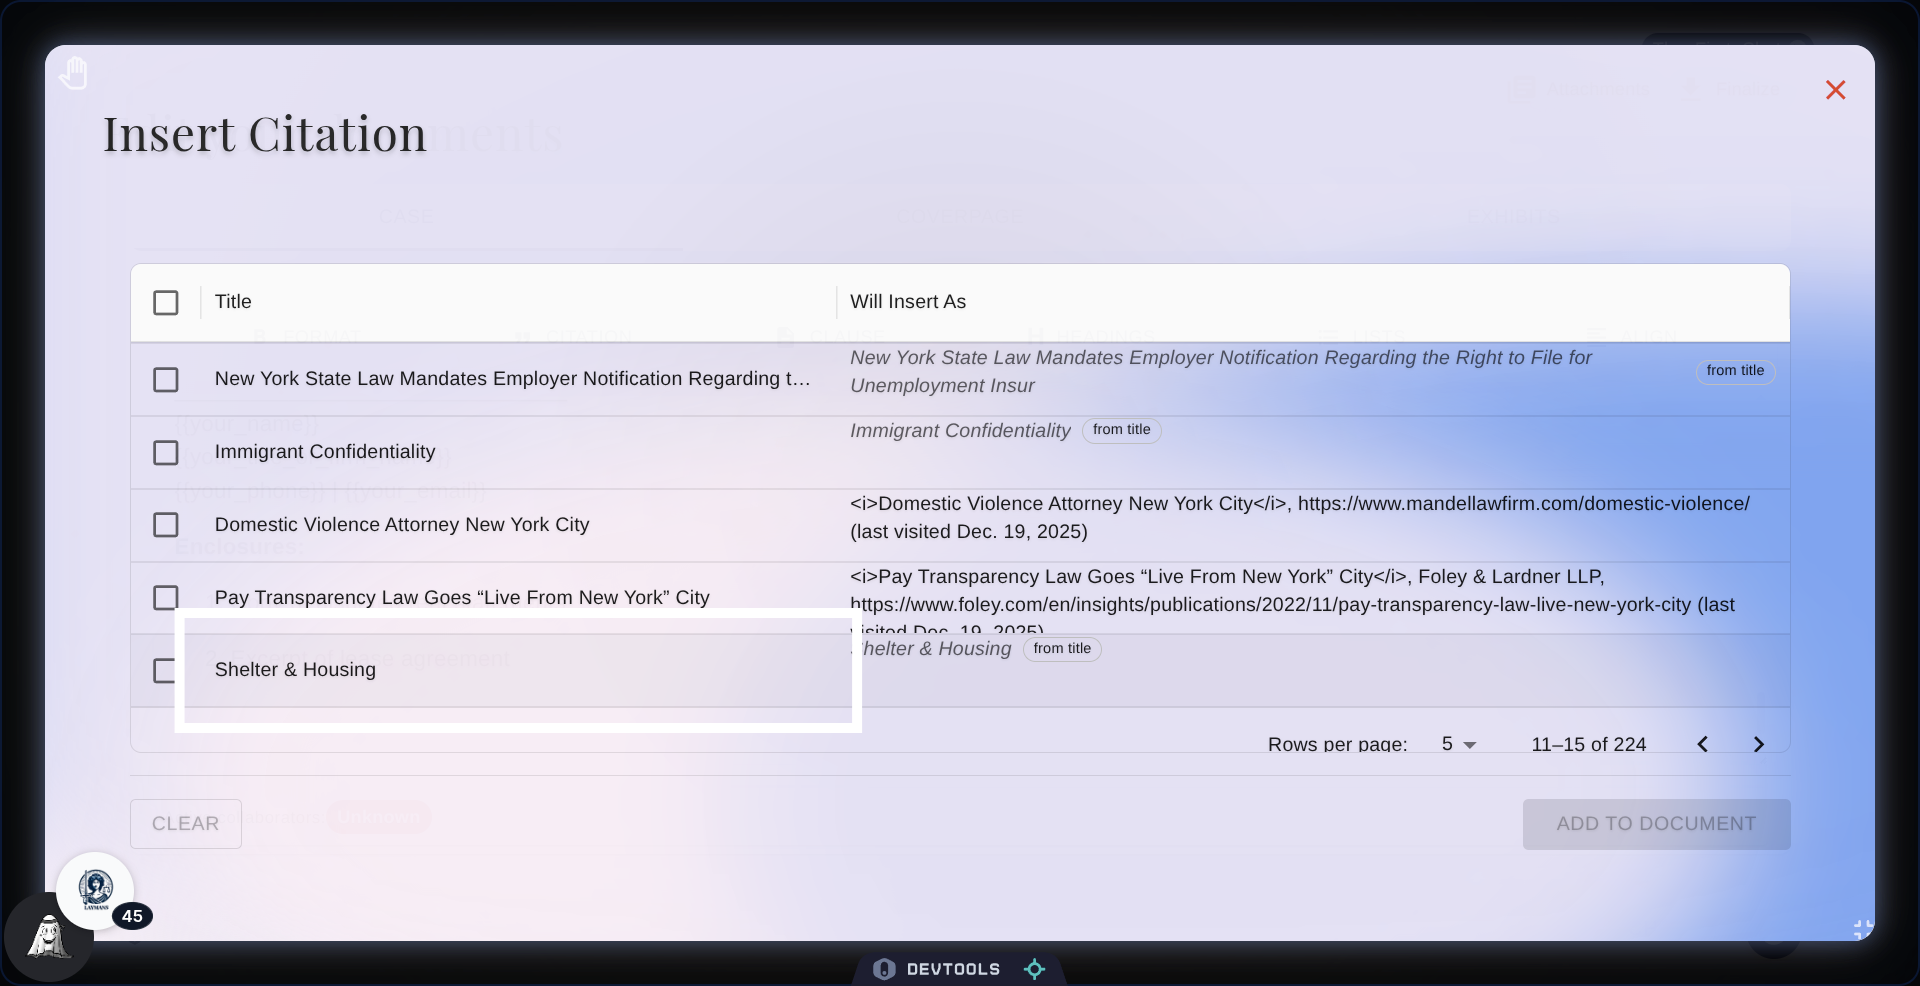
23. Select Shelter & Housing Category
So I'm going to choose this citation of Shelter and Housing...
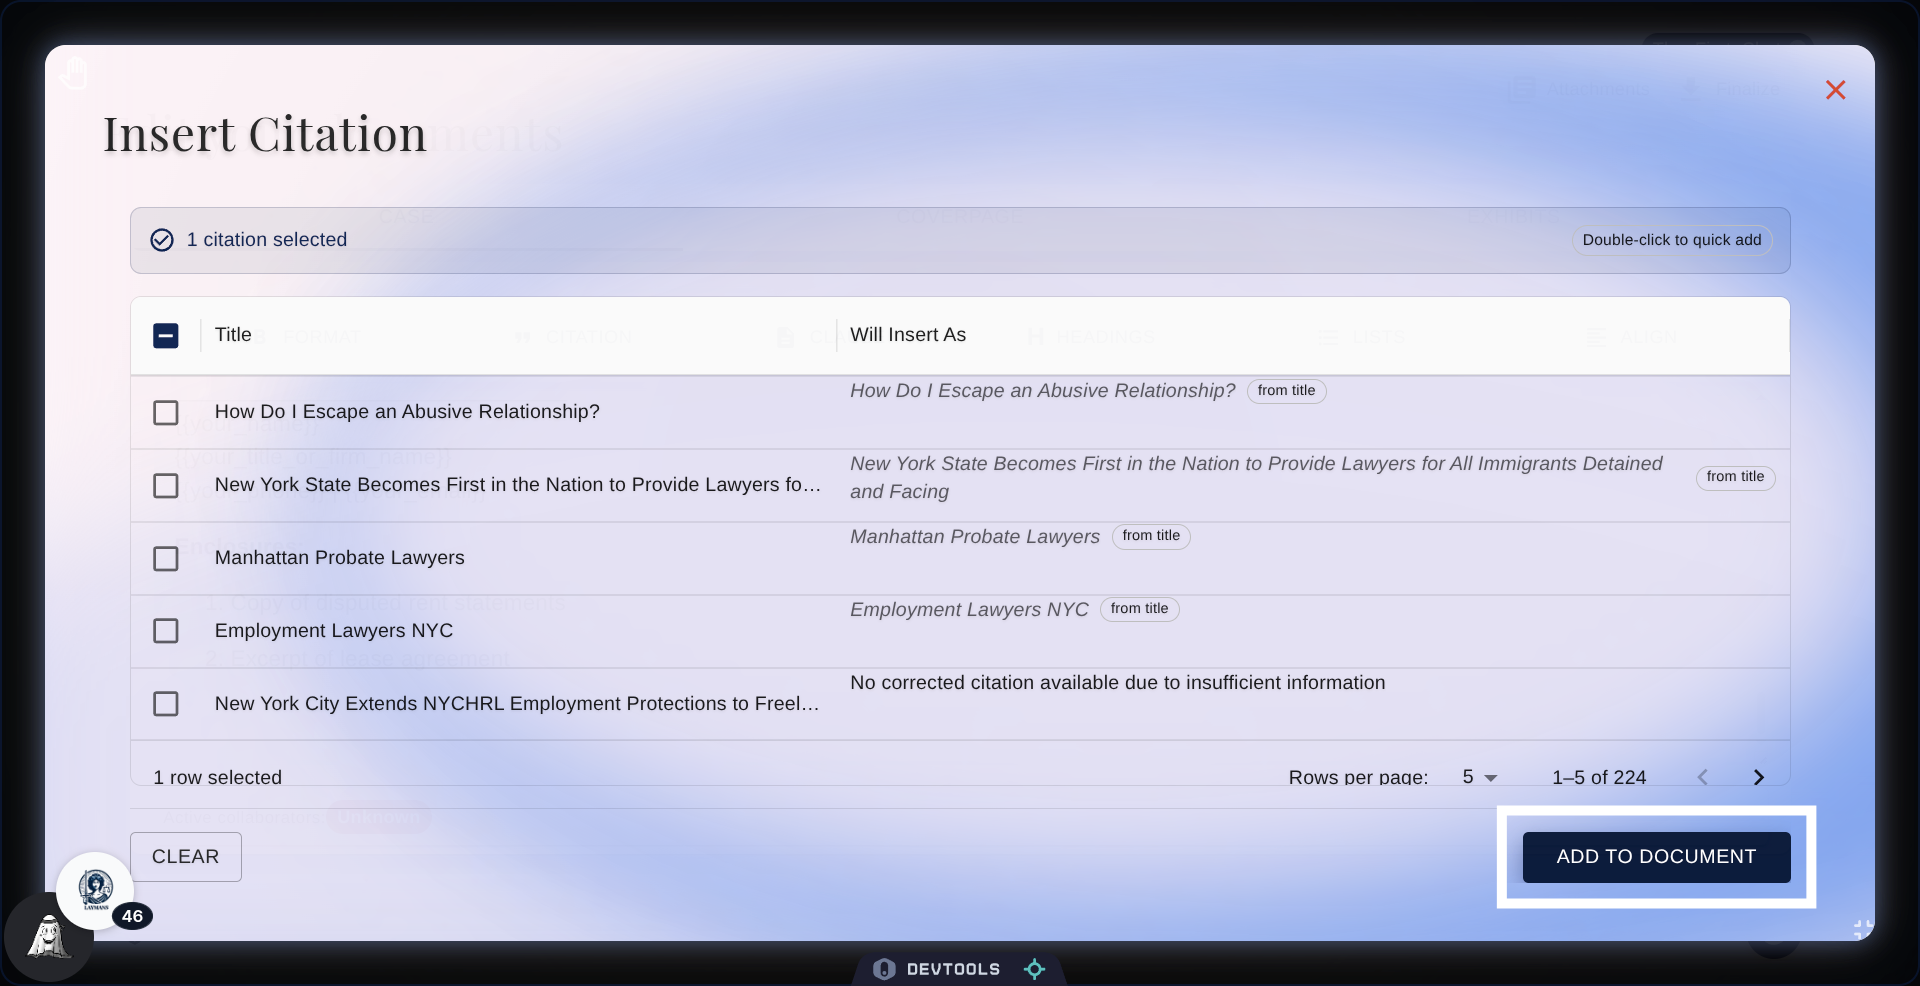
24. Add Citation to Document
Then click add to Document to Add
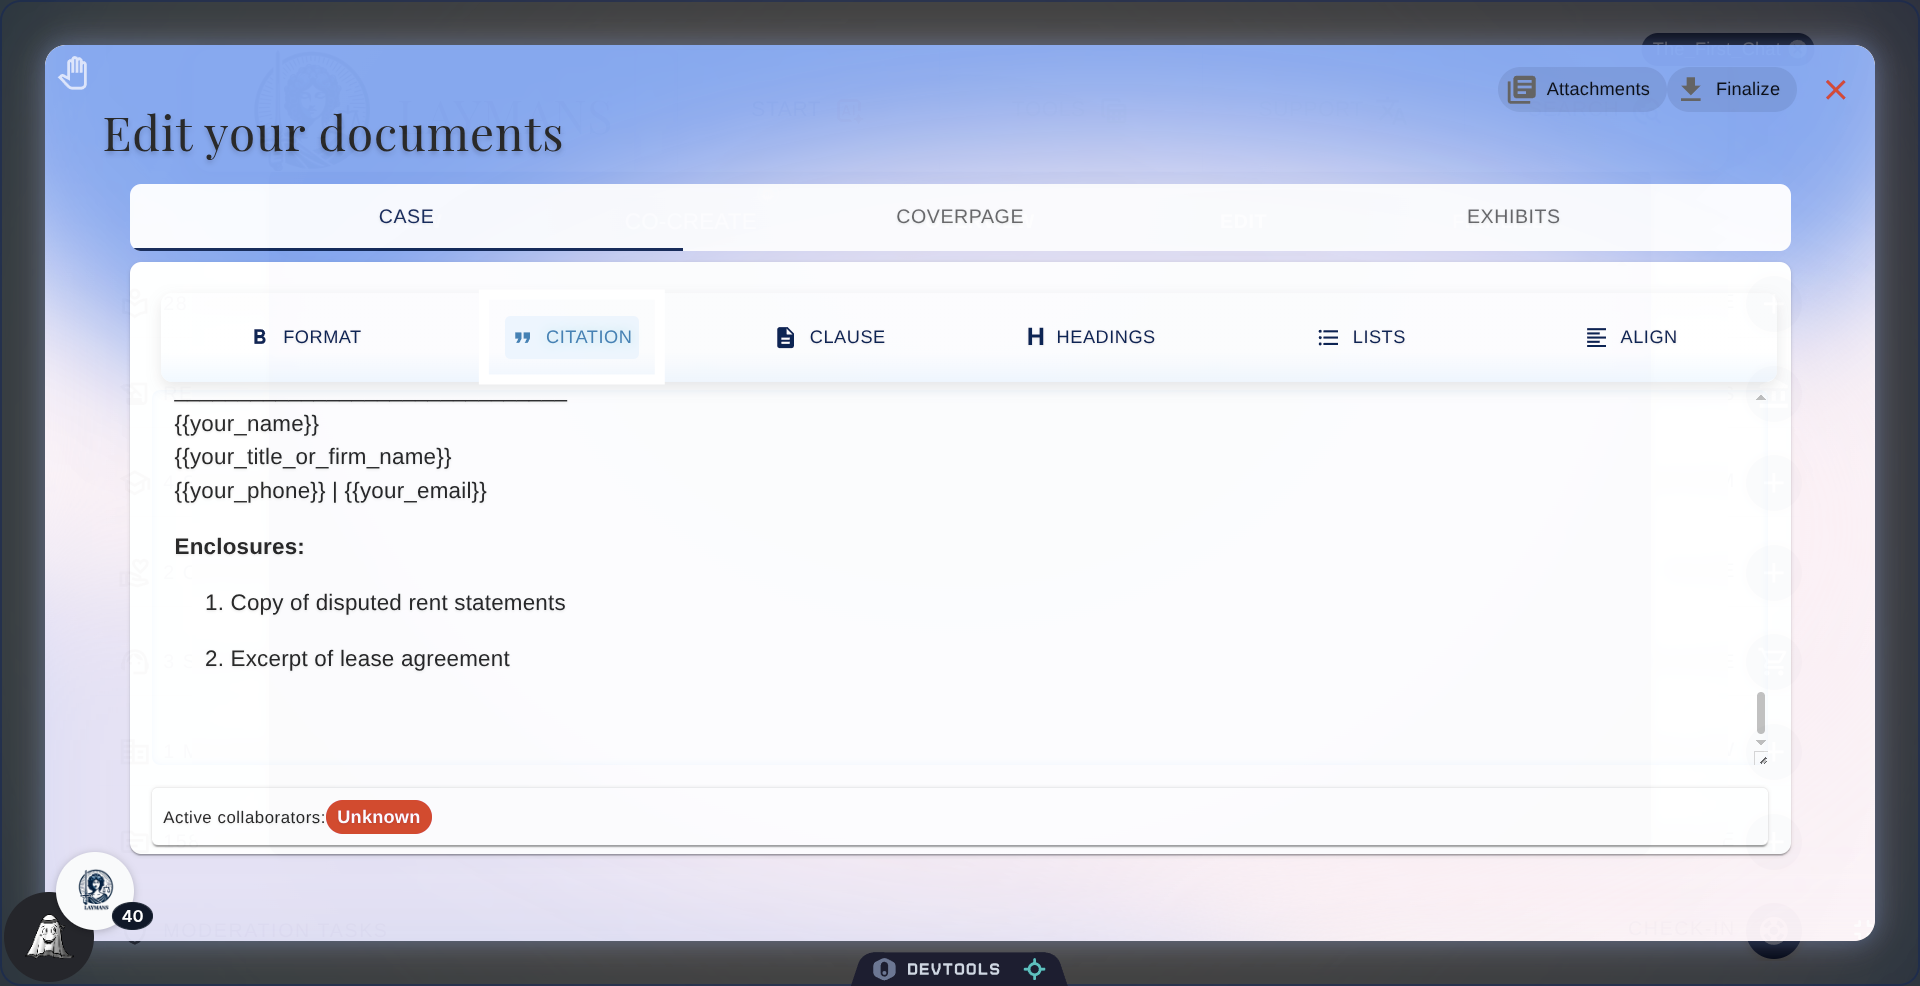
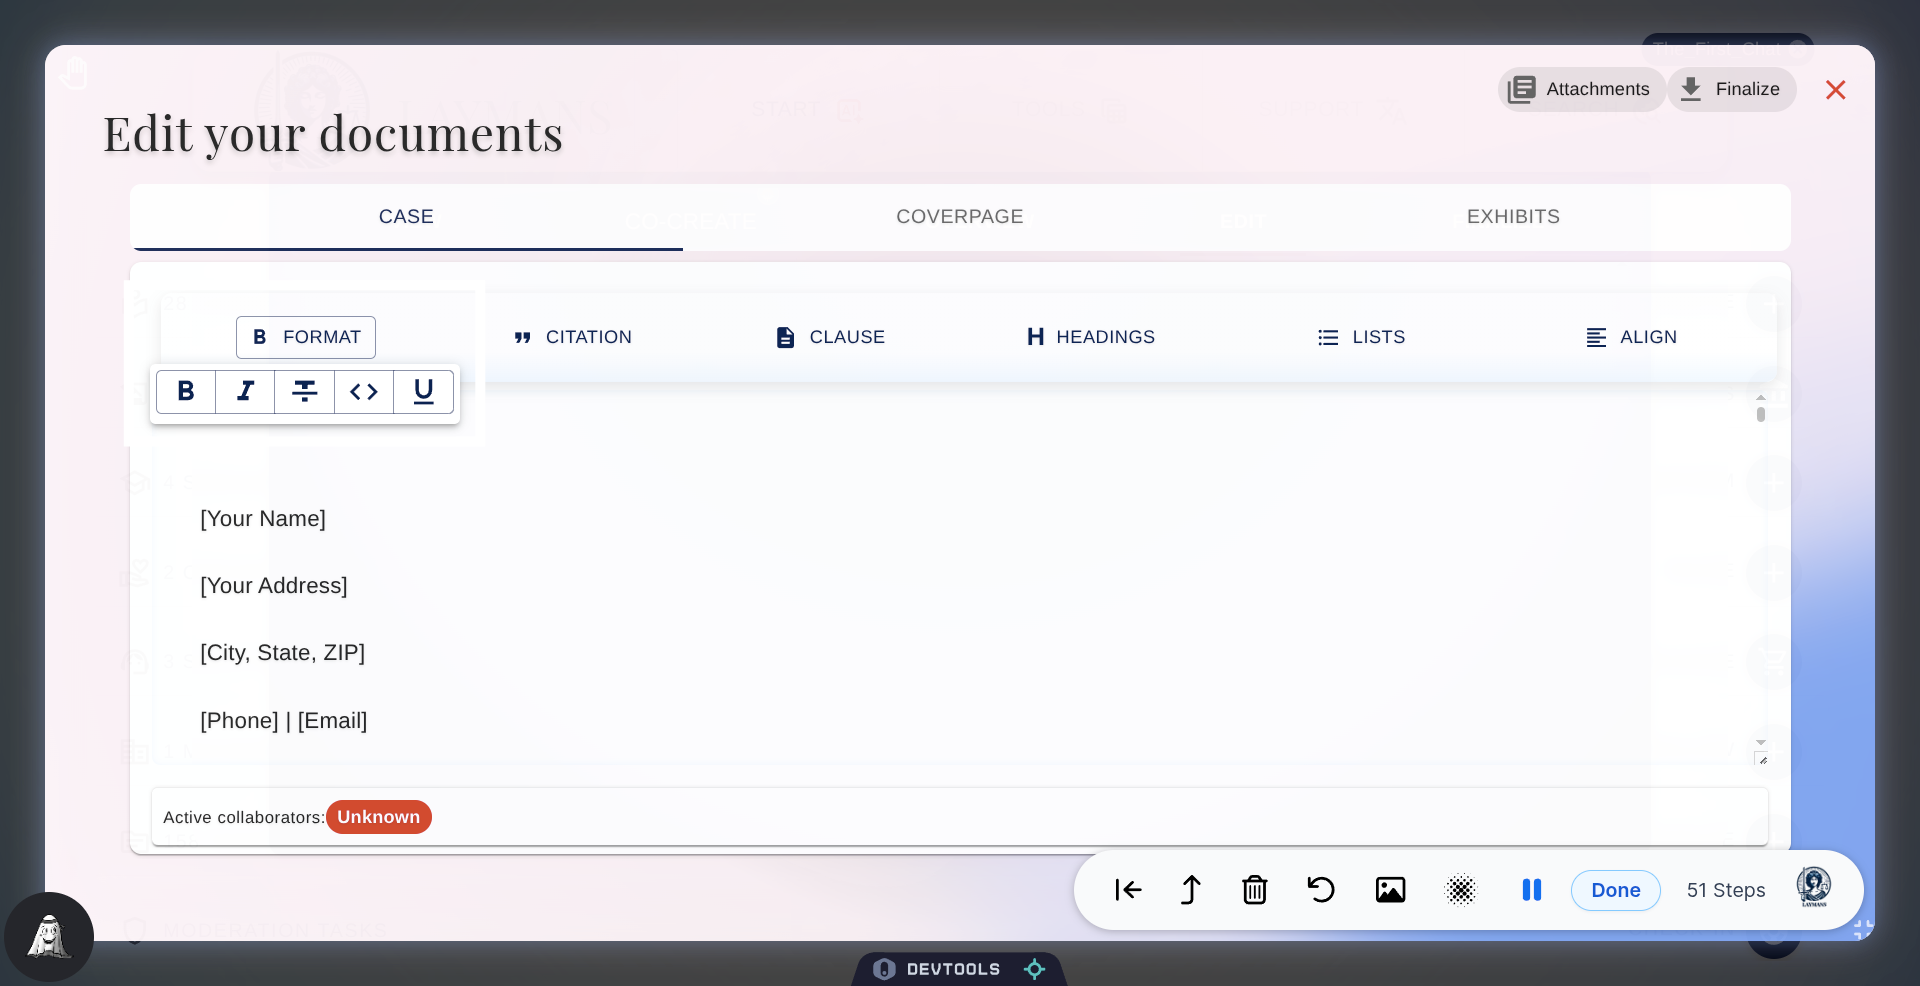
25. Click Formatting Option Link
Now let me quickly go through the other text formatting options provided by our document editor. First is "Format," which includes the basics: bold, italics, strikethrough, and underline—you know the drill.
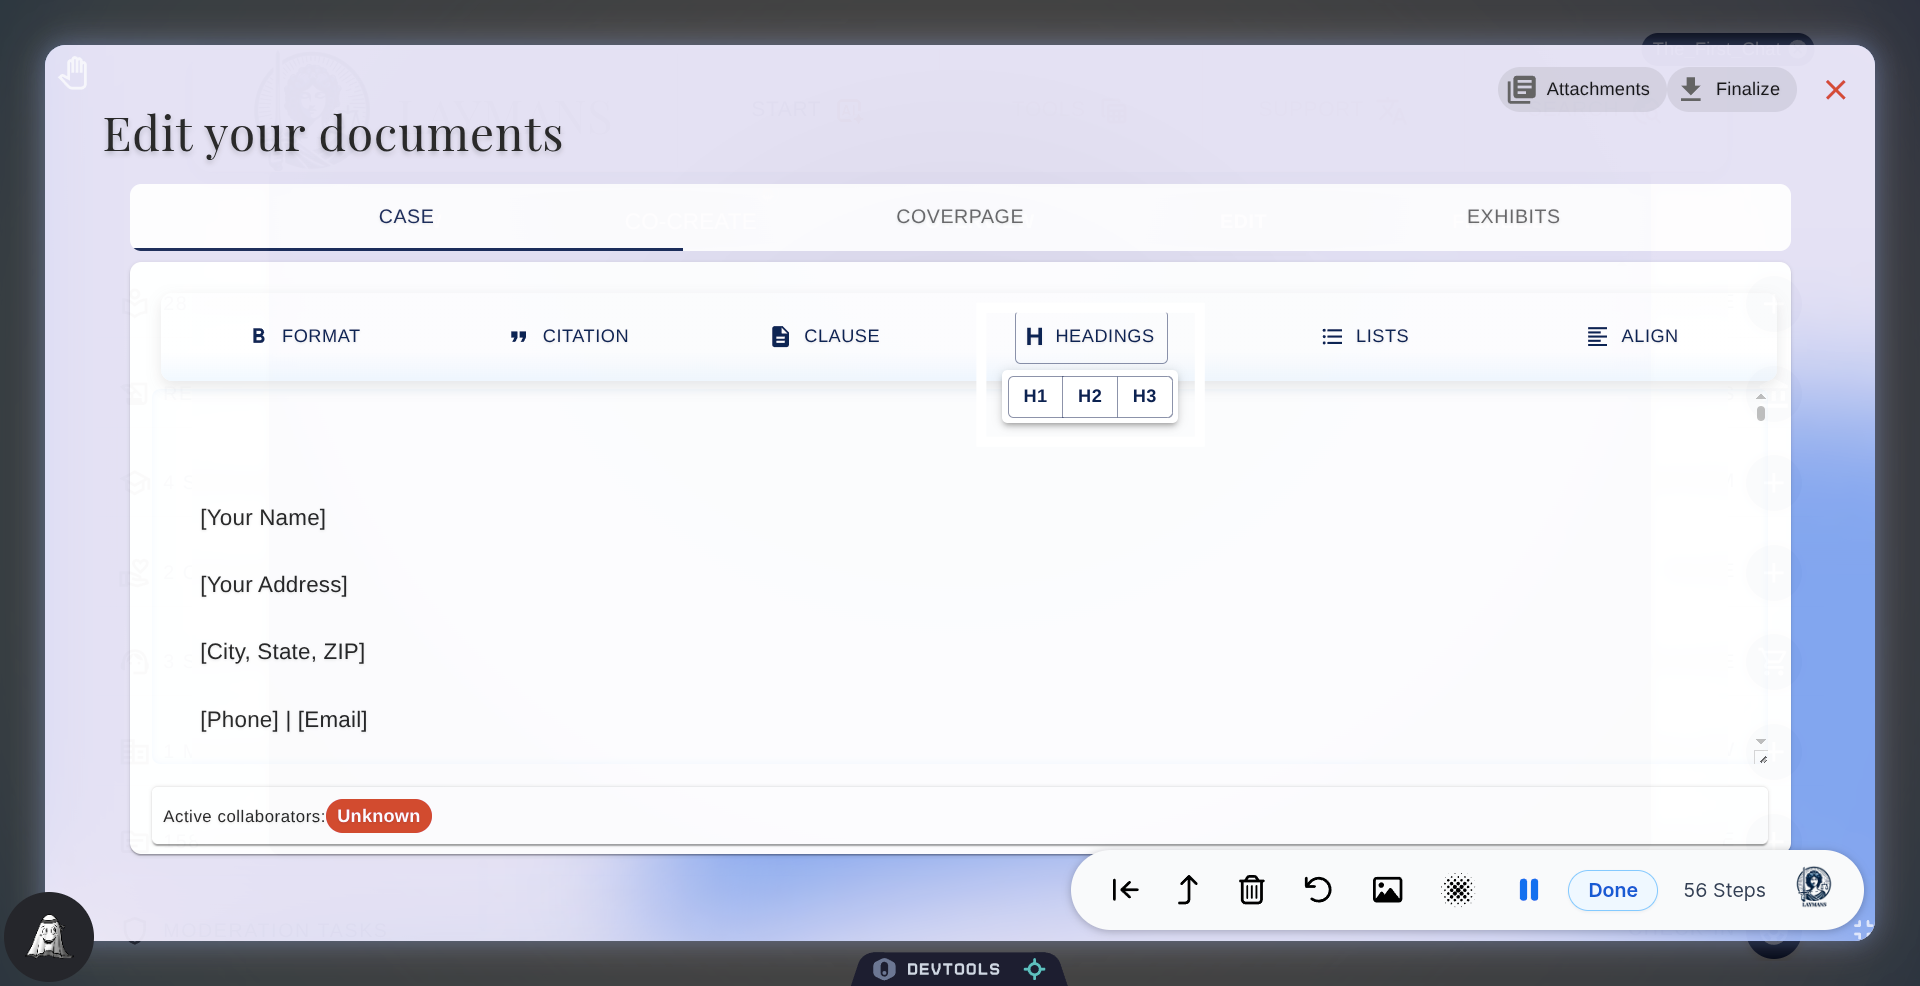
26. Select Heading Levels
Headers, H1 is biggest and most important, H3 is the smallest for little details and paragraphs.
27. Click List Symbol
Lists, allows you to make bullet point, numeric, quoted, and bracketed lists.

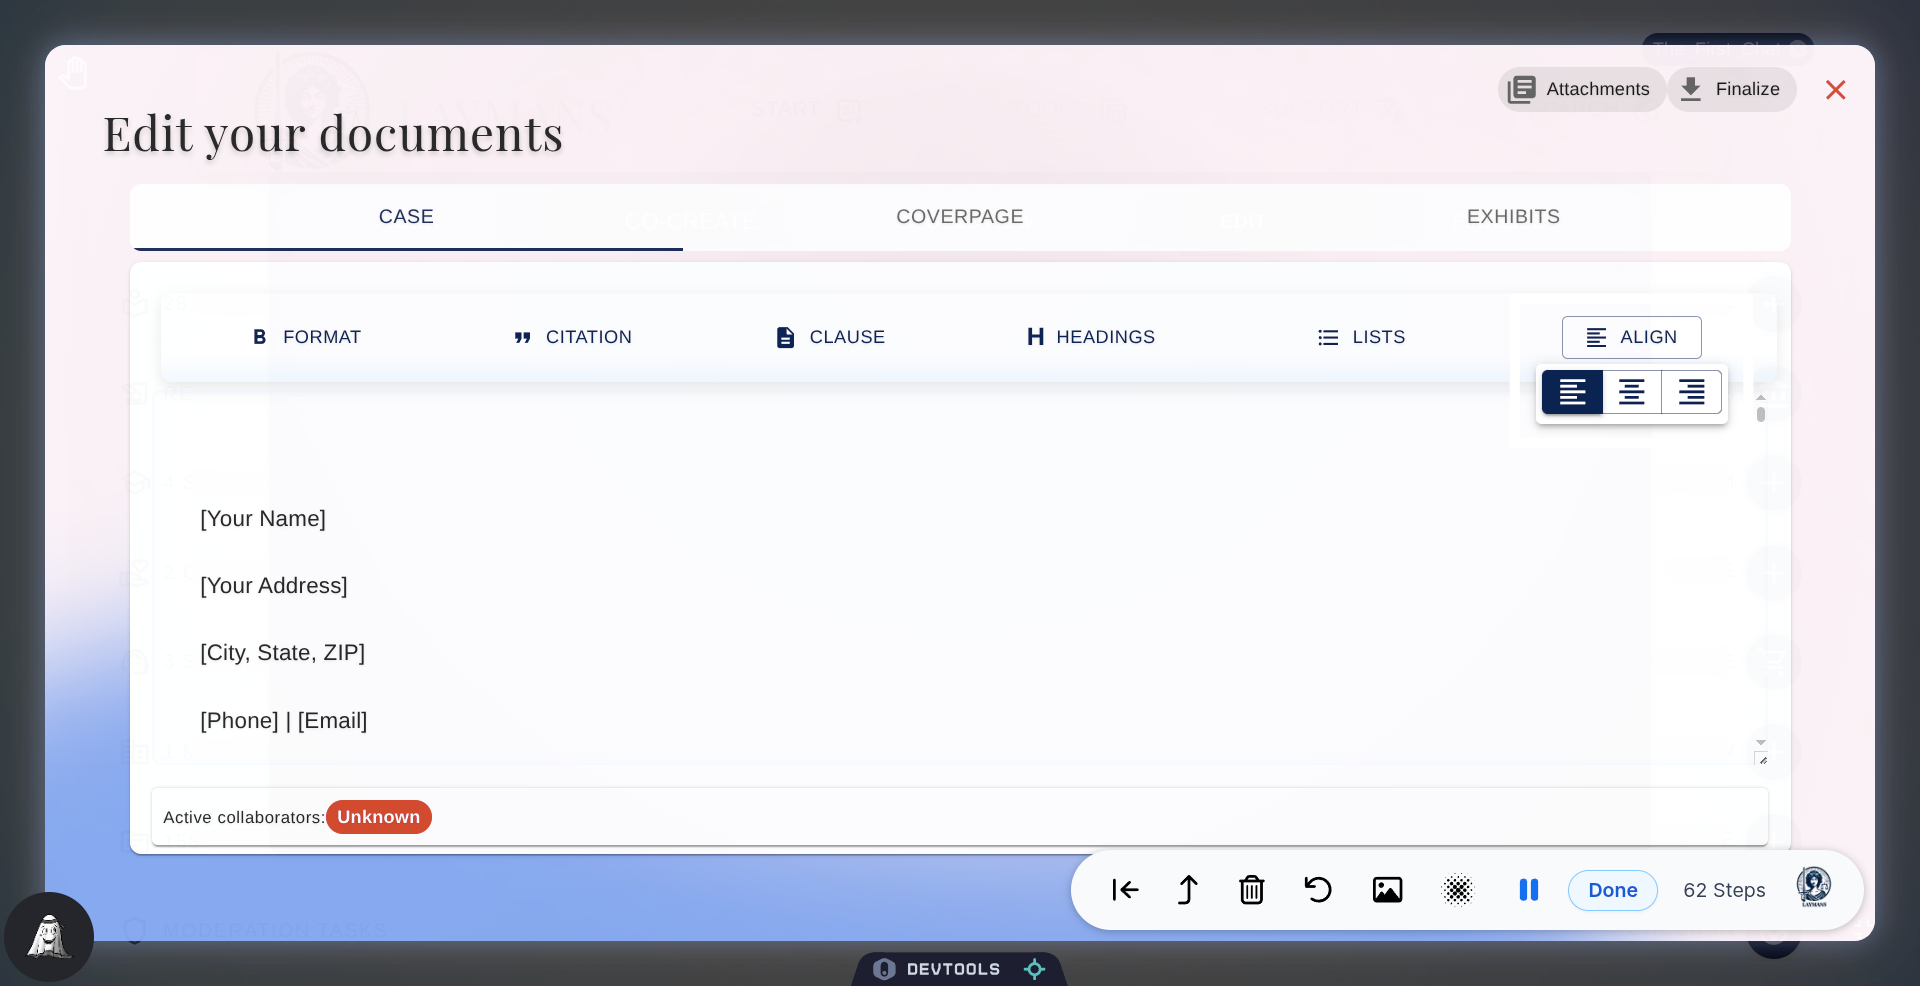
28. Click Alignment Option Link
Finally, text-align: left, right, and center -- simple and easy.
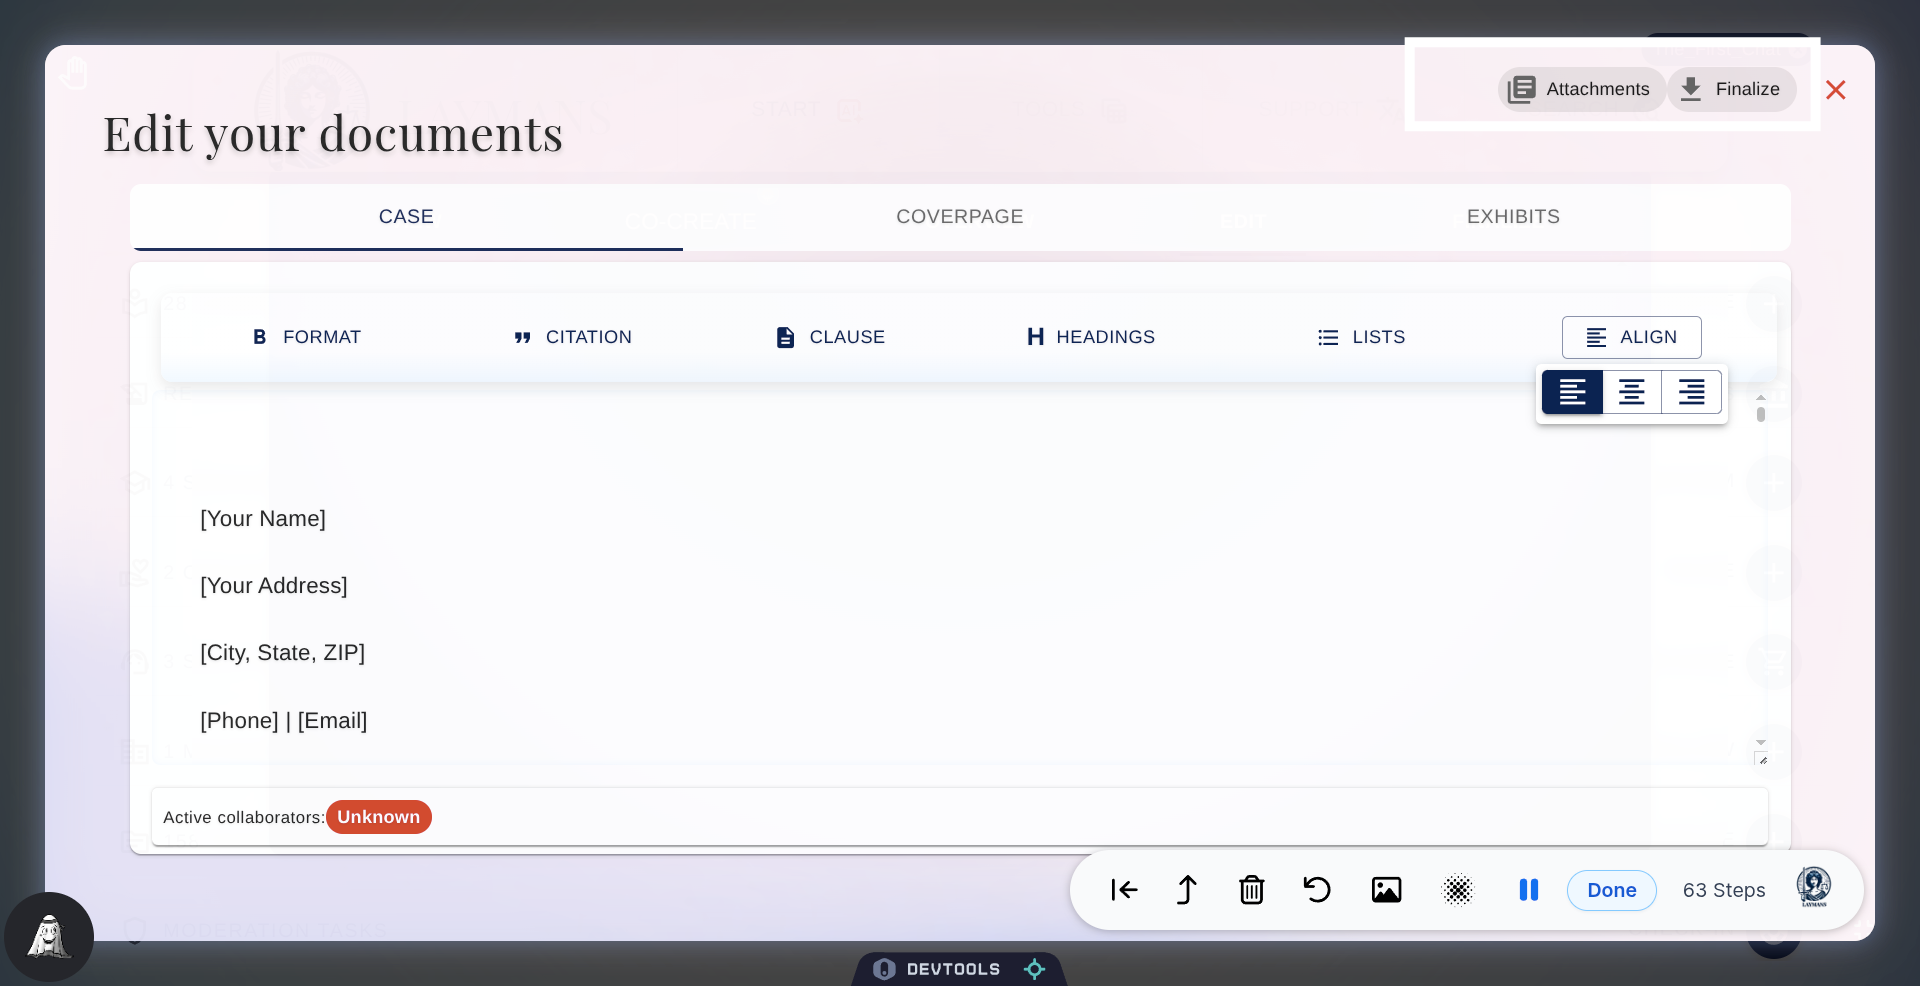
29. Attachment and Finalize
At the top right we have the action menu items for your convenience. Attachments allow you to go back to the Details page and edit the context and casefiles attached. And Finalize allows you to download this document in either a password-protected PDF or an unsecured Word doc.
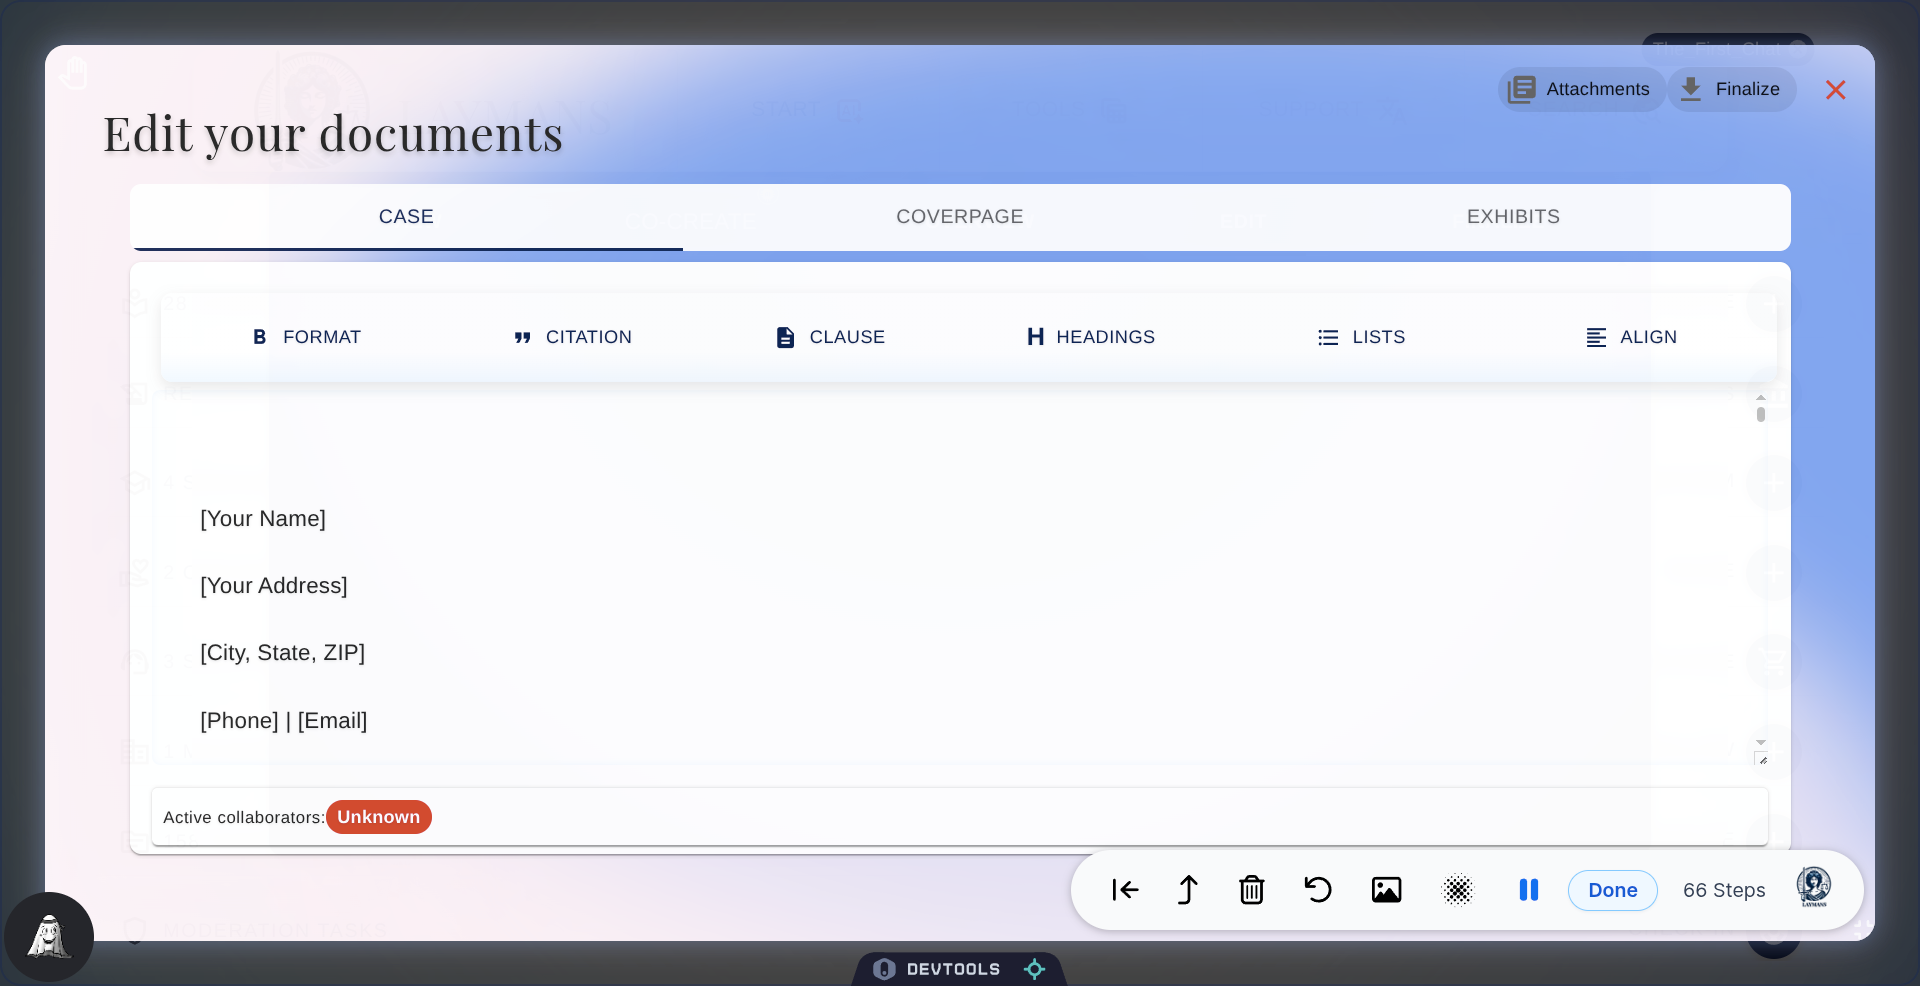
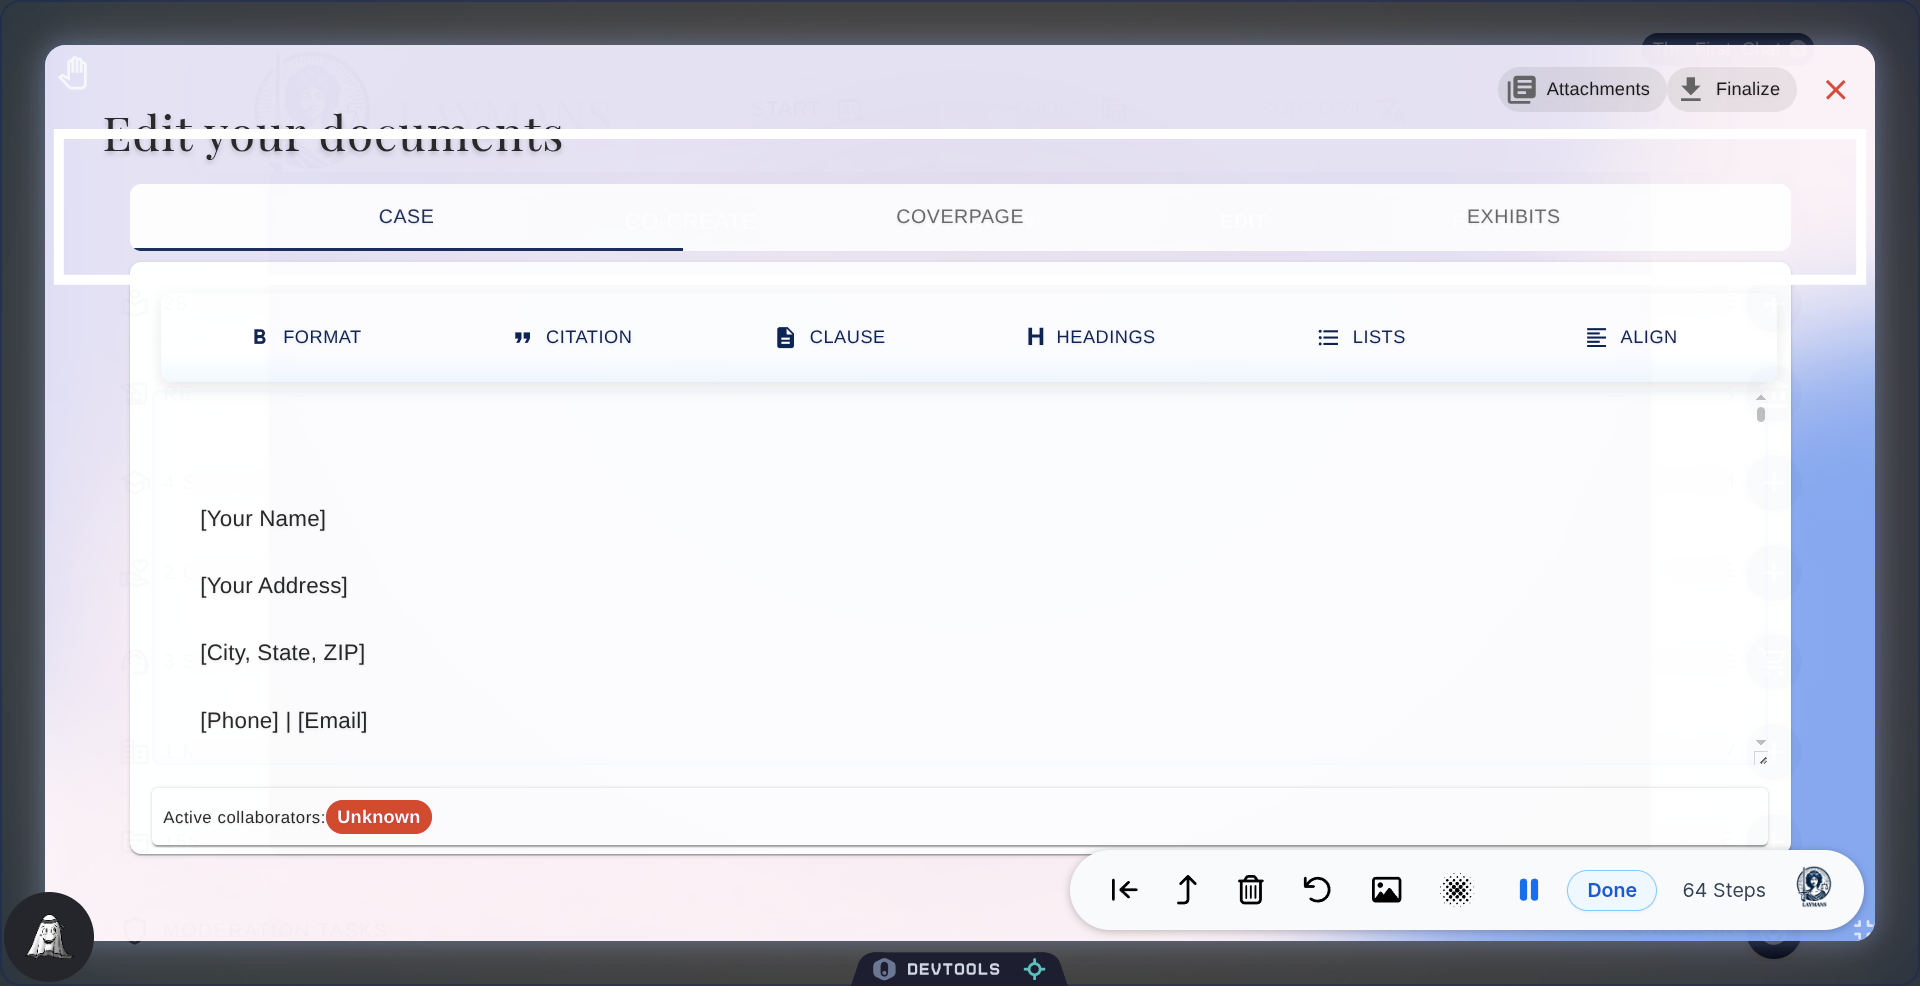
30. Editor: Case
When it comes to creating documents, we've got a special way of doing things! The first tab is all about the case, where you'll place your actual arguments, contract, or letter -- initially drafted in co-create.

31. Editor: Coverpage
Then Coverpage is your evidence cover page. I draft this automatically when you add casefiles to your case, so that authorities can know what you're relying on.

32. Editor: Exhibits
Finally, exhibits is where your attached evidence and casefiles are compiled together into one document, so that other people can see what you relied on. Our approach is based on the pro-se litigant standard of drafting most American judges have accepted in the past.
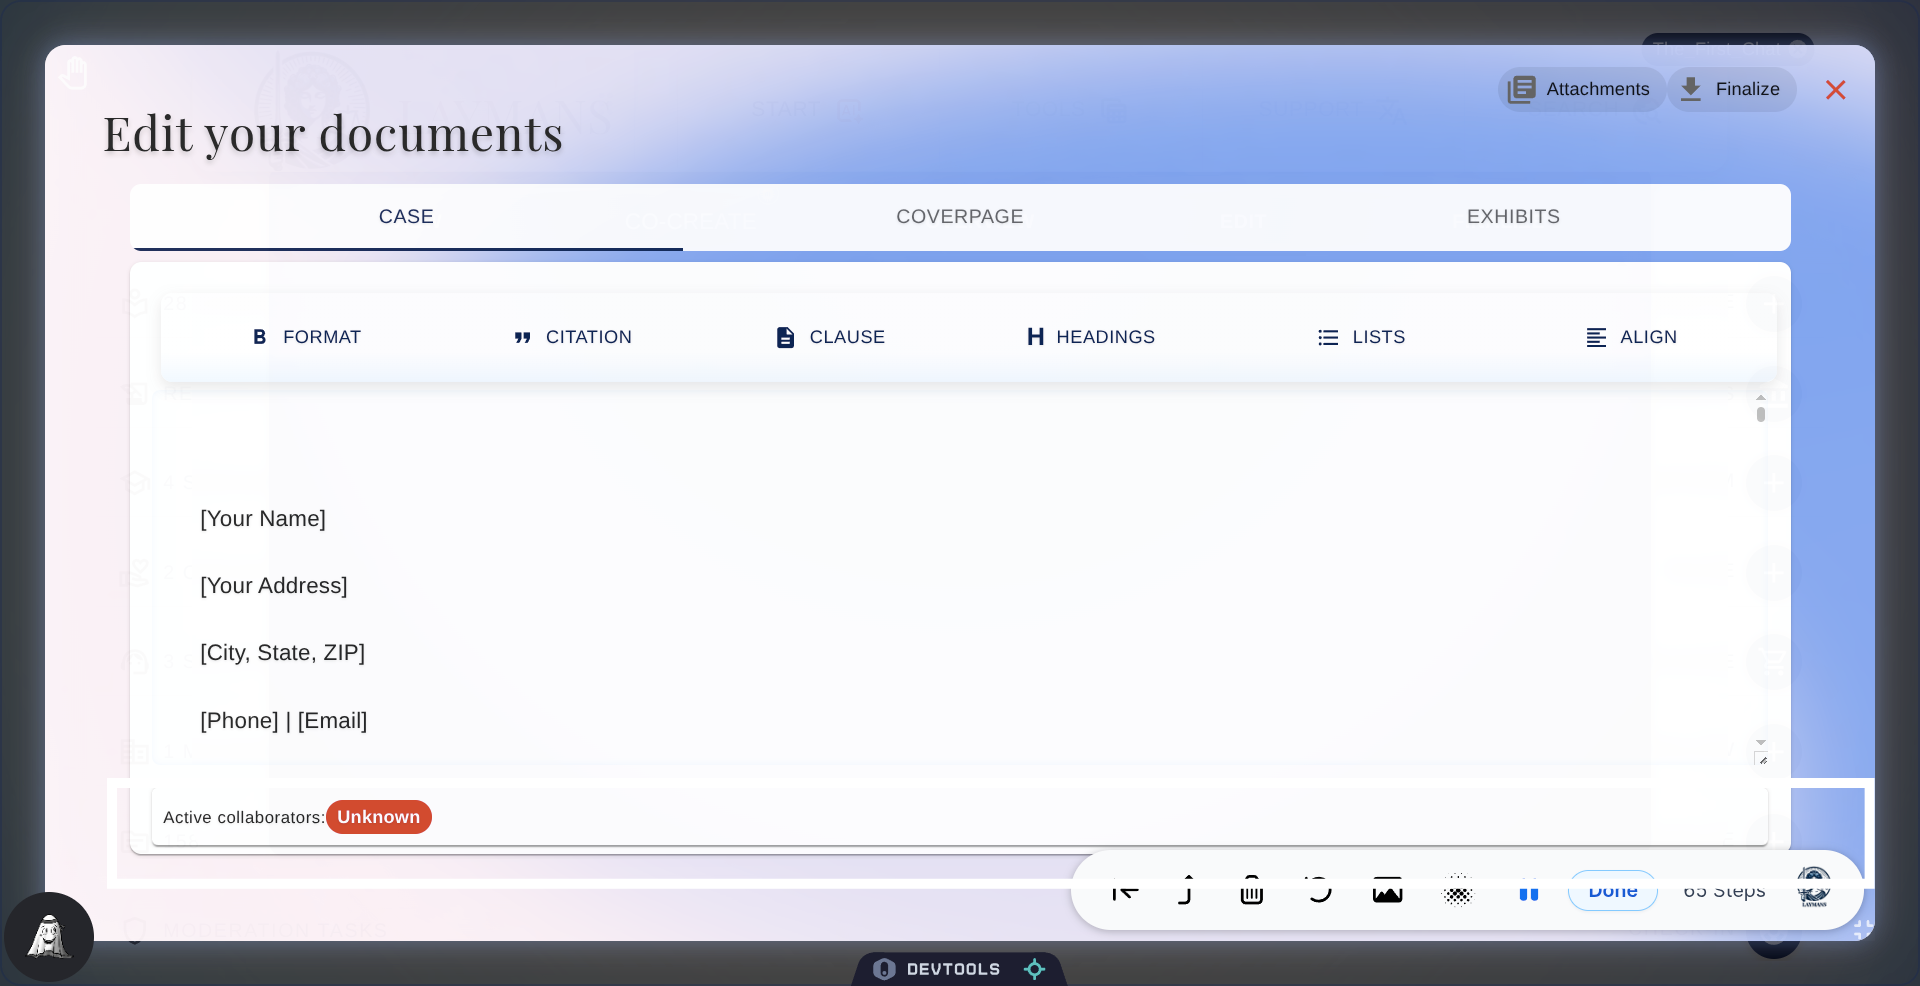
33. Secure Document Collaboration on Laymans
The last thing I want to draw your attention to is the Active Collaborations line on the bottom. Yes, our text editor is secure and collaborative; multiple people with access to your case—like you and your representative and their teammates—can work on the same document at the same time! When other laypeople enter, you will see a notification on this bar and their live cursor.
34. Conclusion
That's it for all the features of our text editor. Our goal in supplying a text editor is to allow you to meaningfully and seamlessly work with AI on your legal materials. We also aim to provide a secure stack for collaboration, as we own all of the relevant infrastructure, allowing you to achieve Google Docs-level collaboration without the price or security risk. Finally, we strive to provide a text editor that is deeply enmeshed with the needs of law. Our export feature allows you to freely check out and check in your documents as you work on them, completing the cycle of researching a legal issue, consulting Laymans to create a rich draft, adding materials to your draft, and making final edits . Next up is finalizing your case and retrieving the PDF download. See you soon.