Build Your Case Using the Project Details Dialog
Quick Start
Go to www.laymans.app to get started with the Project Details Dialog.
1. Introduction
So there are three ways to build on your case in Laymans. The primary way is talking to Layla via Co-Create under Start in the Power Bar. The second way is to adjust your case's variables directly in the Project Details Page in Overview under Start. Let me show you how.
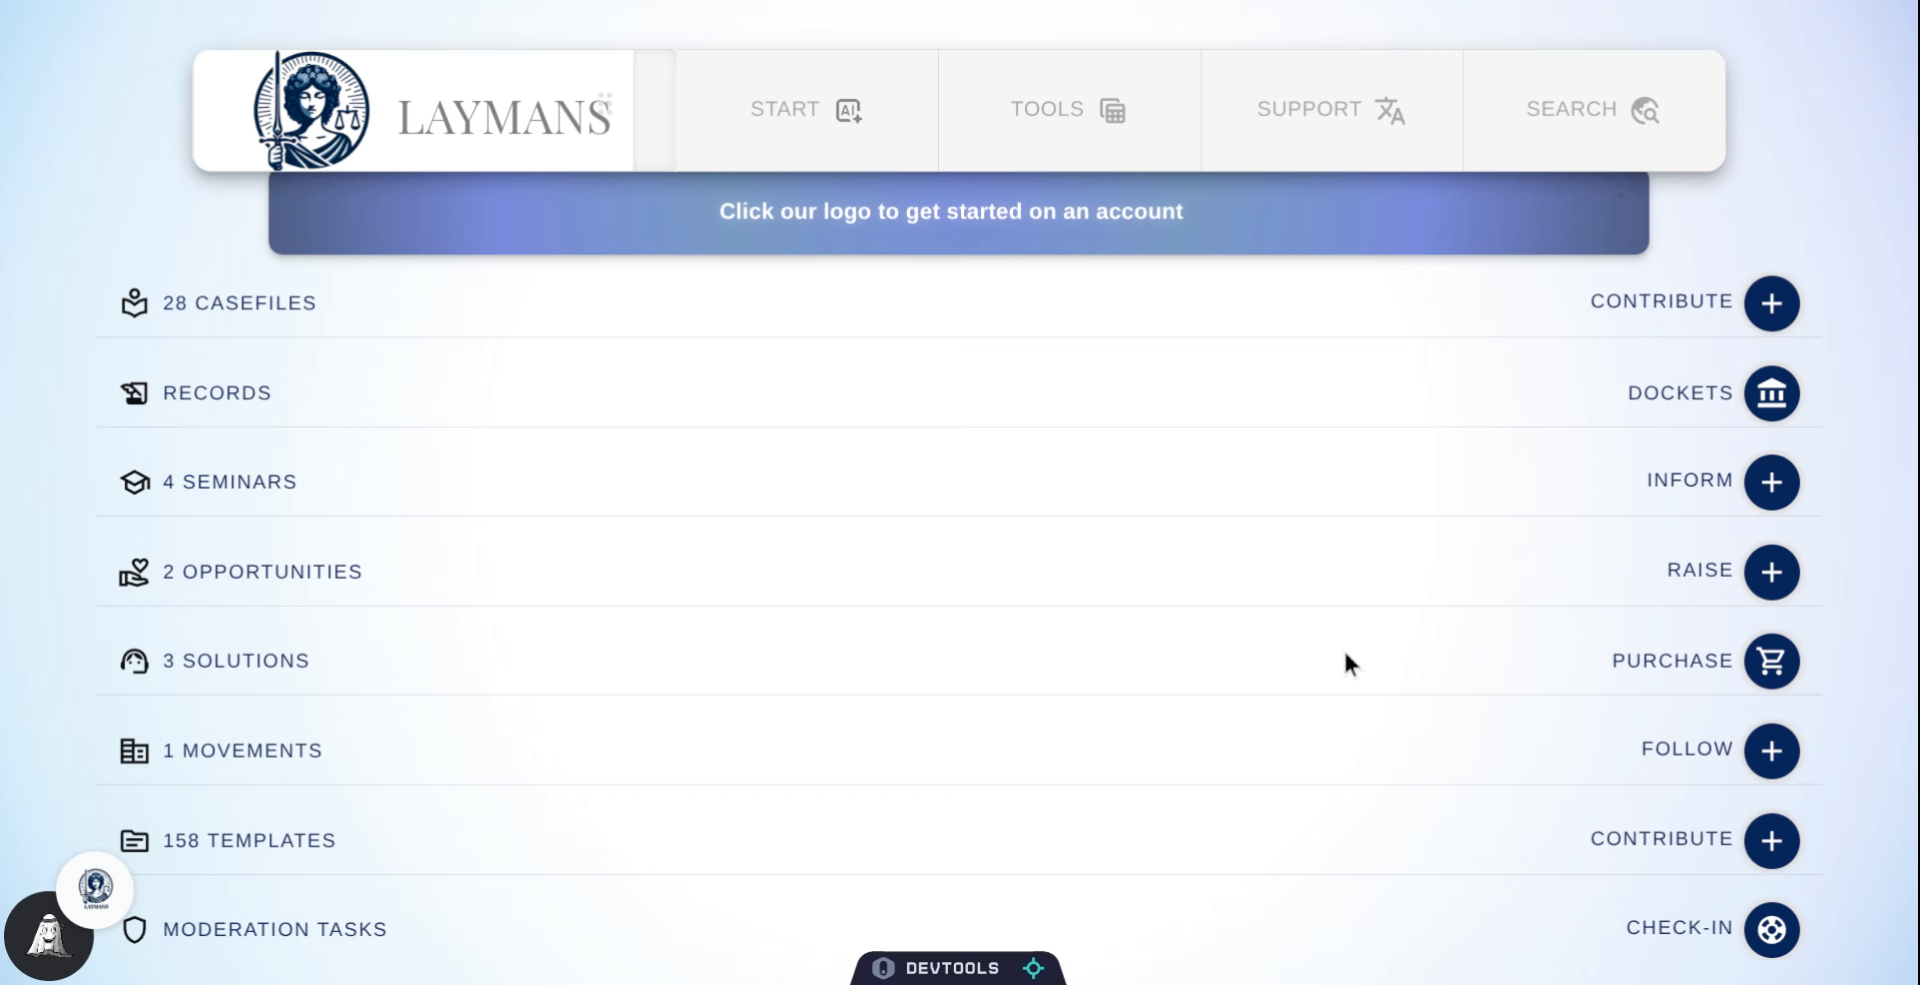
2. Click Start Button
First, click Start to work with everything related to your case.
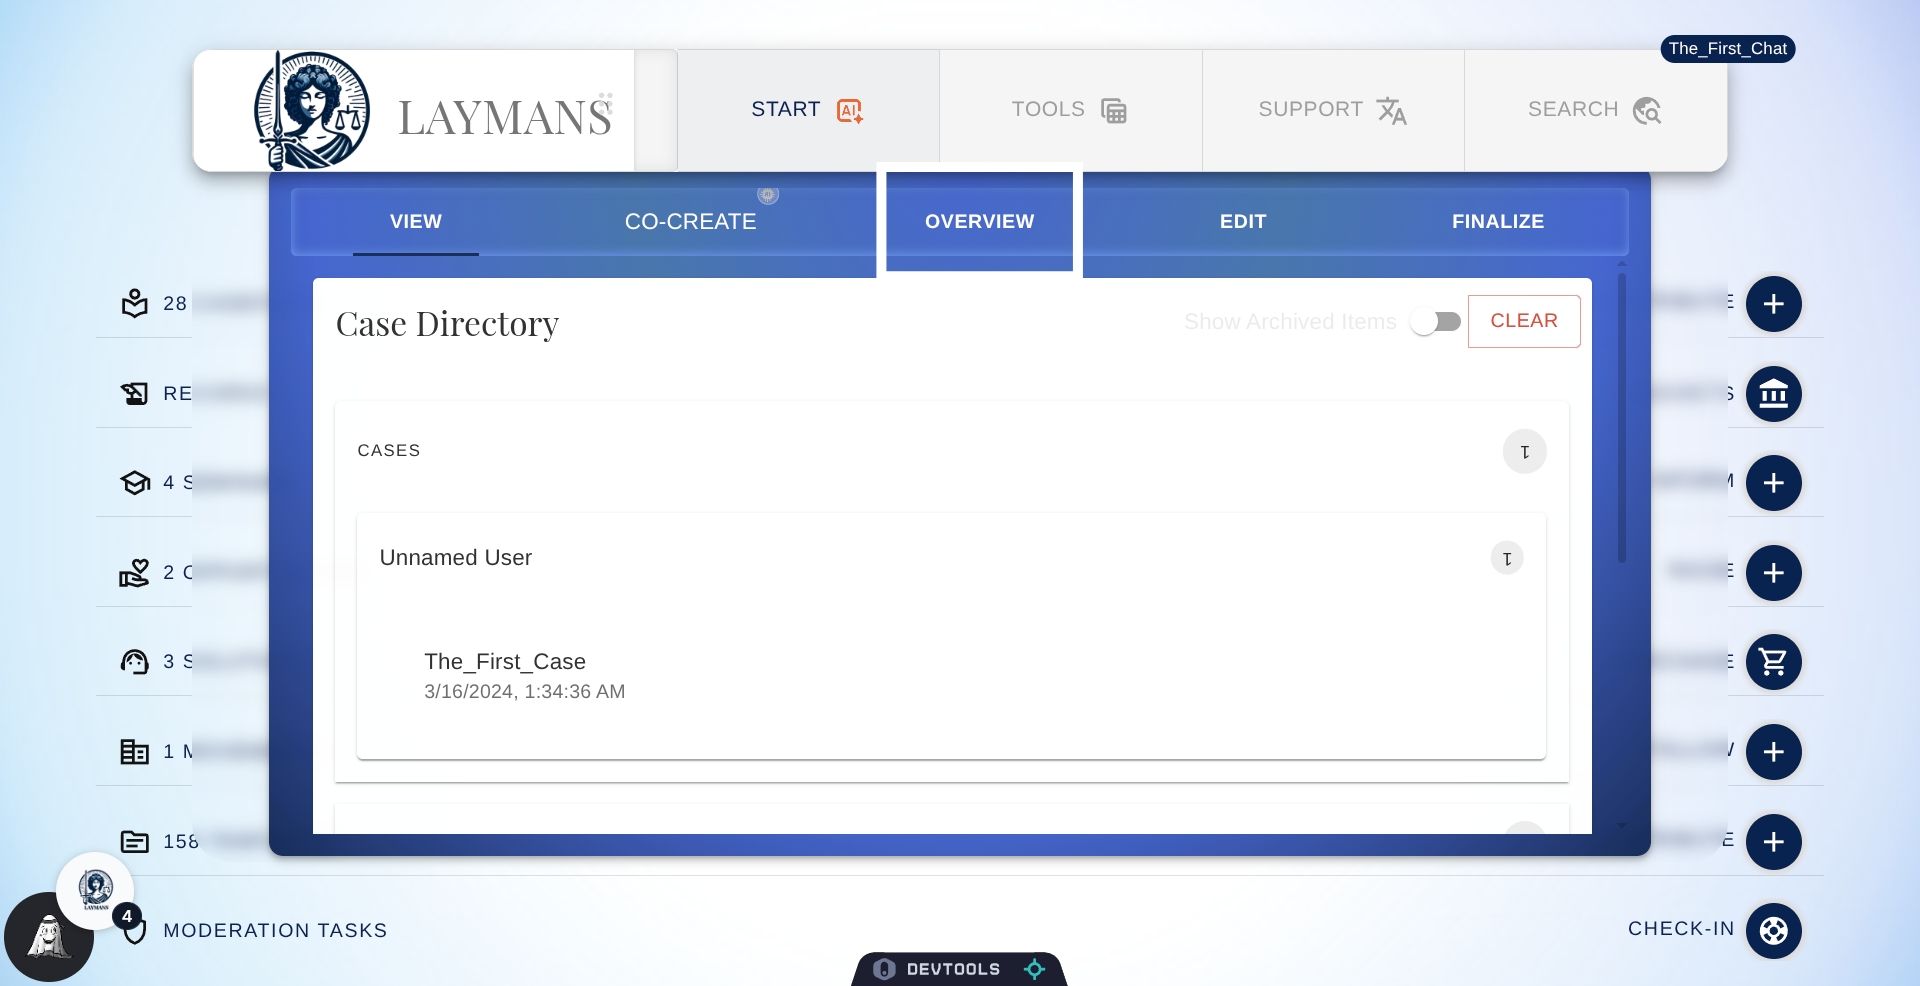
3. Click your Case
Set your case context by clicking on cases, navigating to your name, and picking the corresponding case's title. This guide assumes you've already read how to start a case and have begun one.
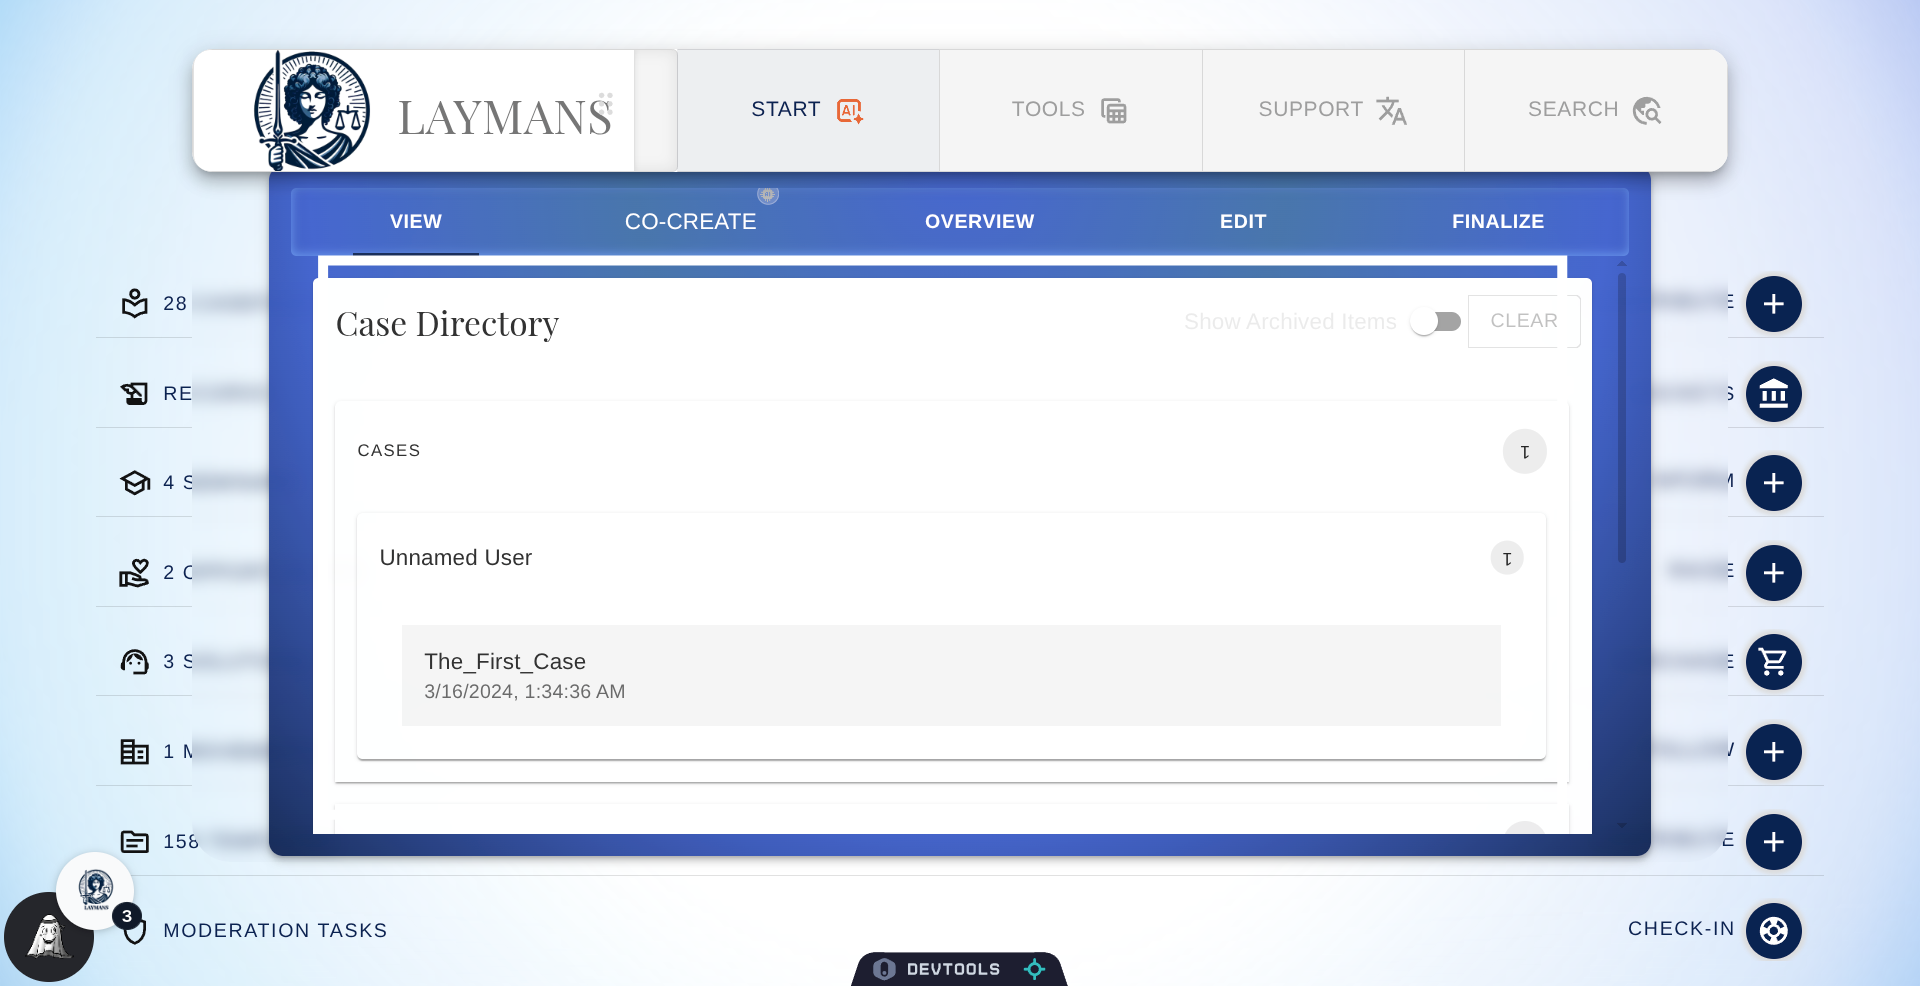
4. Access Overview Tab
Once the case context is set -- that little blue chip on the top right of the powerbar -- we can head to Overview to view your Case Details.
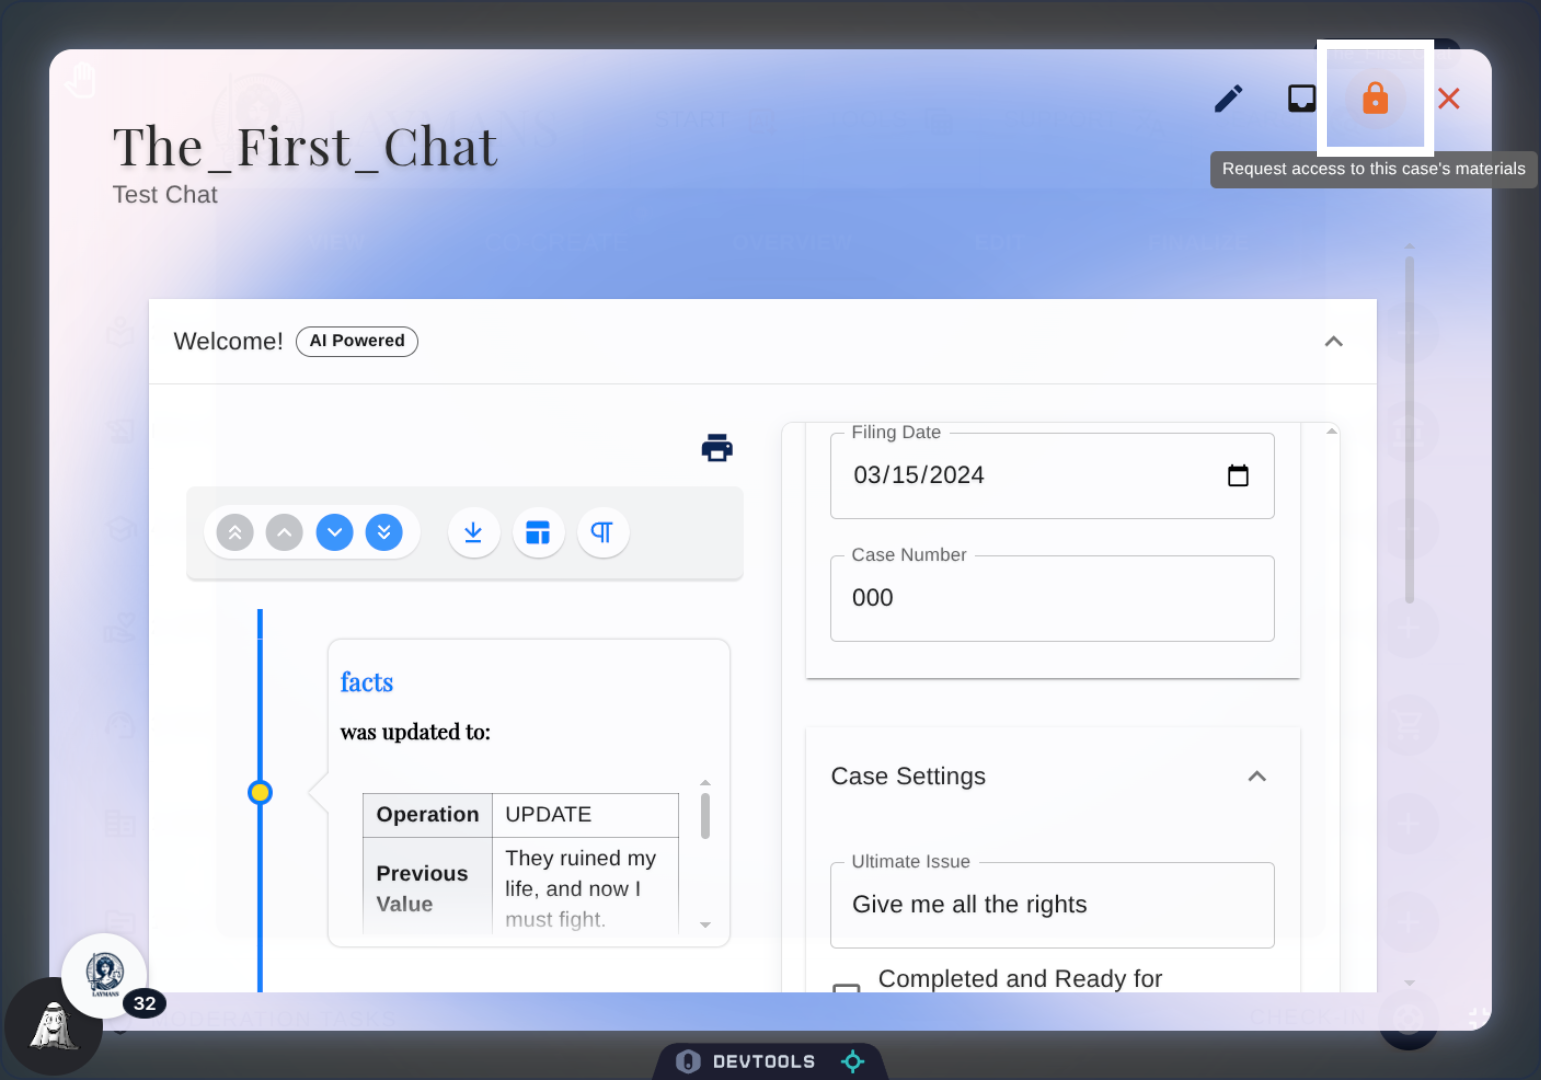
5. The Project Details Dialog
Awesome! We're here. The Project Details dialog is your living summary of whatever case context you're working on. If it's a Seminar, you'll be navigated to the seminar's detail page; if it's a briefcase, you get the Briefcase dialog, if it's a case, you get this—a clear timeline of all edits to your case (AI or human) and a form on which you can edit the data I use for writing legal documents.

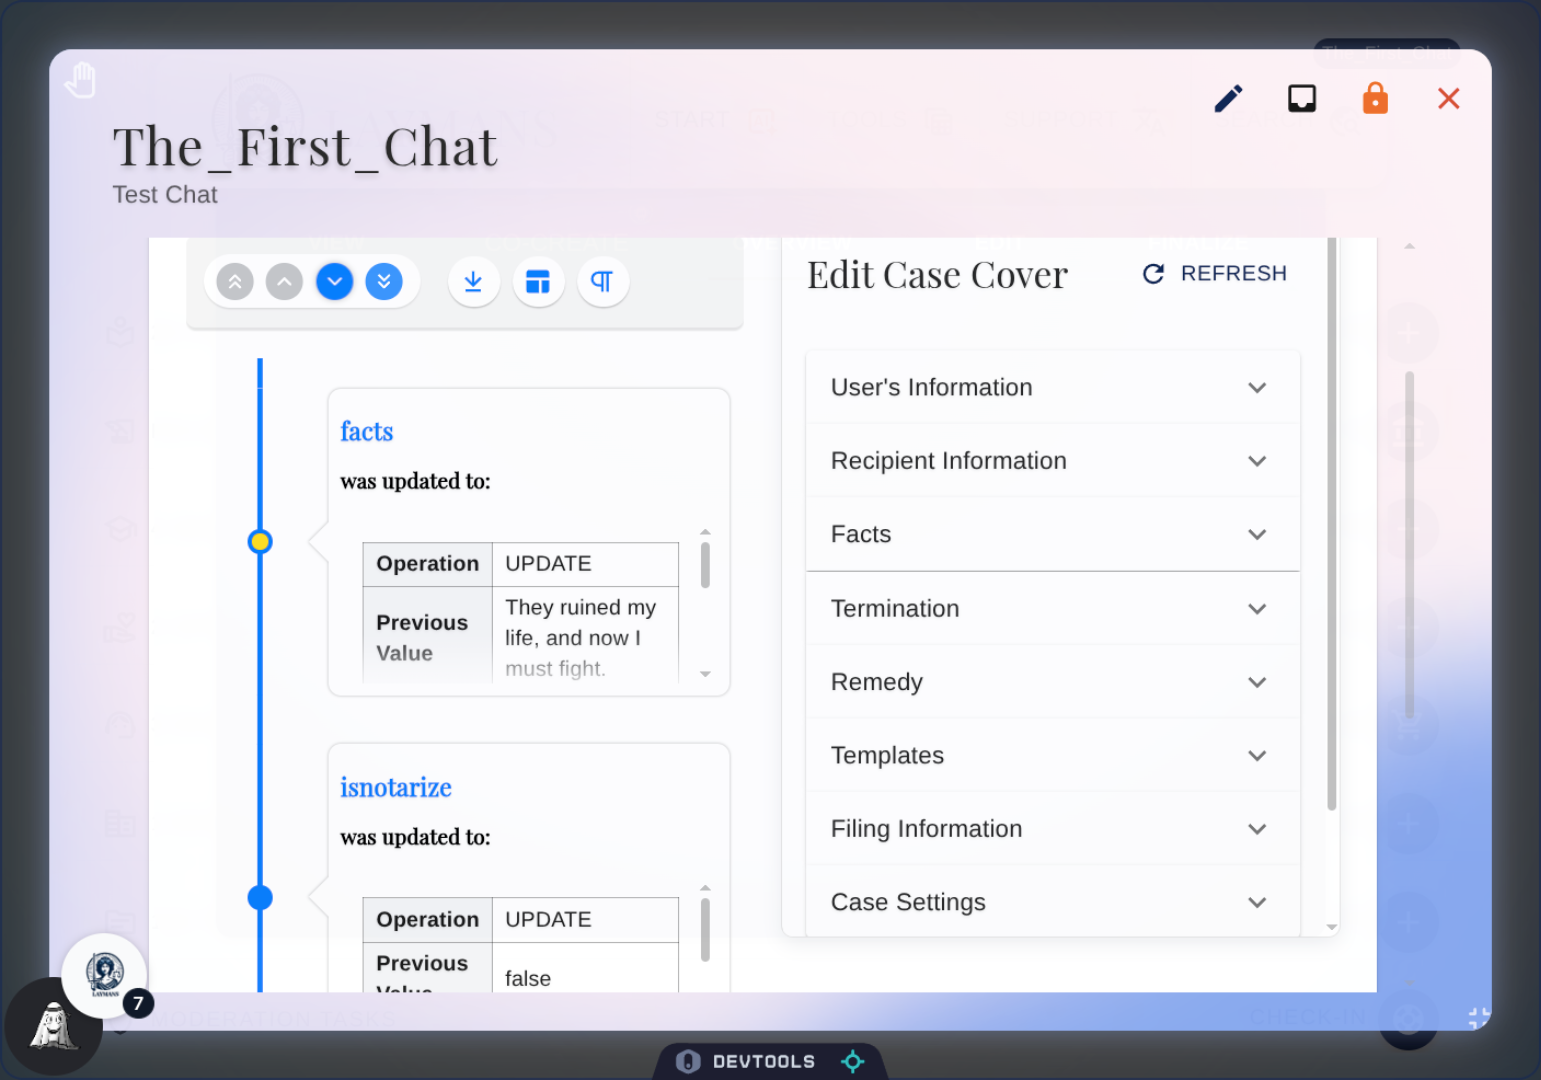
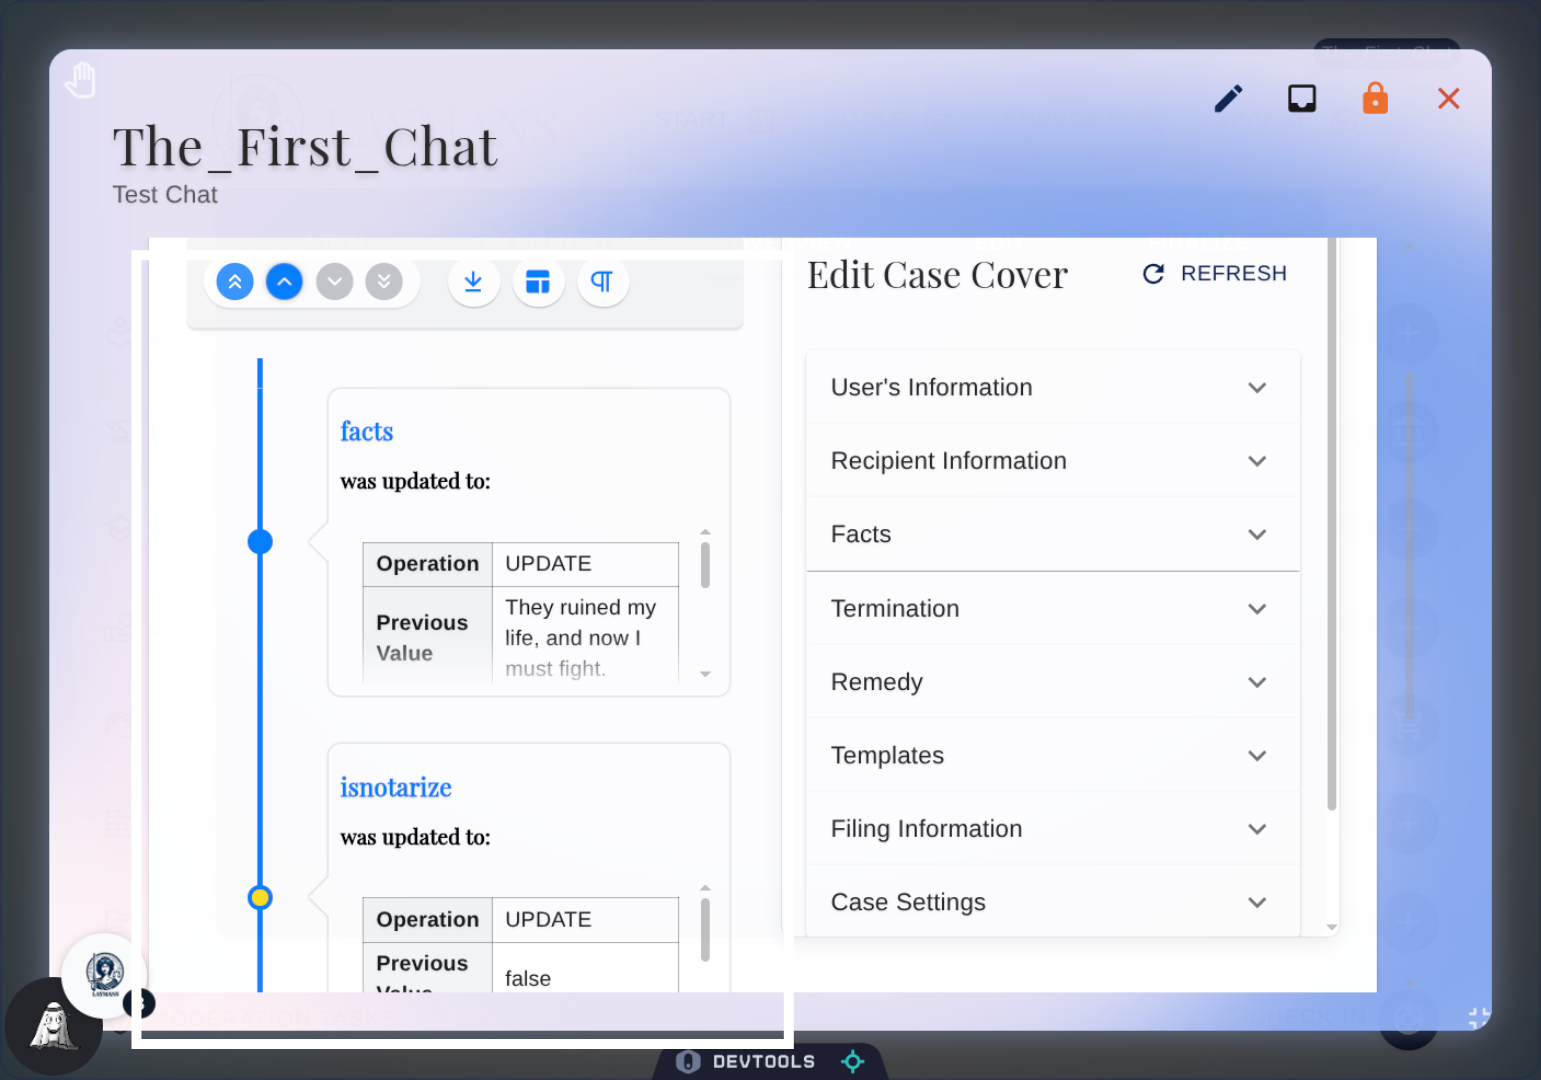
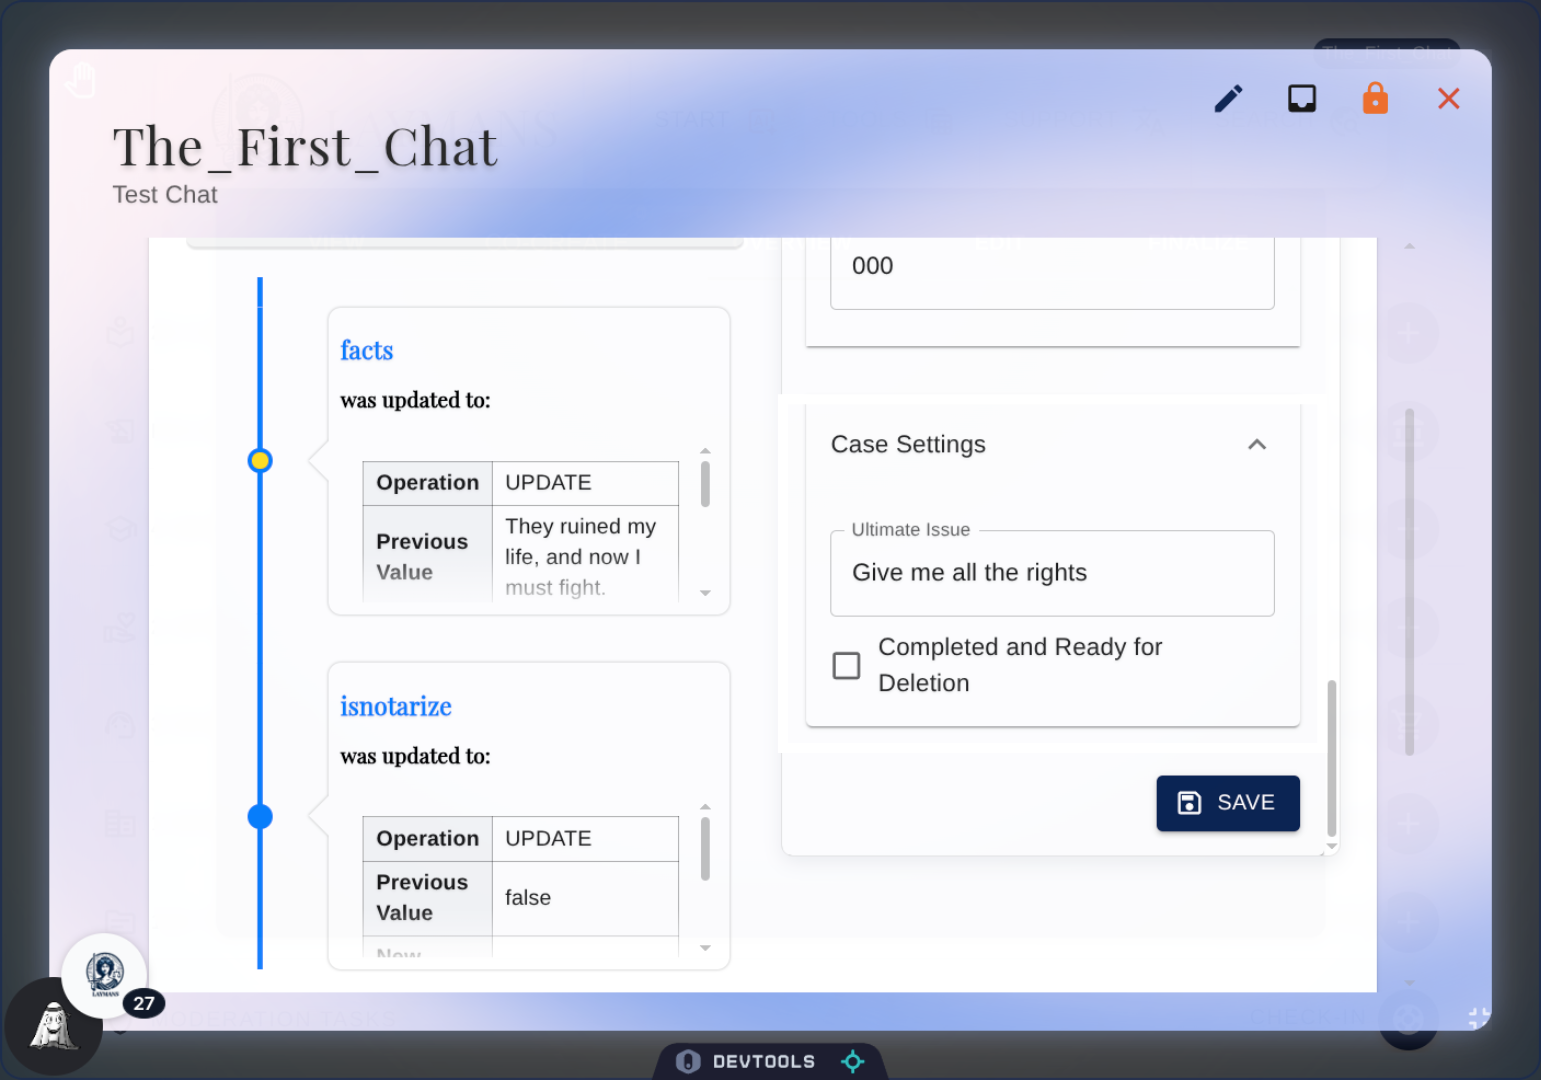
6. Case Timeline
You can easily and quickly download or export your timeline if need be for further analysis via the buttons here.
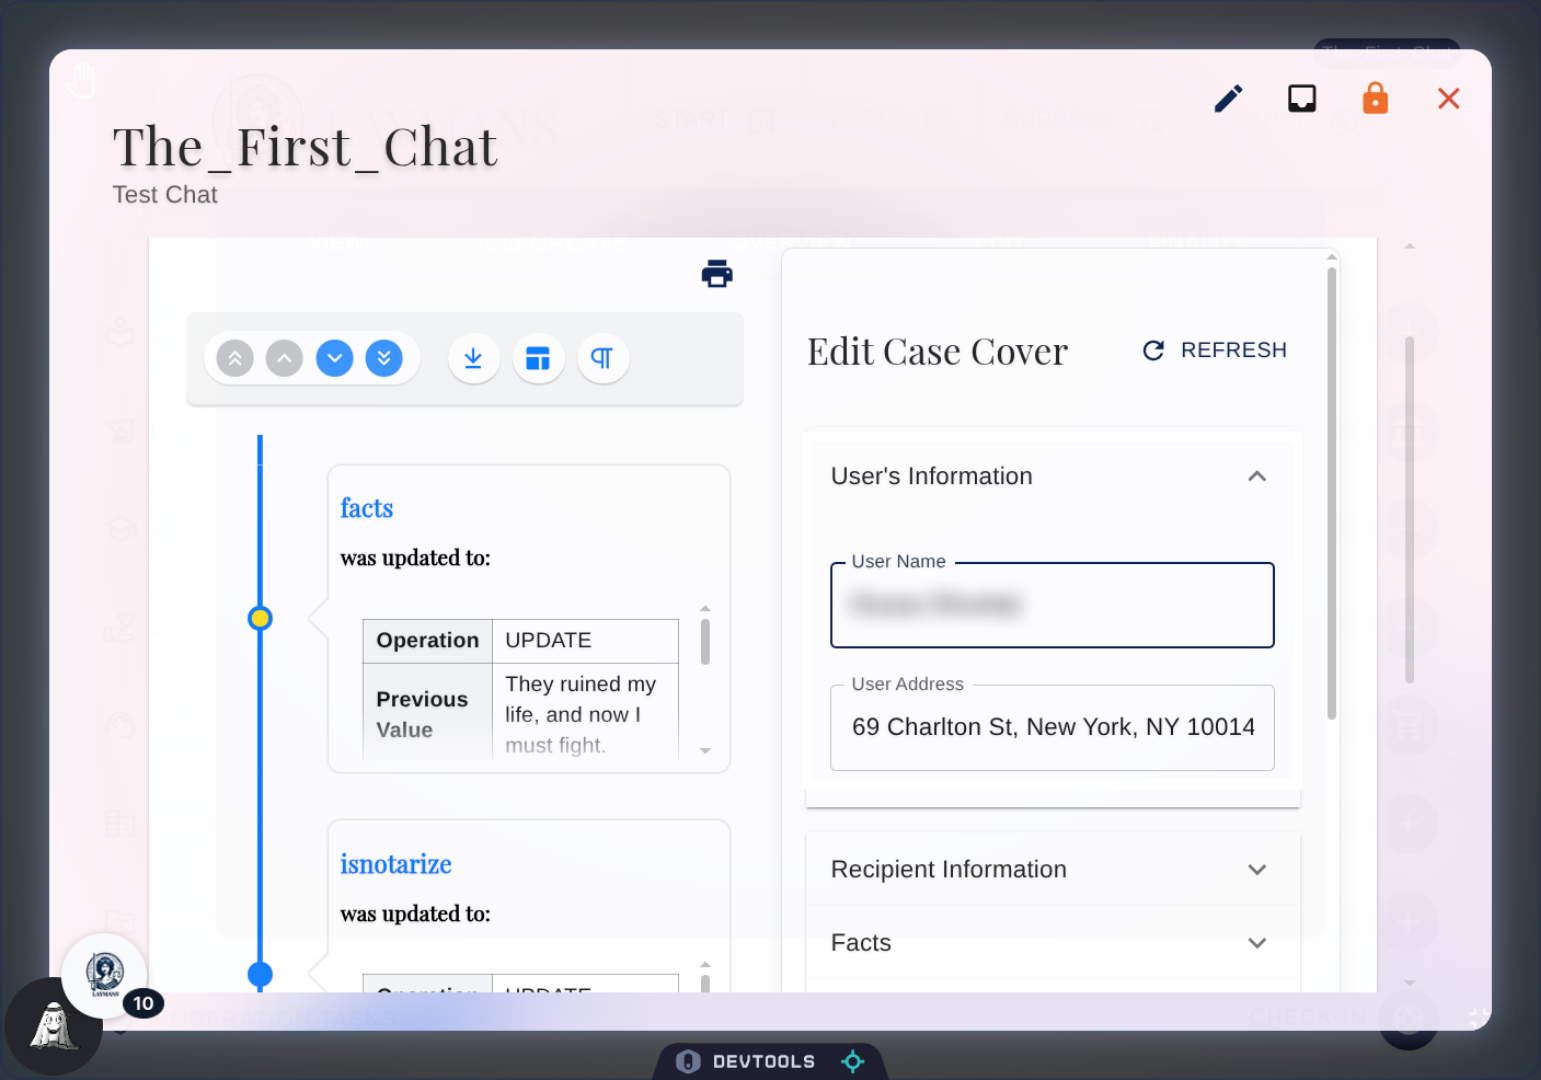
7. Select User Name Field
Let's quickly go through the variables, first is your information -- the name and address -- that will be on documents. Email and county used for parsing any billing and repsonses.
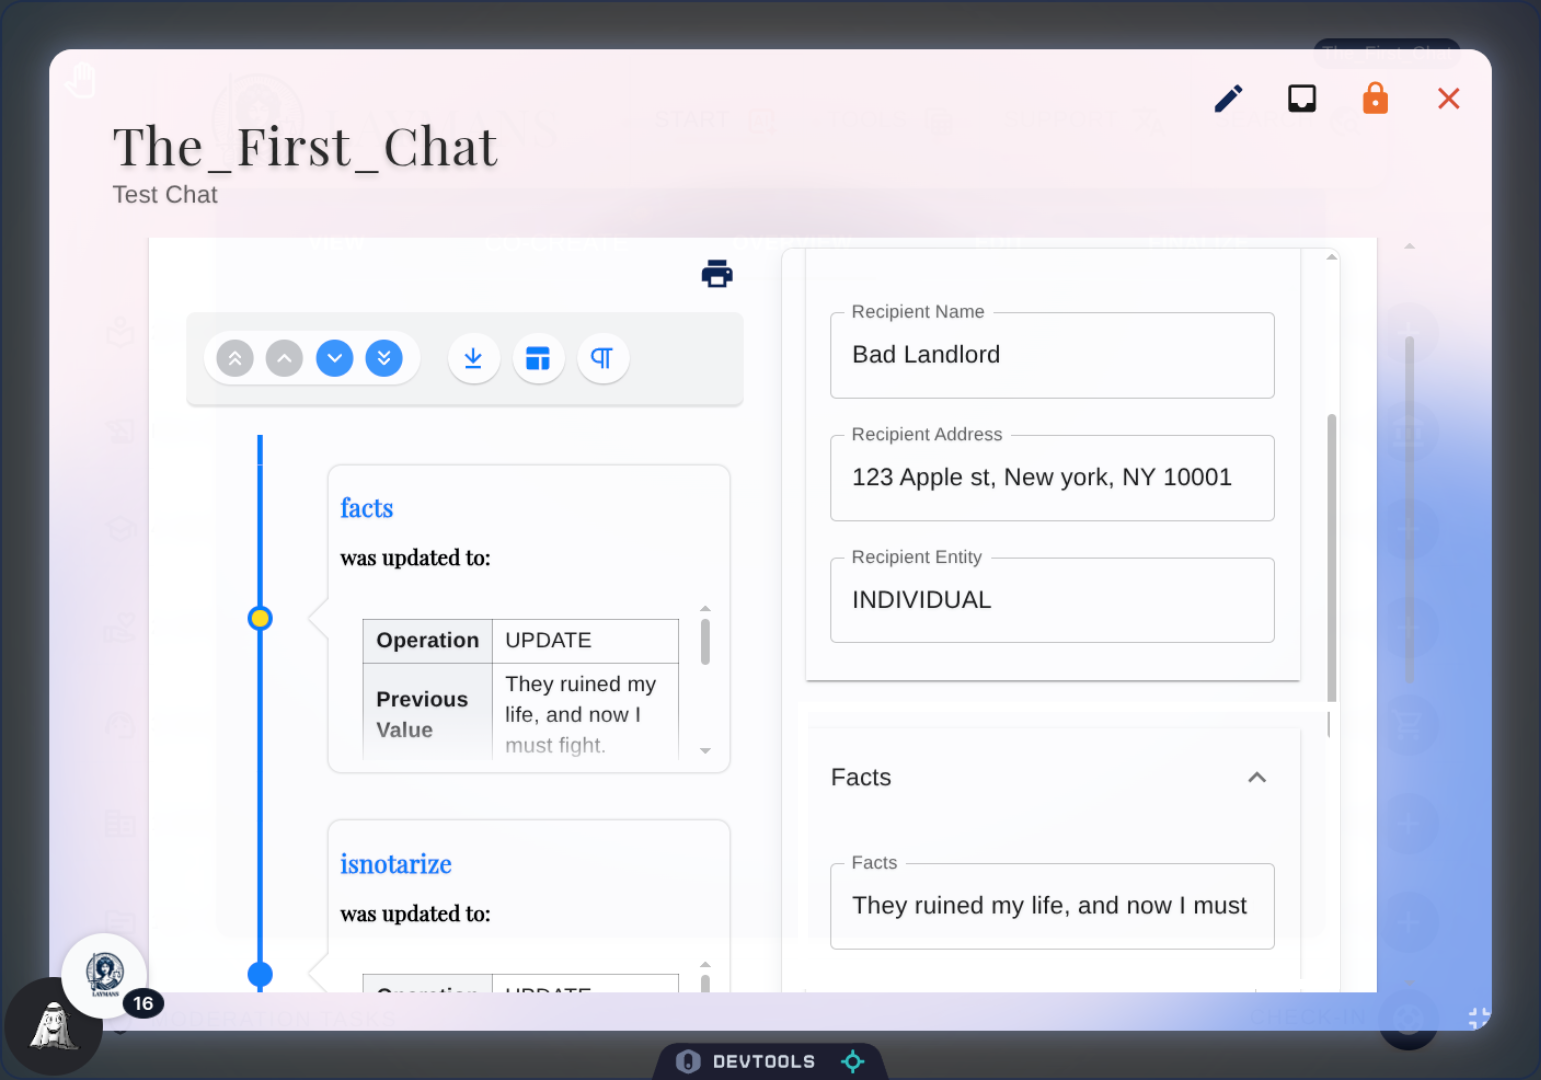
8. Select Recipient Information
Next is the receipient information to be placed on legal documents -- tied back to our defendants directory for record keeping.

9. Select Facts
Then there's facts, the written report of your issues given by you and arranged by me -- along with any casefiles you attached to this case.
10. Review Termination
So this is the simple arrangement of your termination conditions, i.e. when would you give up this case?
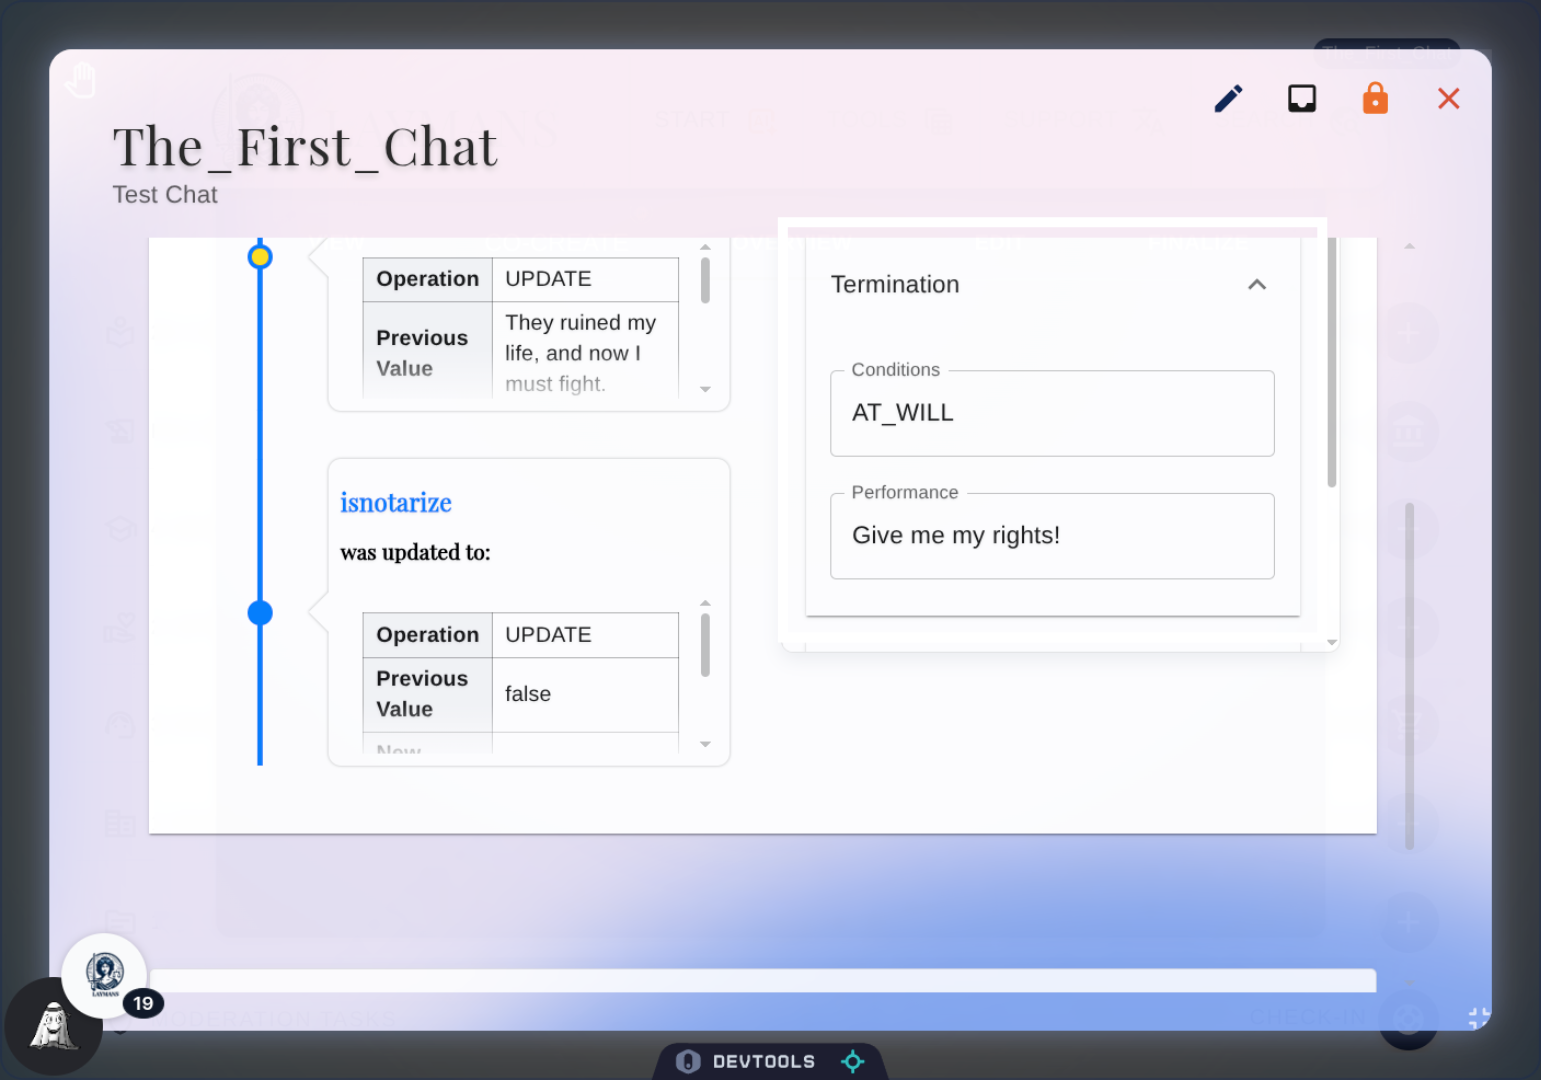
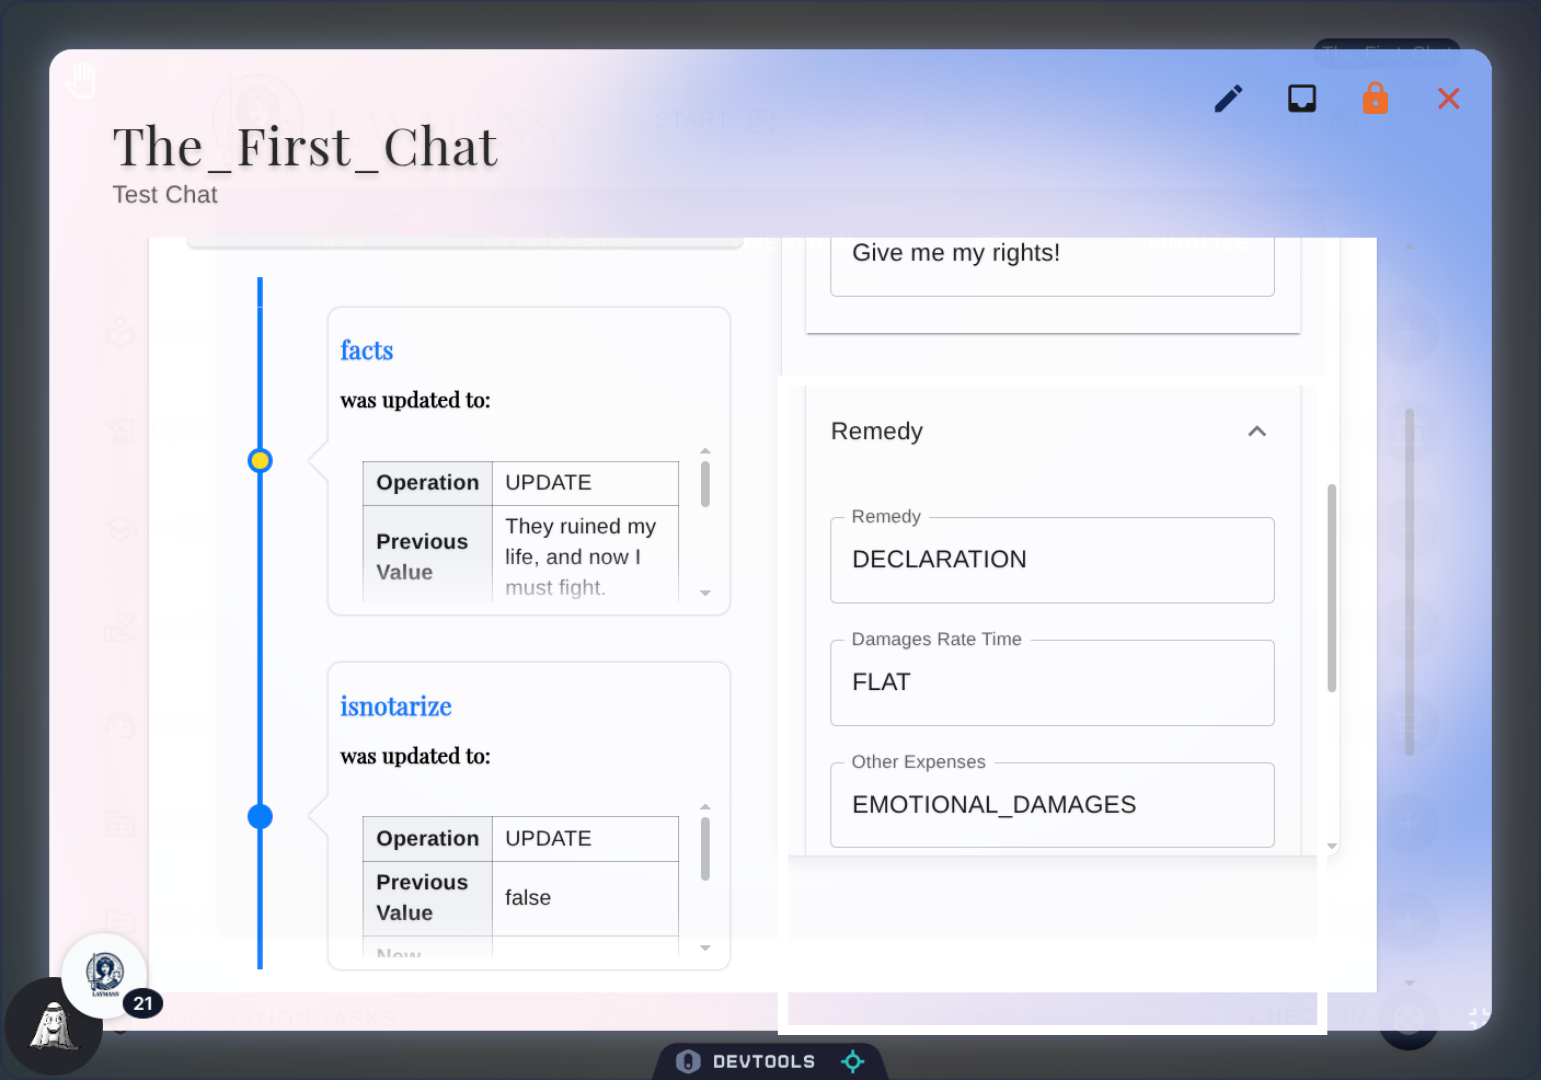
11. Select Remedy and Damages
After that is one of the most important categories - remedies. Essentially, what would make the situation better? Why are you bringing ths claim? Or if it's a contract, what's the value of the contract.
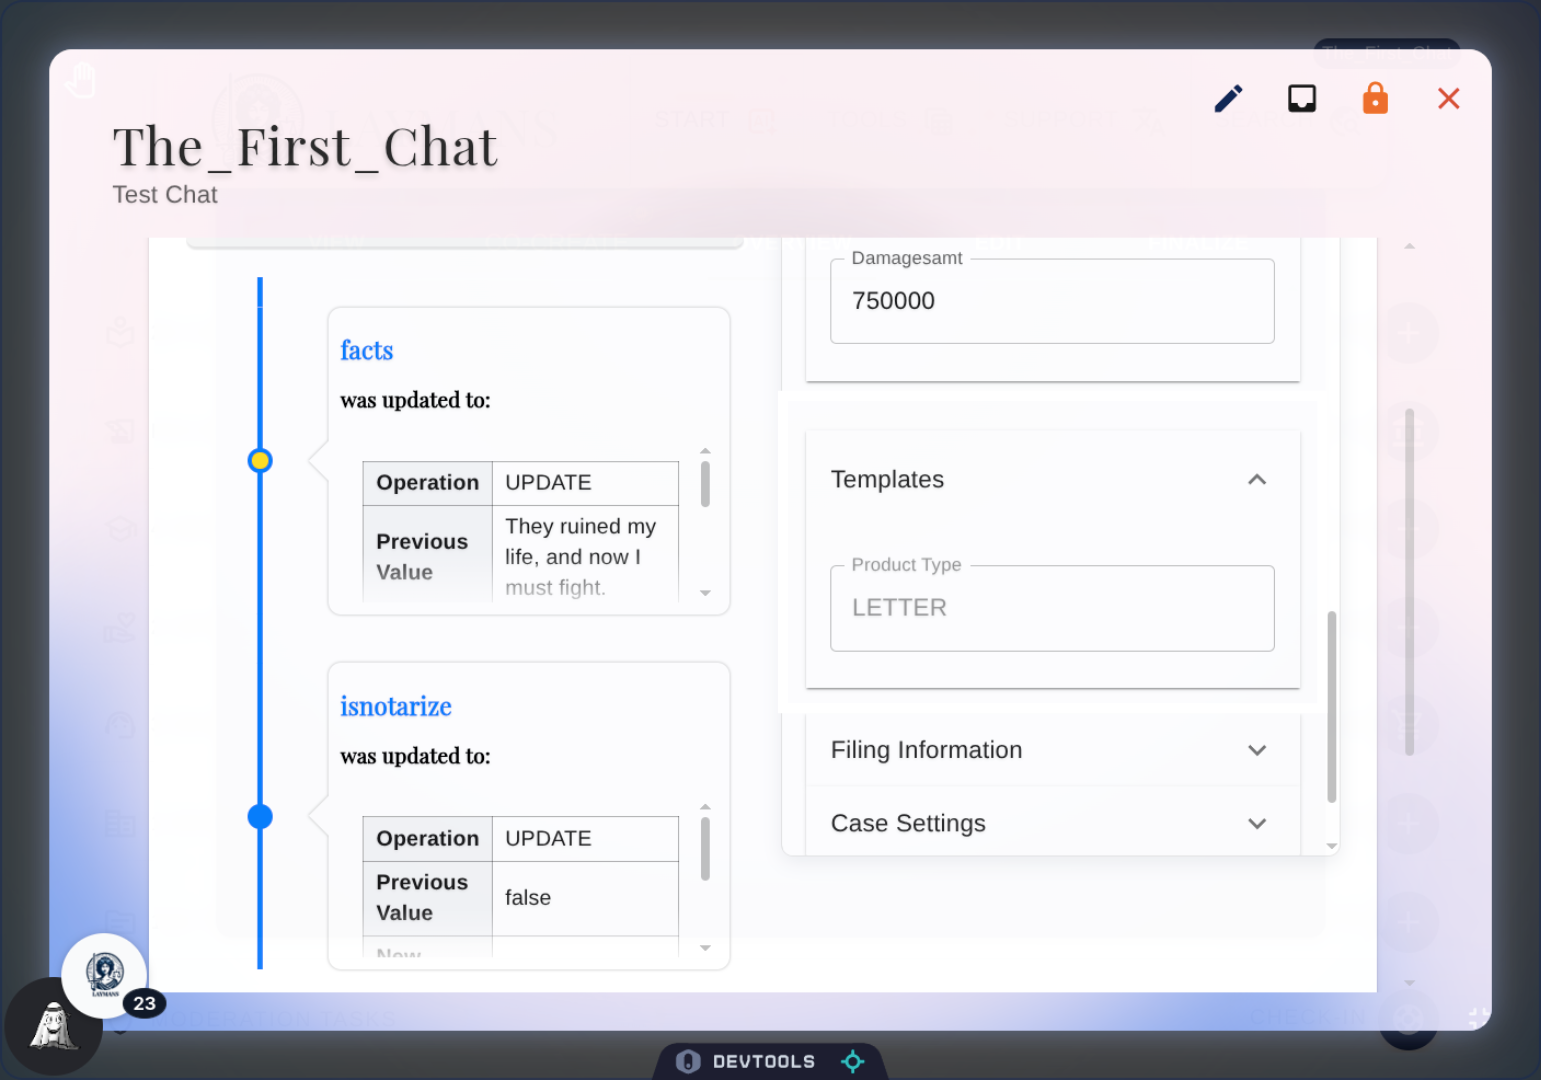
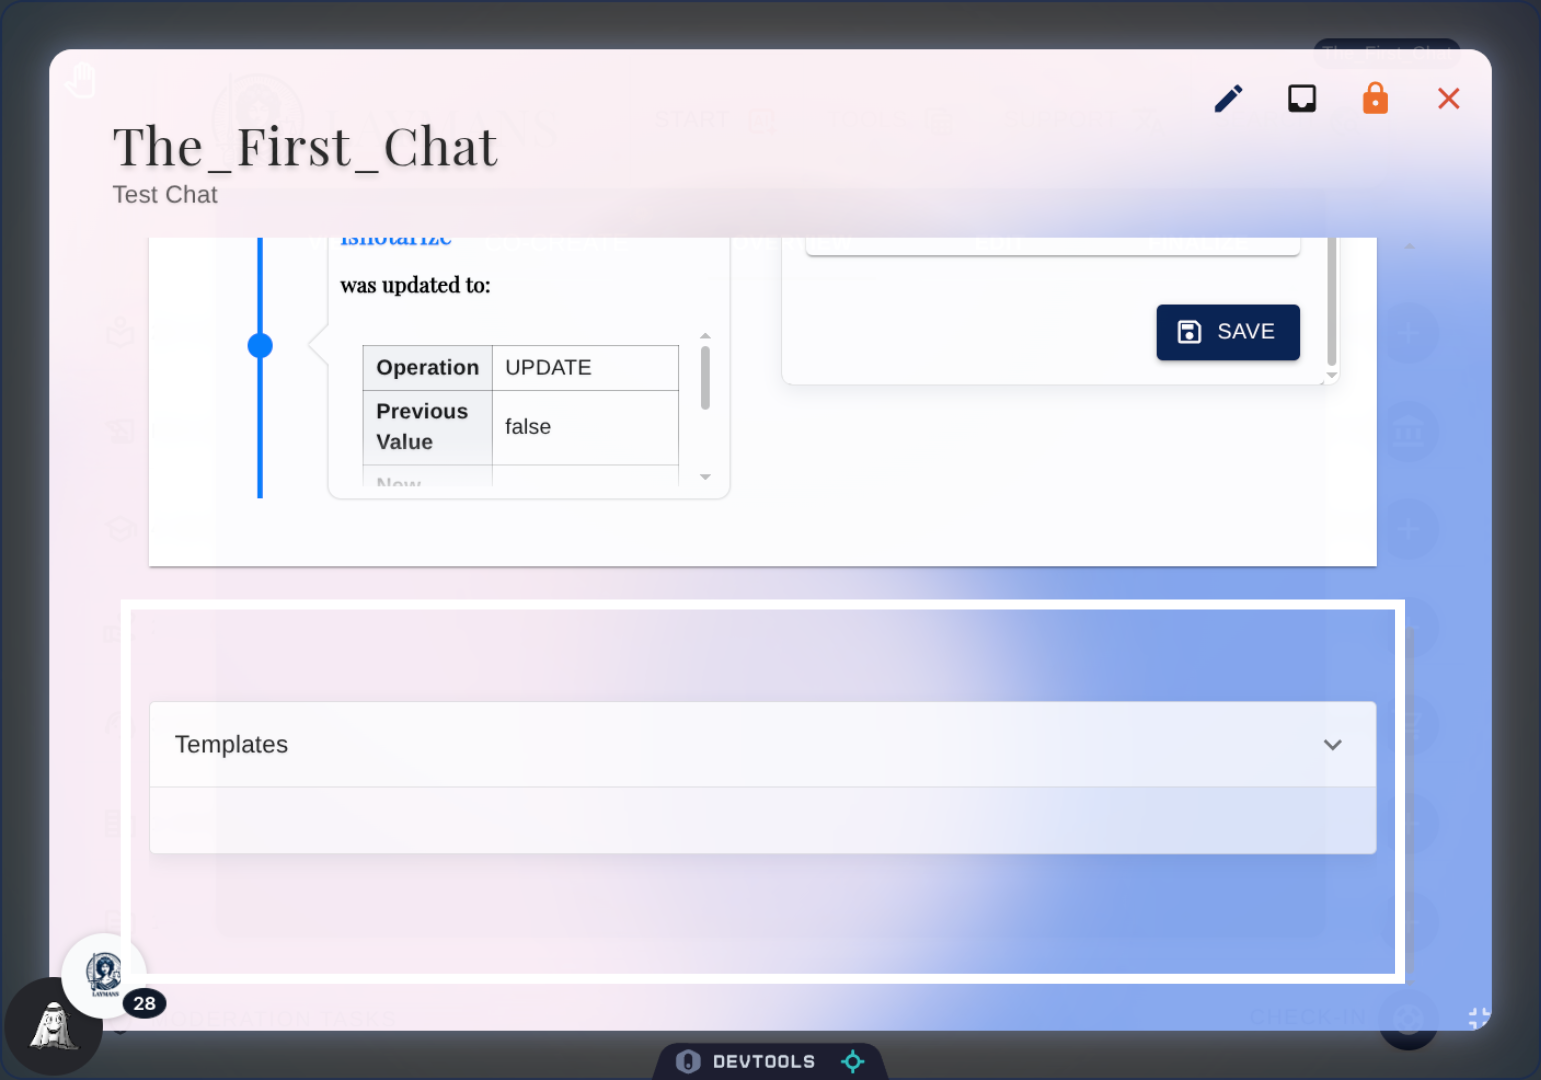
12. Select Templates
This is essentially the type of overall document you want, and separately, what Layman's template should we use for structuring it
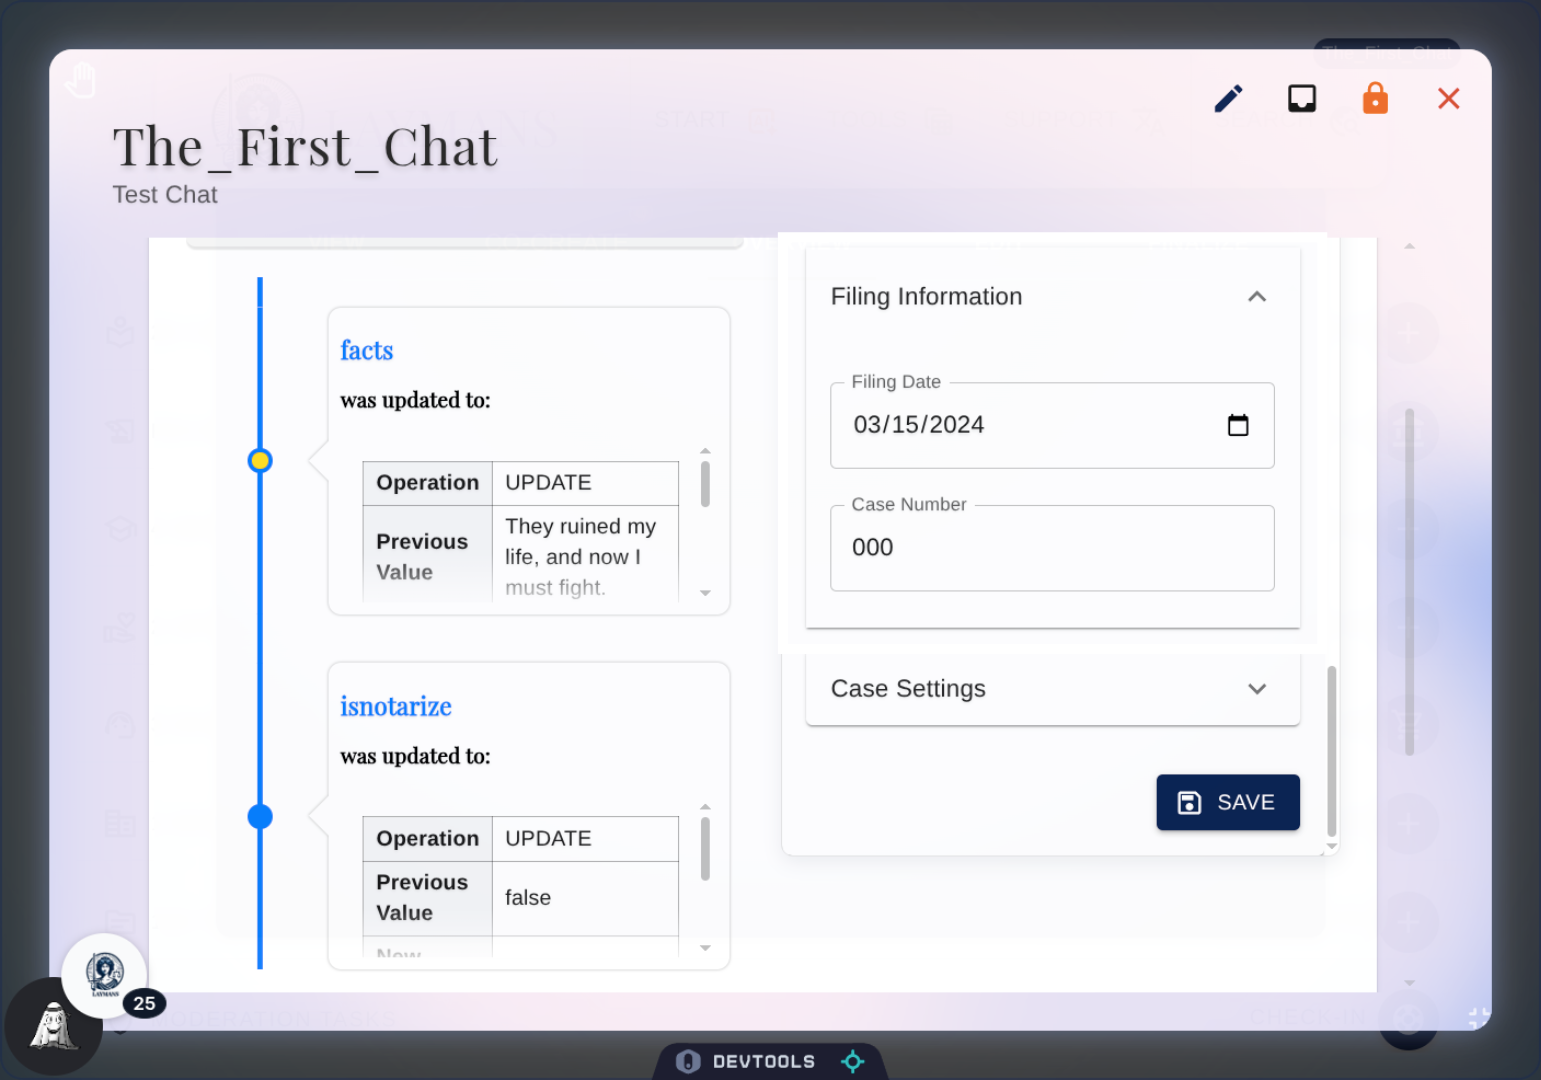
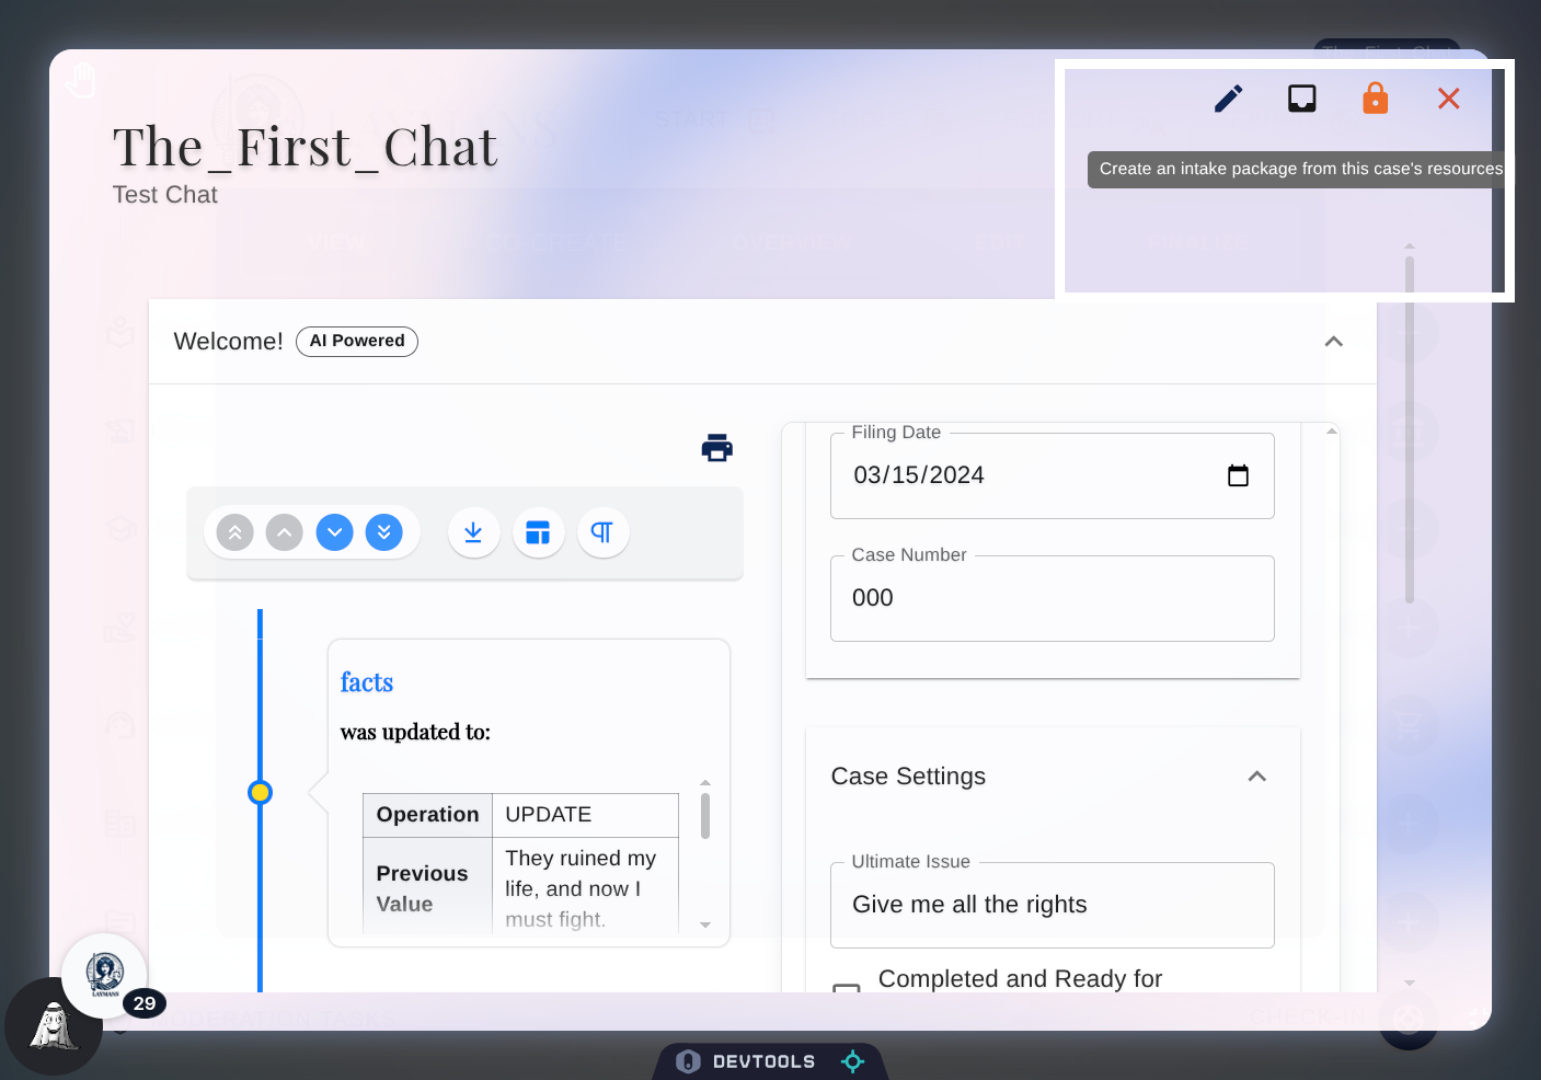
13. Select Filing Information
This is the base filing information, i.e. the date and courtroom case number. We recommend using the Unicourt Casefile for case tracking on our system.
14. Select Case Settings
Here you can handle things like deletion, personal data removal, connecting prior Laymans Cases, and editing general access to your case.
15. Current Additions
So, below the Timeline and Form, you'll find the appended resources of your case. That is, templates being used, casefiles being shared, seminars being read - you name it.
16. CurrentProjectDetails Toolbar: Quick Create Briefcase
You can quickly take any case you're working on and generate a briefcase to turn it into a template to share resources without personal information using Create Briefcase.
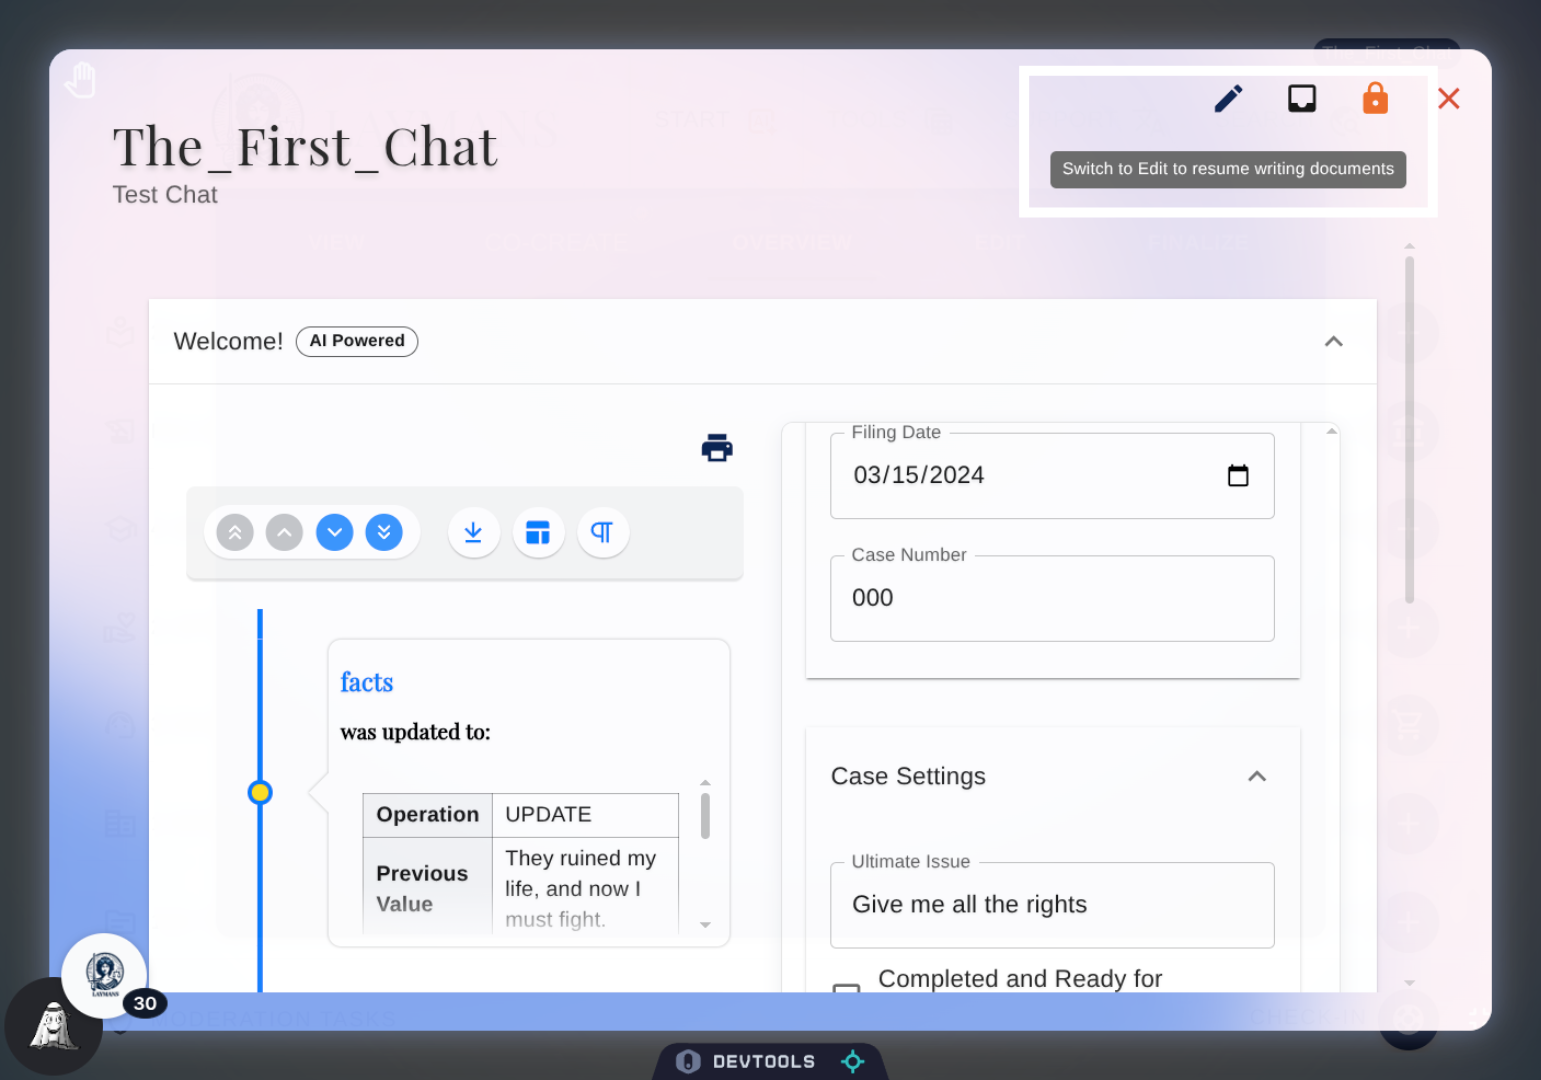
17. Details Toolbar: Switch to Texteditor
You can quickly switch over to the editor if need be to continue writing on case documents.
18. Details Toolbar: Share Case
The last option on the toolbar, only for your representatives, is share case.
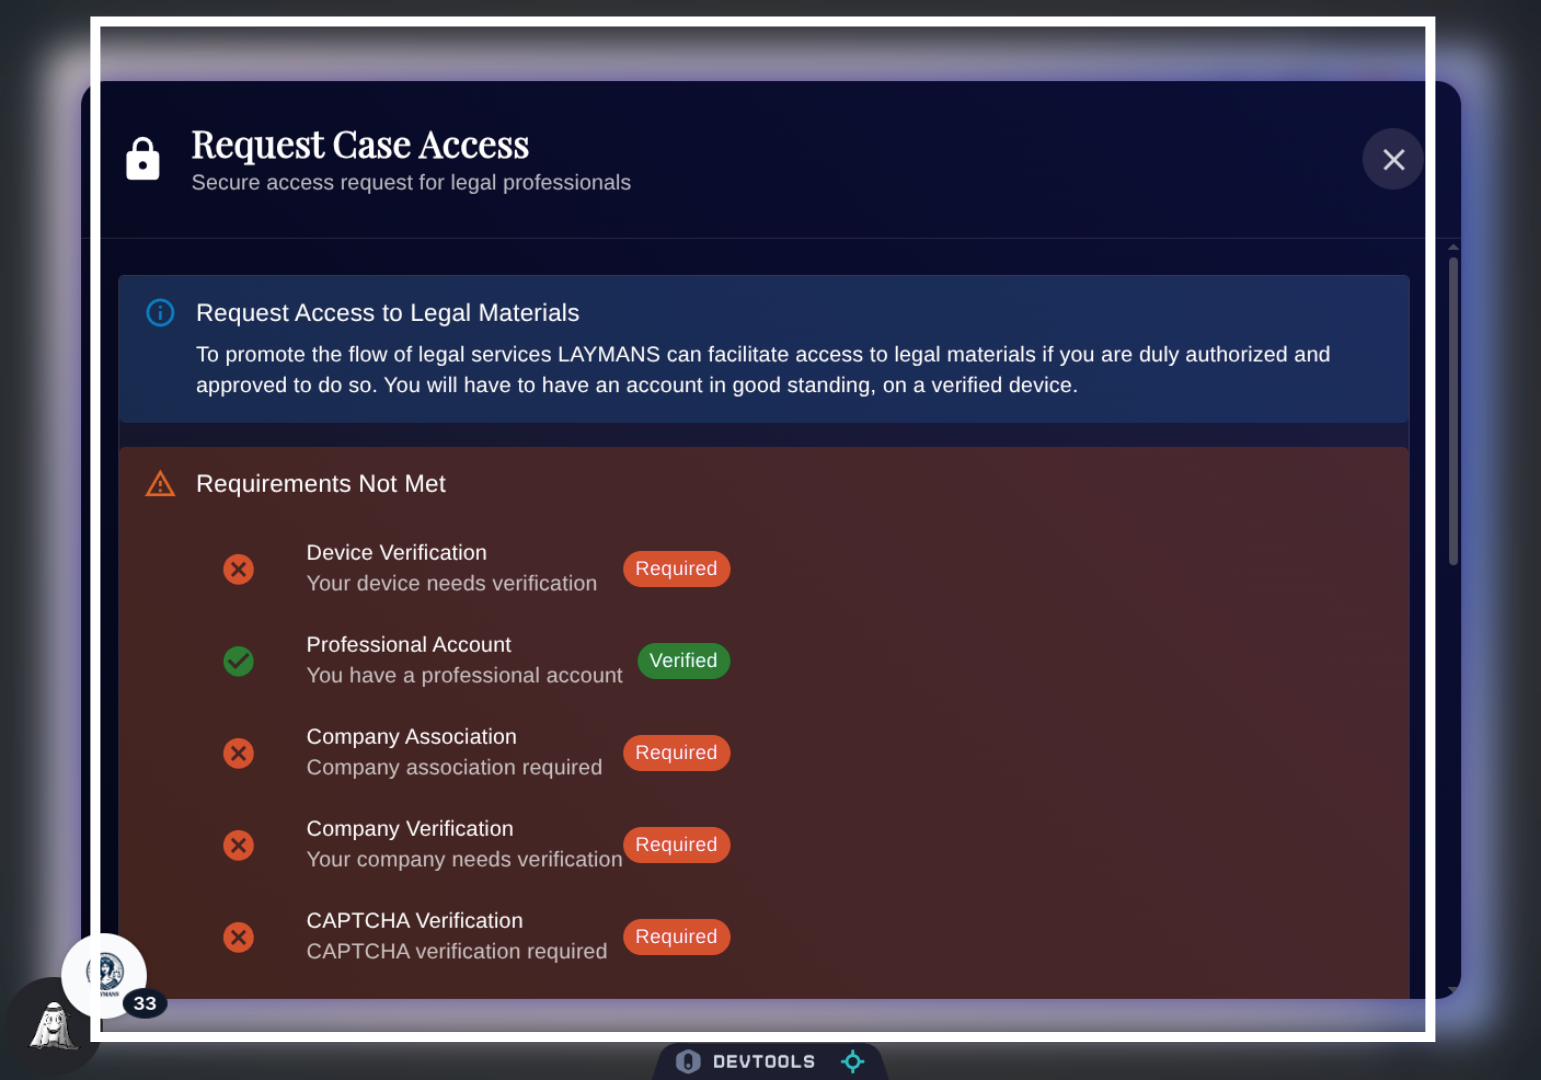
19. Details Toolbar: Case Sharing
Another Professional or Representative can begin a case access request through the details screen if you show it to them. However, as you can see, there are many security options that need to be met before that is possible. Once met, the request can be made, and we'll attempt to verify based on your security profile and the requesting account. You must have a Laymans account to receive case access, and other representatives on the case can easily revoke this access using the direct edit form above.
20. In Conclusion
While the Details page is great for editing the static prompting materials for Laymans AI Case Manager and Legal Assistant, the way to really dive into the nitty-gritty is to talk to the model directly in co-create or to edit Leyla's outputs in Edit—both under "Create." With that we've covered another way to work on your legal materials—formulaically, conversationally, and, next, written!